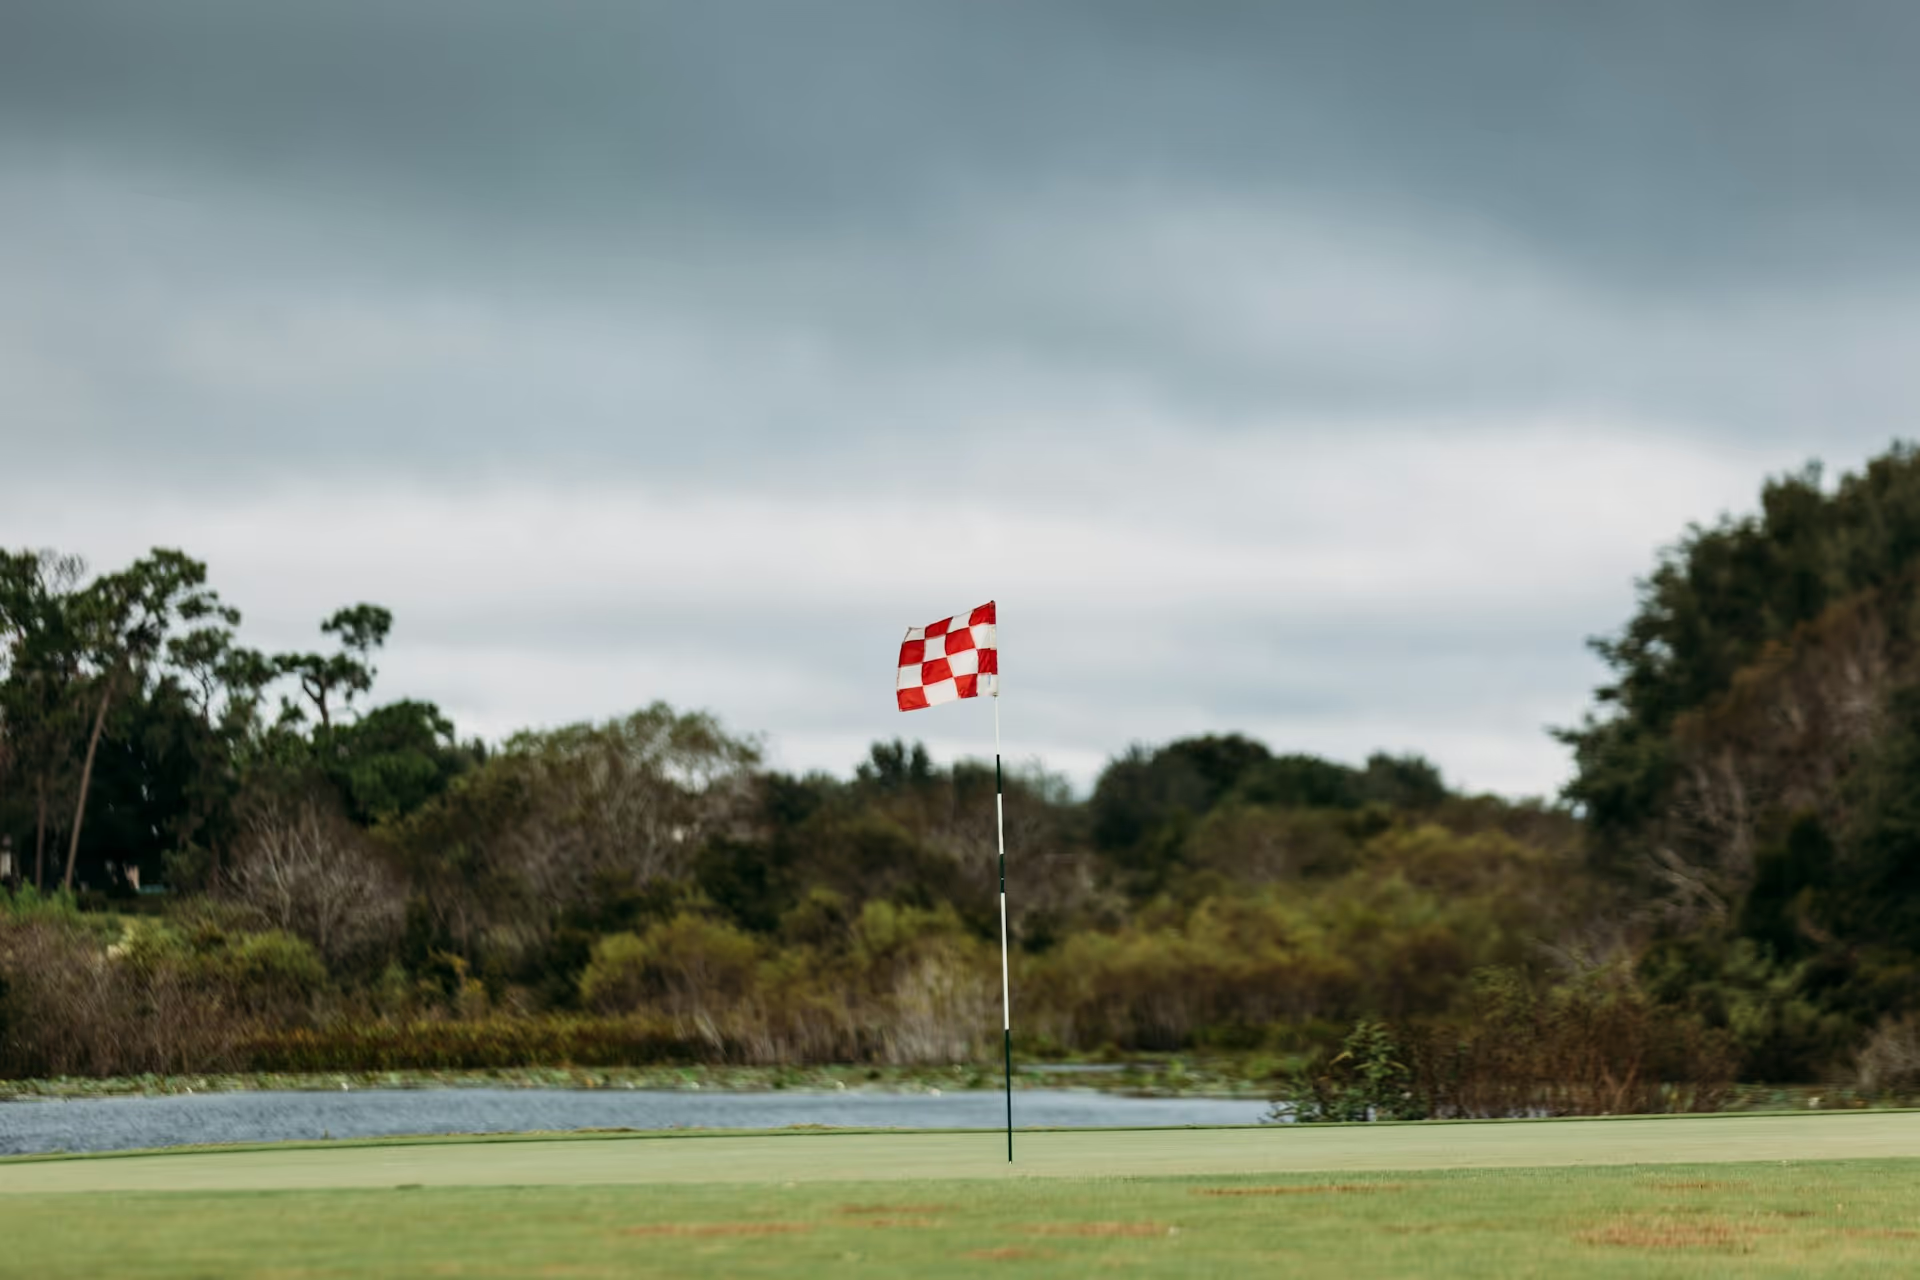
That beautiful, high approach shot lands like a butterfly with sore feet, just inches from the pin. It's a great feeling, but that soft landing leaves behind a small crater on the putting green, known as a ball mark or pitch mark. This guide will show you not only the perfect way to repair that mark but also why doing so is one of the most important acts of respect you can show for the game and your fellow golfers.
Good Golf is About More Than Just Your Score
Before we get into the technique, let's talk about the "why." Fixing a ball mark isn't just a fussy bit of course beautification, it's a fundamental part of maintaining the health and playability of the golf course. When a golf ball strikes a green, it compresses the soil and displaces the grass and roots. How we tend to this small wound makes a night-and-day difference.
Studies have shown that a ball mark repaired correctly within the first five to ten minutes will fully recover in about 24 hours. The grass heals, the surface levels out, and it's like it never happened. However, an improperly repaired mark - or one left unrepaired - can take two to three weeks to heal. During that time, the damaged area is a brown, dying patch of turf that creates an uneven, bumpy path for every putt that happens to roll over it.
Think about that for a moment. Leaving a ball mark isn't just leaving a small dent, it's leaving a two-week scar on the putting surface that can affect a hundred other golfers' rounds. We've all seen our perfectly struck putts get knocked offline by an old, unrepaired pitch mark. By taking ten seconds to fix yours properly, you’re not just being a good steward of the course, you are directly contributing to a better, fairer experience for everyone who plays after you. It's truly one of the simplest ways to honor the game's tradition of mutual respect.
The Right Tool for the Job (and What to Do in a Pinch)
The Trusty Divot Repair Tool
The best tool for fixing a ball mark is, unsurprisingly, a divot repair tool (also called a pitch mark repairer). These handy little devices are designed specifically for the task. They typically feature two prongs that are thin enough to enter the turf without causing more damage, and they give you the leverage to perform the repair correctly. You can find them in a few styles:
- The Classic Fork: This is the standard two-prong tool you’ll see everywhere. Simple, effective, and easy to use.
- The Single-Prong Tool: Some prefer a single, beefier prong. They argue it can be even gentler on the grass roots, as it creates only one entry point into the turf.
- The Switchblade Tool: This is a popular and convenient option. The prongs fold into the handle like a switchblade, keeping them from tearing up your pockets. Many also come with a magnetic ball marker attached.
There's no one "best" style - it's a matter of personal preference. What's not optional is having one. Make it part of your pre-round routine: grab your tees, grab your ball marker, and grab your divot tool. Keep it in your pocket so it's always ready when you hit one of those glorious shots onto the green.
When You're Caught Without a Tool
We've all been there. You get to the green, find your mark, and your pocket is empty. So, what do you do? The most common and acceptable substitute is a golf tee. It’s slender and pointed, allowing you to perform the same motion as a divot tool. Hold the tee firmly and use its pointed end as you would the prongs of a repair tool.
The key here is to use it with care. A tee is slightly thicker and can sometimes cause a bit more disruption to the roots than a dedicated tool, but it's infinitely better than doing nothing at all. Using a key or another similar slender object can also work in an absolute emergency, but always prioritize what will least disturb the turf. Don’t ever use a sharp pocket knife, which will slice the roots and do more harm than good. And as soon as your round is over, head to the pro shop and buy a proper tool so you’re never caught empty-handed again.
Step-by-Step: How to Repair a Ball Mark the Professional Way
Alright, here is the most important part of this entire article. There is a right way and a very common, very wrong way to repair a ball mark. Follow these steps, and you'll be leaving every green better than you found it.
First, a Public Service Announcement: What NOT to Do
The single biggest mistake golfers make is inserting their tool into the ground and lifting up. It seems intuitive - you're trying to raise the sunken ground back to level, right? Wrong. When you pry upwards from the bottom of the dent, you are tearing the grass roots. You’re pulling them up from the soil where they get their moisture and nutrients and exposing them to the air to die. This action is what creates those ugly, circular brown spots. You may flatten the mark, but you've killed the grass. So remember the golden rule: never pry up.
The Real Technique: The Push and Pucker Method
The correct technique involves gently pushing the surrounding turf toward the center of the mark.
Step 1: Get in Position
Walk up to your ball mark. Set your putter and any other clubs down a safe distance away. Don’t toss them - place them gently on the green.
Step 2: Insert the Tool on the Side
Take your divot tool (or tee) and insert the prongs into the turf on the high side or edge of the ball mark. Do not insert it into the crater itself. You want to be on the raised "rim" of the mark. Push it into the turf at about a 45-degree angle.
Step 3: Push Toward the Center
Now for the main event. Instead of pulling up, gently push the top of the divot tool forward, toward the center of the mark. Your goal is to gently stretch the intact turf from the side to cover the empty spot. It's a bit like closing a drawstring bag. You’ll see the ground beginning to fill in the crater.
Step 4: Work Your Way Around
Pull out the tool and repeat this motion from different points around the ball mark. Insert, push forward. Move a quarter turn, insert, push forward. Do this three or four times around the perimeter of the mark. With each push, you're gathering grass and soil from the edge and moving it toward the middle. This “puckers” the grass together in the center, closing the gap without tearing a single root.
Step 5: Tamp It Down Gently
Once you've pushed the turf in from all sides and the mark is mostly filled, there will still be a slightly raised, messy area. Take the sole of your putter and give the repaired spot a gentle tap or two. You don't need to stomp on it! A light tamp is all it takes to smooth the surface perfectly. This firms up the soil, gives the roots good contact, and makes the repair virtually invisible.
That's it. A process that takes less than 15 seconds will ensure the green remains healthy and smooth for everyone.
Good Habits and Final Reminders
Being great at fixing ball marks also means developing a few extra-mile habits that separate the average golfer from an excellent one.
- Fix Yours, Plus One Other: This is a wonderful tradition in golf. Once you're done repairing your own mark, find one other forgotten pitch mark on the green and fix it, too. It’s an easy way to pay it forward and leave the course in even better shape. If everyone did this, greens would be nearly perfect all the time.
- What About Old Marks?: You may come across an old, brown scar of a mark where the grass is already dead. Even if you can't save the grass, you can still improve the playing surface. Use your tool to gently fluff and aerate the compressed soil, and then tamp it down with your putter. This helps to level the surface, which is a big help for putting even if it doesn't look pretty.
- Look, Even If You're Off the Green: Sometimes you might miss the green, but your ball lands with such force that it hops on and off, leaving a mark on its brief visit. Always double-check! Make it a habit to look for a potential mark anytime your ball makes its first landing near the green.
Final Thoughts
Mastering the "push in, not up" method for repairing a ball mark is a simple skill that has an outsized impact on the game. It protects the health of the course, preserves the quality of the putting surfaces, and stands as a point of pride for any conscientious golfer.
Just as learning the small details makes you a better player, we believe in removing the guesswork from the big parts of the game, too. For those moments when you aren't sure of the right club, the right shot, or the right strategy, Caddie AI is there to help. From analyzing a tricky lie to providing a smart plan for the entire hole, we give you the insights of an expert caddie right in your pocket, making it easier to play with more confidence and enjoy your round.