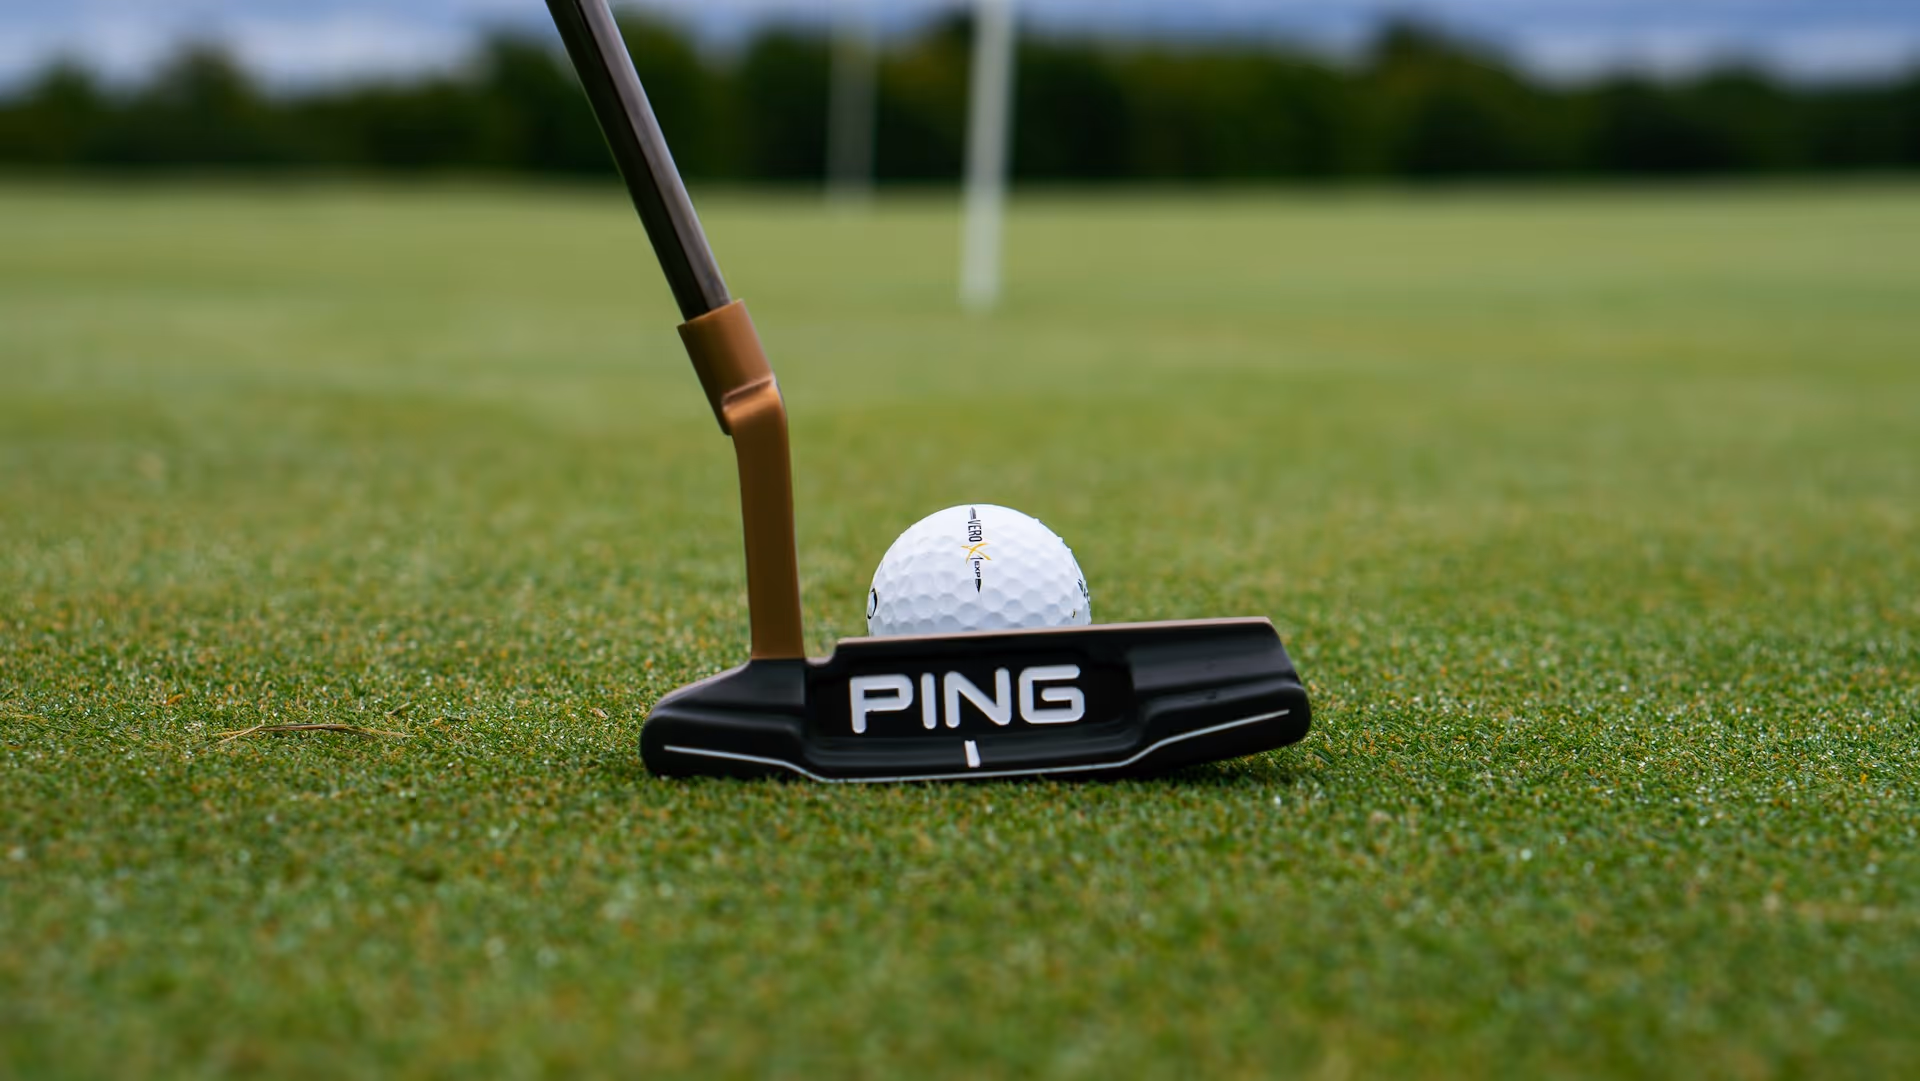
Building your own golf launch monitor is an ambitious but deeply rewarding project that gives you direct access to the data pros use to improve their game. Forget spending a small fortune. With the right components and a bit of DIY spirit, you can create a powerful tool right in your own garage or practice space. This guide will walk you through the essential concepts, components, and a step-by-step process to build a personal launch monitor that provides actionable feedback on your swing.
Why Bother Building Your Own?
Commercial launch monitors like TrackMan or GCQuad are incredible pieces of technology, but their five-figure price tags put them out of reach for a huge number of golfers. A DIY setup, on the other hand, can be assembled for a fraction of that cost. The primary benefit is affordability, opening the door to data-driven practice for anyone willing to put in a little effort. But it’s more than just saving money. The process of building it gives you a much deeper understanding of ball flight physics and what these devices are actually measuring. It's a fantastic learning experience that connects you more deeply with the technical side of your game.
How Do Launch Monitors Actually Work?
Before we start listing parts, it’s helpful to understand the basic technologies at play. Launch monitors generally fall into two categories, and the one you choose to build has big implications for cost and complexity.
Photometric (Camera-Based) Systems
This is the system we’ll focus on because it’s the most accessible path for a DIY build. Photometric launch monitors, like the popular SkyTrak and GCQuad, use one or more high-speed cameras to capture thousands of images per second of the golf ball at the moment of impact and immediately after. Sophisticated software then analyzes these images frame by frame. It identifies markings on the ball to measure its spin rate and direction (backspin and sidespin) and calculates ball speed and launch angle from how the ball moves between frames. It’s an incredibly precise method for capturing what the ball is doing right off the face.
Doppler Radar-Based Systems
Doppler radar systems, like those used by TrackMan and FlightScope, use microwave signals to track the ball's entire flight path through the air. By measuring the changes in the returning signal's frequency, the radar calculates the ball's speed, launch angle, flight path, and more. While extremely accurate, especially for outdoor use where ball flight can be fully tracked, building a consumer-grade Doppler radar system is far more complex and expensive, requiring specialized hardware and engineering that’s beyond the scope of a typical home project. For our purposes, the camera-based method gives us everything we need for fantastic indoor practice.
Your DIY Launch Monitor Shopping List
The effectiveness of your setup hinges on three key areas: the camera, the lighting, and the software. Here’s what you need to gather.
1. The High-Speed Camera
This is the heart of your system. A standard webcam or smartphone camera won’t cut it. You need a camera capable of capturing clean, clear images at a very high frame rate (FPS) and with a very fast shutter speed. The goal is to "freeze" the motion of a golf ball traveling over 100 mph without it looking like a blurry streak.
- Frame Rate (FPS): You should aim for a minimum of 200 FPS, but 500 FPS or higher is even better. More frames per second give the software more data points to work with, leading to more accurate calculations.
- Shutter Speed: This needs to be extremely fast - at least 1/2000th of a second or faster. A fast shutter is what prevents motion blur and delivers a crisp image of the ball for the software to analyze.
- Global Shutter: This is a highly recommended feature. A camera with a global shutter captures the entire image at a single instant. Cheaper cameras often use a "rolling shutter," which scans the image line by line and can cause distortion and "jello" effects when capturing a fast-moving object like a golf ball. Look for machine vision or industrial cameras, often available secondhand, which frequently have global shutters. The communities around software like GSPro have lists of compatible and recommended cameras that work well for this purpose.
2. Powerful Lighting
A fast shutter speed lets in very little light. To compensate, you need to illuminate your impact zone... brightly. Seriously, you can almost never have too much light. The goal is even, shadow-free illumination that lights up the ball so the camera gets a perfect exposure.
- LED Panels or Floodlights: High-output LED lights are a great option. They are efficient, run cooler than older lighting types, and you can buy powerful units affordably. Two or three well-placed lights can effectively eliminate shadows and make the ball “pop” on camera.
- Infrared (IR) Lighting (Advanced): Some builders use infrared lighting and an IR-sensitive camera. The advantage here is that the hitting area isn't flooded with blinding visible light. However, it requires a camera that's been modified to see in the IR spectrum.
3. The Brains: Computer & Software
All that image data needs to be processed in real-time. You'll need a reasonably powerful PC with a solid-state drive (SSD), a decent CPU (like an Intel i5 or AMD Ryzen 5 or better), and a dedicated graphics card (GPU). The GPU is especially important, as many image analysis programs leverage it for processing.
The software is what turns your camera feed into launch data. Fortunately, a passionate community of golfers and developers has created some excellent options. You'll want to explore the Golf Simulator Forums (GSF). This is your number one resource for finding software, camera recommendations, and help from people who have already built their own systems. Software designed for simulator play like GSPro often integrates with custom camera setups and is the go-to for many DIY builders.
4. The Practice Zone: Mat, Net, and Enclosure
Finally, you need a safe and stable environment.
- Hitting Mat: Invest in a quality hitting mat to protect your wrists and elbows.
- Impact Screen or Net: A heavy-duty net is the bare minimum for safety. An impact screen designed for golf simulation is even better, as it doubles as a projector screen for a more immersive experience.
- Camera Mount: The camera must be rock-solid. Any vibration can throw off the measurements. A sturdy tripod or a custom-built, floor-mounted enclosure is essential to keep a fixed and stable position relative to the ball.
Step-by-Step Assembly Guide
With your components in hand, it’s time to put it all together. The exact steps can vary based on your specific camera and software, but the general process looks like this:
Step 1: Lay Out Your Hitting Area
Measure and mark the exact spot where you'll be placing your golf ball for every shot. Consistency is vital. Put down your hitting mat and set up your net or screen at a safe distance. Most DIY photometric setups use an overhead or side-on camera position, so plan for that space when laying things out.
Step 2: Position Camera and Lighting
Mount your camera securely. A common and effective setup is to position the camera overhead, looking down at the hitting area from approximately 9-10 feet high and slightly in front of the ball. This gives a clear view of the club and ball at impact. Whatever position you choose, make sure it’s rigidly mounted. Now, set up your lights. Position them to flood the immediate one-foot-square area around the ball with bright, even light, working to eliminate any shadows the club might cast at impact.
Step 3: Install Software & Connect Your Hardware
Following the guides on a resource like the Golf Simulator Forums, install your chosen software. This will include the main simulator program (like GSPro) and any necessary interface drivers to allow it to communicate with your camera. Once installed, connect the camera to your PC and launch the software. The first goal is simply to confirm you can see the camera's live feed within the program.
Step 4: The All-Important Calibration
Your software needs to understand the physical space it's looking at. The calibration process "teaches" it. This typically involves a few things:
- Defining the Hitting Zone: You'll draw a box or circle in the camera view to tell the software exactly where to look for the ball.
- Setting the Scale: You need to tell it how to translate pixels into real-world measurements. A common way to do this is to place two golf balls a known distance apart (e.g., 12 inches) in the frame and input that measurement into the software.
- Adjusting Camera Settings: Now you’ll fine-tune the camera’s shutter speed, gain, and exposure to get the perfect image - one where the golf ball is a bright, clear circle, and the background is nearly black. This contrast makes it easy for the software to track.
Step 5: Test, Tweak, and Dial It In
Now for the fun part: hitting shots! The software needs a way to detect spin, and it can’t do that with a plain white ball. You must use a specifically marked ball. You can buy Titleist RCT (Radar Capture Technology) balls, which work great for cameras, too, or an easier method is to simply draw a pattern on a normal ball - a simple straight line bisecting the ball or a pattern of triangles or dots will often do the trick. A guide from your chosen software can tell you what visual markers work best.
Hit your first few shots and check the results. Is the system picking up every shot? Are the numbers what you expect? You’ll likely spend some time making small adjustments to lighting, camera focus, and software sensitivity until the tracking is reliable. Be patient, this fine-tuning stage is a normal and necessary part of the process.
Making Sense of Your Data: A Coach's Perspective
Once your DIY launch monitor is humming along, you’ll have access to some incredible data. Primarily, you'll be looking at Ball Speed, Launch Angle, Back Spin, and Side Spin. These four metrics fundamentally determine how far and how straight your ball flies.
But here’s a tip from my coaching playbook: numbers on a screen are just that - numbers. Their real power comes from turning them into feedback. This is your chance to move beyond feel and work with facts. If the monitor tells you the ball is launching at 20 degrees with a driver, you have tangible proof that your angle of attack is too steep. Don't chase a "perfect" number. Instead, just think about how a swing change affects the outcome. Is that change moving your launch angle down and your ball speed up? Great. If not, try something else. Using your monitor this way removes the guesswork and makes every practice swing more focused and productive.
Final Thoughts
Building a home golf launch monitor is an incredibly satisfying project that puts powerful performance data right at your fingertips. By combining a suitable high-speed camera, excellent lighting, the right software, and a bit of patience, you can create a system for a fraction of the cost of a commercial one, transforming your practice sessions forever.
Of course, turning that data into real, on-course improvement is the ultimate goal. When you know what your ball is doing, the next puzzle is always how to improve it. My purpose with Caddie AI is to help you bridge that gap. After a session on your DIY monitor, you could ask me for a specific drill to lower your driver's spin rate or request a strategy for an upcoming round based on your new shot patterns. I’m here 24/7 to help you translate raw data into smarter practice and more confident play.