Your golf irons are the workhorses of your bag. They're called on for everything from powerful approach shots to delicate finesse shots around the green, and they take a real beating every time you play. This guide gives you a simple, effective routine for cleaning and maintaining your irons to preserve their performance, extend their lifespan, and give you more confidence over every shot.
Why Bother Caring for Your Irons? (Hint: Better Shots)
Let's be blunt: clean clubs perform better. It's not about vanity, it’s about physics. The grooves on your iron face are designed to do one primary job - channel away water, dirt, and debris at impact. This allows the face to make clean, direct contact with the golf ball, which is what generates the spin you need for control.
When those grooves are packed with dried mud, sand, or clippings, they can't do their job. Here’s what happens:
- Loss of Spin: A layer of debris between the clubface and the ball acts like a lubricant, radically reducing backspin. This means your approach shots won't stop as quickly on the green, and they'll likely roll out much farther than you intended.
- Inconsistent Launch and Distance: That interference from dirt can cause "fliers" - shots that launch unexpectedly high with low spin and fly farther than your normal distances. You lose all sense of distance control, which is the cornerstone of good iron play.
- Preventing Rust: Irons are made of steel, and steel rusts when exposed to moisture and oxygen. Regular cleaning and, most importantly, thorough drying is the single best way to prevent unsightly and performance-hindering rust from forming.
Caring for your irons isn't a chore, it’s a fundamental part of playing predictable, consistent golf. A few minutes of maintenance translates directly to better performance where it counts - on the course.
Cleaning Your Irons: The On-Course Routine
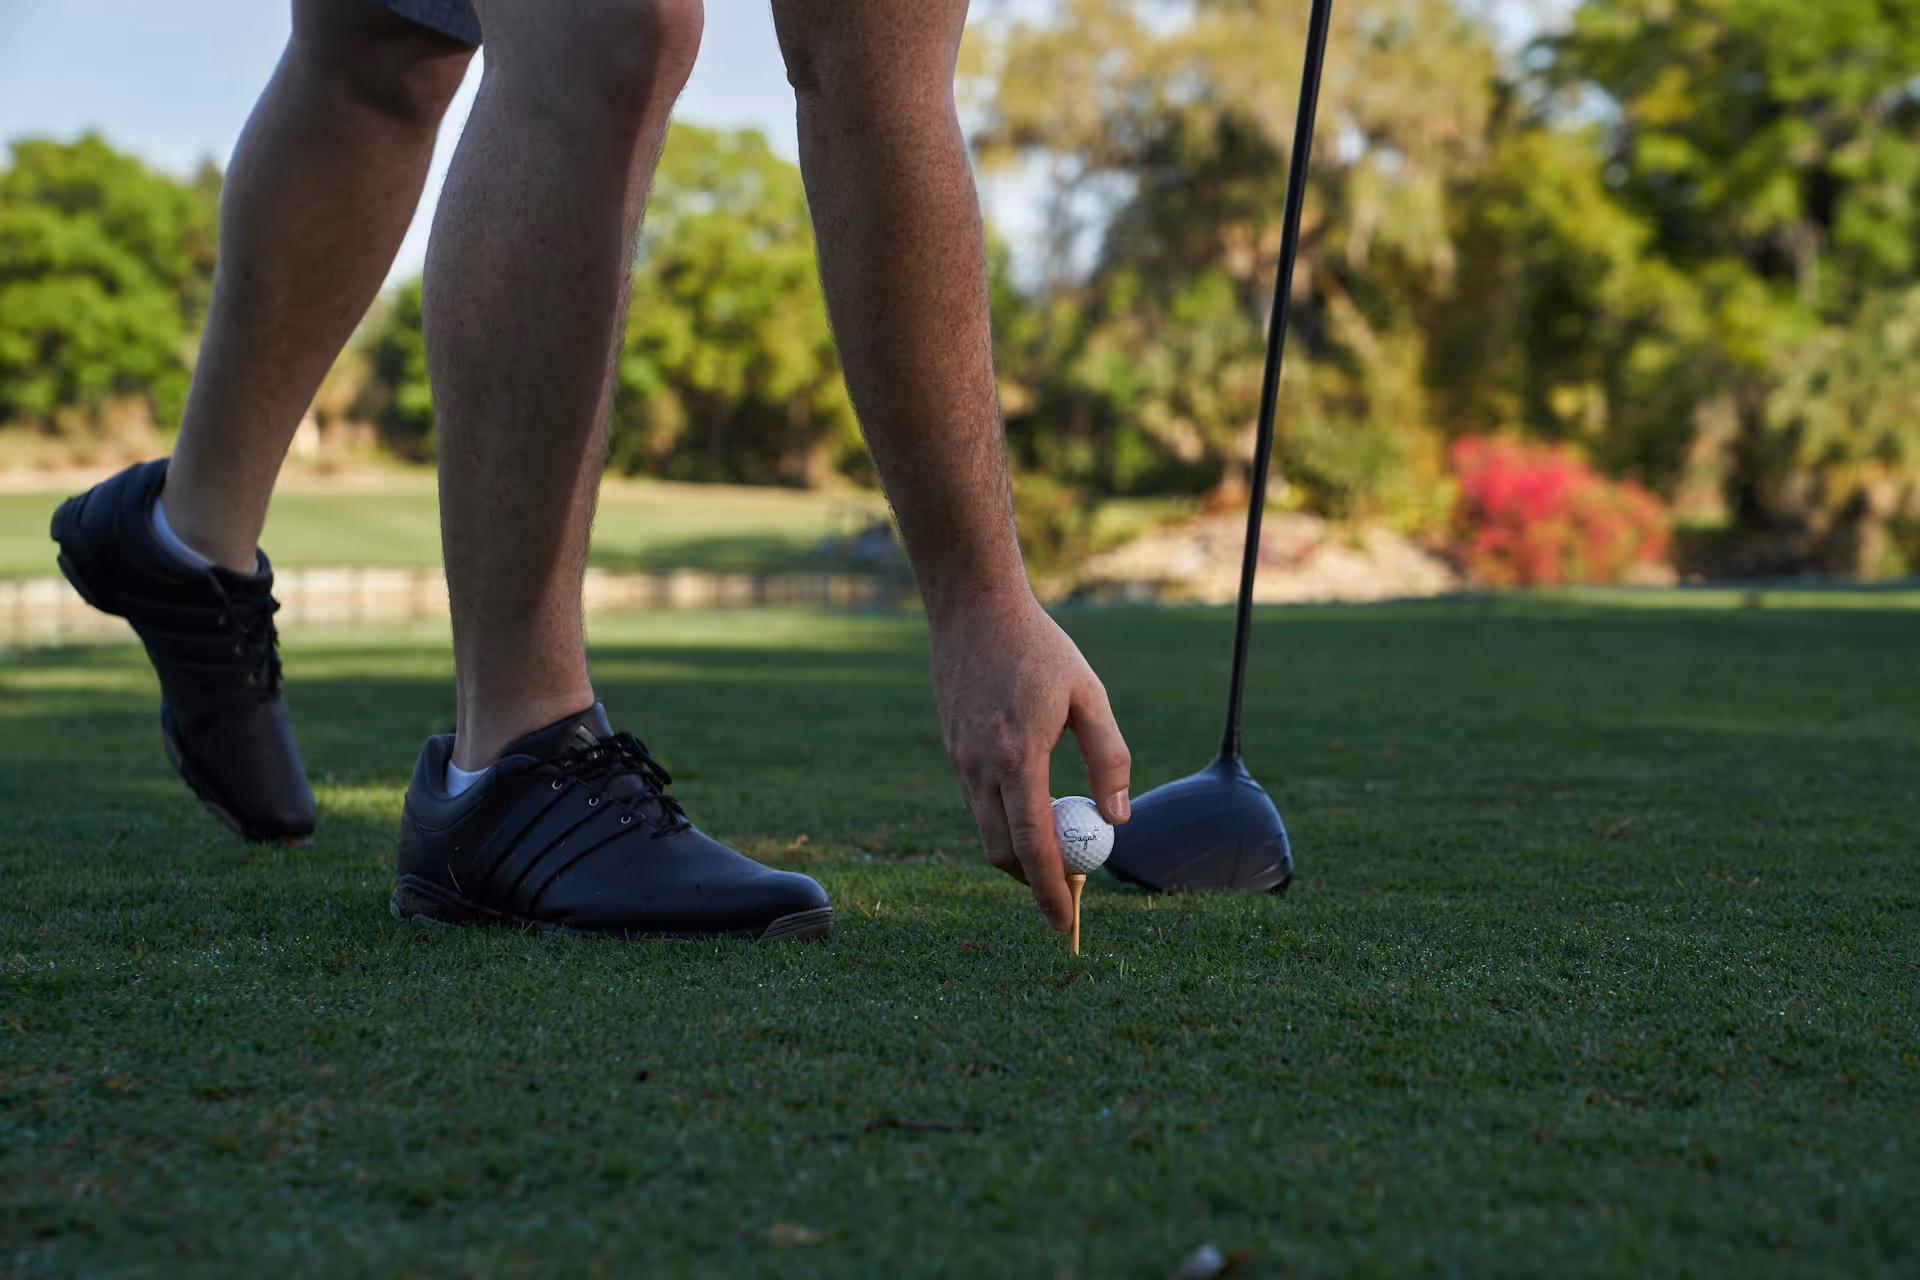
The best time to clean your iron is immediately after you’ve hit it. Letting mud and grass bake onto the clubface in the sun makes it ten times harder to remove later. Building a simple on-course cleaning habit is a game-changer.
The “Scrub-and-Wipe” Method
The only equipment you need for this is a great golf towel and a groove cleaning tool (the sharp end of a tee works perfectly fine in a pinch).
Step 1: Wet Your Towel Correctly. Before you head to the first tee, dedicate one half of your golf towel to being wet. Don't just sort of dampen it, get a good section properly wet. Leave the other half completely dry. Most tour pros fold their towel in half and dip one side into the water cooler or a bucket so there's a clear wet side and dry side.
Step 2: Scrape the Big Stuff. After a shot, especially a divot, you'll have clumps of mud or grass lodged in the grooves. Use a divot tool, a groove brush, or a simple tee to scrape out the bulk of this debris. Pay special attention to the bottom few grooves, as this is where the ball makes primary contact.
Step 3: Scrub with the Wet Side. Use the wet part of your towel to give the entire clubface a vigorous scrub. The moisture will loosen any remaining dirt that your tool missed. Don't be gentle, really get in there and make sure the face and the grooves are free of grime.
Step 4: Wipe with the Dry Side. Immediately follow up by wiping the clubface dry with the dry part of your towel. This polishes the face and prevents water spots or the beginnings of rust. Put it back in your bag clean and ready for its next call to action.
Making this four-step process an automatic part of your post-shot routine will keep your irons in prime condition throughout your round and make your post-round deep clean much easier.
The Deep Clean: Your Off-Course Ritual
Sometimes, an on-course wipe-down isn't enough, especially after a particularly muddy or sandy round. A bi-weekly or monthly deep clean will restore your irons to like-new condition. It’s an easy process that takes less than ten minutes.
What You'll Need
- A bucket or sink
- Warm water
- A capful of mild dish soap
- A soft-bristle brush (an old toothbrush is perfect)
- An old, dry towel
Step-by-Step Deep Cleaning Guide
- Prepare Your Soapy Water: Fill your bucket with enough warm water to fully cover the heads of your irons. Add a small squirt of dish soap and swish it around to create some suds. A word of caution: avoid using very hot water. Extreme heat can weaken the epoxy that holds the club head to the shaft, potentially causing the ferrule (the little plastic bit where the shaft meets the head) to loosen or the head to come off entirely. Warm water is a great cleaner.
- Soak the Heads: Place your iron heads into the bucket of warm, soapy water. Let them soak for 5-10 minutes. This will soften up any caked-on, stubborn dirt and make it much easier to scrub off. It’s important to only submerge the club heads. Do not let the grips or a significant portion of the shafts sit in the water.
- Scrub ‘em Clean: Take each club out one by one and use your soft-bristle brush to scrub the face. Move the brush back and forth along the grooves to clean them out thoroughly. Don’t forget to give the sole and the back cavity of the iron a good scrub as well.
- Rinse and Dry: Rinse each club head under a tap of cool, clean water to remove any soap residue. The most important step of all is next: dry them immediately and completely. Use your old towel to wipe down every surface of the club head and the lower part of the shaft that got wet. Lingering moisture is the #1 cause of rust.
More Than Just Cleaning: Complete Iron Care
True iron care goes beyond just keeping them clean. It also involves paying attention to the grips and protecting the clubs from unnecessary damage.
Checking and Maintaining Your Grips
Your grip is your only connection to the golf club. If it's slick with oil and dirt from your hands, your ability to control the clubface is compromised. You’ll instinctively grip the club tighter to prevent slipping, which introduces tension into your arms and ruins your swing.
To clean them, use the same warm, soapy water and a towel or soft brush to gently scrub the grip's surface. Rinse it with clean water and dry it completely with a towel. This will remove oils and restore some of the natural tackiness.
Also, know the signs of a worn-out grip. If you see shiny patches, worn-down areas where your thumbs go, or any cracking, it's time to re-grip. Most golfers should get their grips replaced at least once a year if they play regularly.
Protecting Your Irons from Damage
Ah, the great iron cover debate. On one side, you have golfers who swear by them to prevent "bag chatter" - the clanking and dinging that happens when clubs knock against each other in the bag. These dings, especially on softer forged irons, can affect performance and resale value. On the other side, many golfers find them cumbersome and prefer the natural look of uncovered clubs.
There’s no right answer. If you have expensive forged irons and want to keep them pristine, covers are a great idea. If you prioritize convenience, just be mindful of how you handle your bag. Don't drop it violently on the ground. A simple way to minimize chatter without covers is to arrange your clubs properly, typically with woods and longer irons at the back (near the strap) and shorter irons and wedges at the front.
Drying Your Clubs After a Wet Round
This is a non-negotiable rule. After playing in the rain, do not just put your bag in the trunk or a closet and forget about it. That is a guaranteed recipe for a full-blown rust breakout and moldy grips.
After a wet round, take every single club out of your bag. Wipe down the heads, shafts, and especially the grips until they are completely dry. Stand them up separately somewhere where they can air dry fully overnight before putting them back in the golf bag. Don’t forget to open up the pockets of your bag and air it out as well.
When to Check for Loft and Lie Adjustments
This is an area of maintenance that many amateur golfers overlook. Over time, especially if you hit off mats or hard turf frequently, the loft and lie angles of your irons (particularly forged ones) can get bent out of specification. A lie angle that’s just one or two degrees off can cause you to consistently pull or push your shots, even with a perfect swing.
If you feel like you're making a good swing but your shots are consistently starting left or right of target, it might not be you - it could be your equipment. It’s great practice to take your irons to a professional club fitter or your local golf pro once a year to get the lofts and lies checked. It’s a very small investment that can provide a huge boost in consistency and confidence.
Final Thoughts
Regularly cleaning and looking after your irons is about so much more than keeping them shiny. It’s an essential habit that directly impacts performance, helping you control spin and distance for more consistent shots.
Maintaining confidence in your equipment is half the battle, and making smart, confident decisions on the course is the other. We built our app, Caddie AI, to give you that expert-level guidance whenever you need it. From helping you choose the right club from a tricky lie to providing a simple strategy on a tough par 4, we put a 24/7 caddie and coach in your pocket so you can take the guesswork out of golf and play with more conviction.