Your connection to the ground is the foundation of your entire golf swing, and worn-out cleats can quietly sabotage your stability and power before you even start the takeaway. Freshening up your spikes is one of the simplest and most effective pieces of equipment maintenance you can perform. This guide will walk you through exactly how to change your golf cleats, from identifying the right type to dealing with those stubborn spikes that just won’t budge.
Why and When You Should Change Your Cleats
Think of your golf cleats like the tires on a car. When the tread is gone, you lose traction, and everything becomes less predictable. In golf, a lack of traction means you can't use the ground effectively for power. You might slip slightly on your downswing - maybe not enough to fall, but just enough to throw your timing off, alter your swing path, and cause a major miss. Your body instinctively knows it can’t rely on your footing, so it makes little compensations to stay balanced, robbing you of a powerful, free-flowing swing.
So, how do you know it's time for a change? Don't wait until you're slipping on every dew-covered tee box. Look for these signs:
- Visible Wear and Tear: This is the most obvious sign. Look at the bottom of your shoes. Are the spikes flattened, worn down to nubs, or losing their defining shape? Are any of the little "legs" on the spikes broken or missing entirely? If they look beat up, their performance is already compromised.
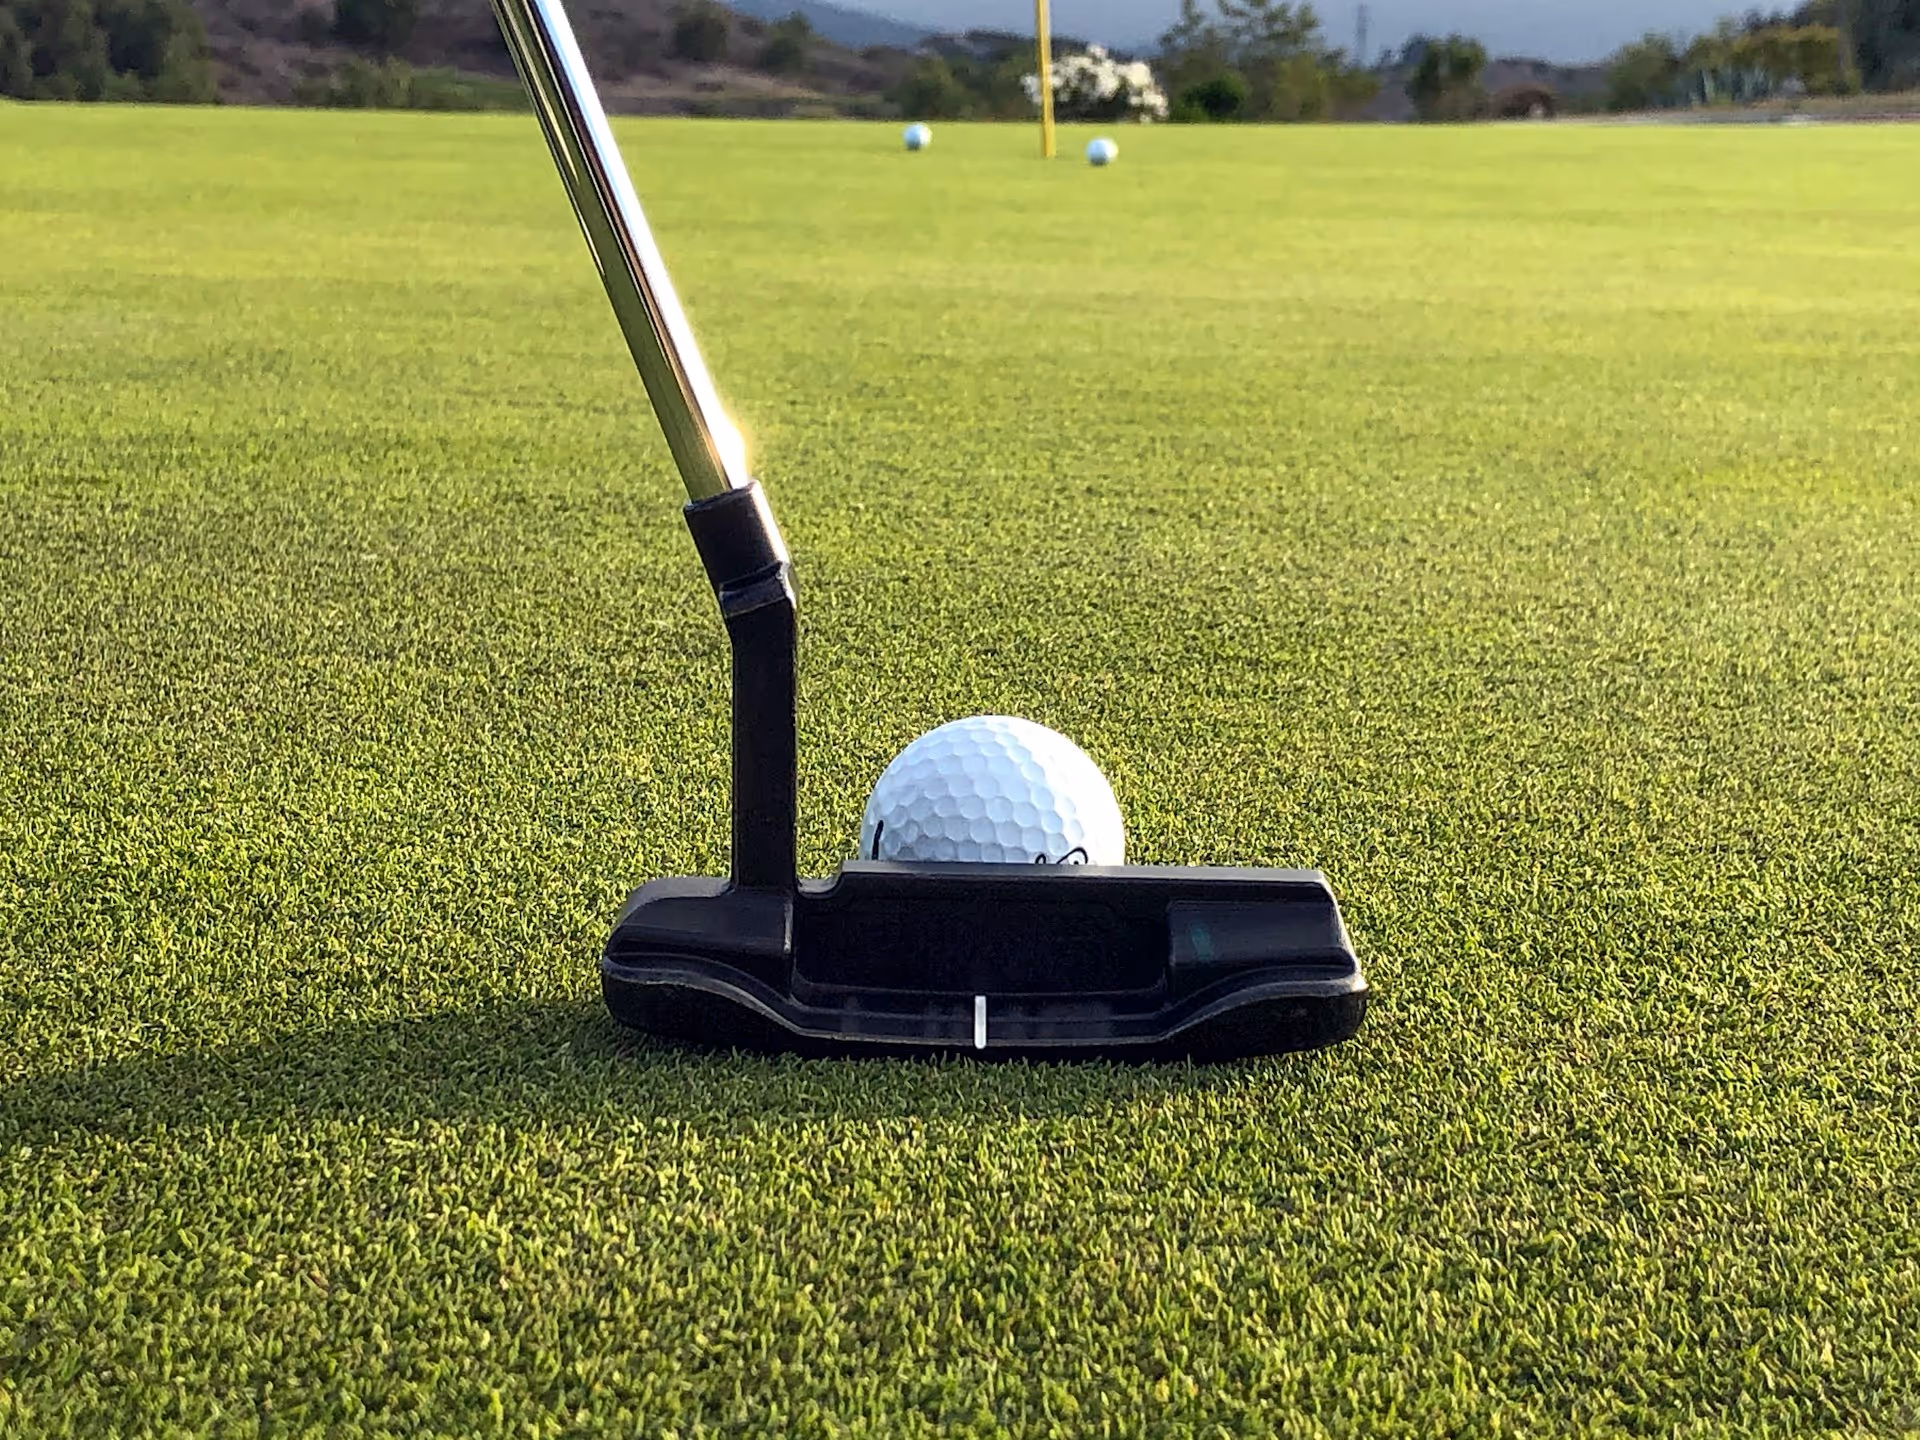
- Reduced Grip: If you've felt your feet slide, even slightly, during a swing on a sidehill lie or while hitting out of the rough, it's time. Fresh cleats will give you that locked-in, stable feeling that inspires confidence over the ball.
- A Rule of Thumb: For avid golfers, it’s a good practice to replace your cleats every 15 to 20 rounds. If you play less frequently, a once-a-year replacement at the start of the season is a great habit to get into. This schedule might change if you often play in wet conditions or walk a lot on hard surfaces like cart paths.
First, Identify Your Cleat System
Before you rush out to buy a new set of spikes, you need to know what kind of "receptacle," or locking system, your shoes use. Not all cleats are universal. Installing the wrong type can damage the sole of your shoe, making it impossible for any cleat to lock in properly. It’s like trying to fit the wrong key in a lock.
Flip your shoe over and take a close look at the base of one of the spikes. Here are the most common systems you'll find:
- Fast Twist 3.0 / Tour Lock: This is one of the most popular modern systems. It's known for its low-profile design and easy installation. To remove or install, you insert the wrench and give it a simple quarter-turn. It locks and unlocks with a distinct click.
- PINS (Performance INsert System): This is another very low-profile and lightweight system. It uses a different thread design than Fast Twist but offers a similar secure connection. Often found on FootJoy and other major brands.
- Q-LOK: As the name suggests, this is a "quick lock" system. A simple right turn clicks it into place, a left turn clicks it out. Again, the mechanism is distinct from the others.
- Small Metal Thread (6mm): This is the classic, old-school system with a small metal screw you tighten into a metal receptacle in the shoe's sole. It's less common on new shoes but is still found on some traditional and high-end models.
If you’re unsure, the easiest way to confirm is to check the shoe manufacturer's website for your specific model. Alternatively, when you remove one cleat, you can take it with you to the golf shop to match it up perfectly.
Gather Your Gear
The good news is you don’t need a full workshop to do this job. The process is simple, and so are the tools.
- Your New Cleats: Make absolutely sure you have the correct system for your shoes! Buying a multi-pack is usually the most cost-effective option.
- A Cleat Wrench: This is the essential tool. Most are a standard "two-prong" design that works for almost all non-metal thread systems. For stubborn cleats, a wrench with longer, T-shaped handles can provide better torque. For the old metal thread spikes, you'll simply need a Phillips head screwdriver or a specific small wrench.
- A Bowl of Warm, Soapy Water: A little bit of dish soap works perfectly. This will help loosen packed-in dirt and grime.
- A Stiff-Bristled Brush: An old toothbrush or a vegetable brush is ideal for scrubbing the cleat receptacles clean.
- An Old Towel: Something to lay your shoes on and to wipe them down.
The Step-by-Step Guide to Changing Your Cleats
With your gear ready, set aside about 15-20 minutes. It's a simple task, but you shouldn't rush it. Doing it right ensures a secure fit that lasts.
Step 1: Get Your Shoes Clean
Before you even think about putting a wrench on the cleats, you need to clean the bottoms of your shoes. This is an important first step. Mud, sand, and dried grass can get packed into the locking mechanism, making the cleats much harder to remove. Use your stiff-bristled brush to aggressively knock out all the debris from around each spike until you can clearly see the base of the cleat and its connection to the shoe.
Step 2: Remove the Old Cleats
Time for demolition. Remember the classic workshop rule: righty-tighty, lefty-loosey. Take your cleat wrench and fit the two prongs securely into the corresponding holes on the spike.
Apply firm, steady downward pressure to keep the wrench seated, and then turn it counter-clockwise (to the left). You might feel a bit of resistance and then a "pop" as the lock disengages. Once it's loose, you should be able to unscrew it easily. Work your way around the shoe, removing every spike, and place them in a pile to be tossed.
Step 3: What to Do with a Stubborn, Stuck Cleat
It’s almost inevitable that you'll run into one or two cleats that refuse to cooperate. The slots might be packed with hardened dirt or the cleat itself might be worn down. Don’t panic, and definitely don't apply so much force that you break the tool or damage the shoe.
First, try soaking just that area of the shoe in your warm, soapy water for about 10 minutes. This often loosens the grime. After soaking, try the wrench again. If that fails, and the wrench keeps slipping, a pair of needle-nose pliers can be your best friend. Grab the body of the cleat firmly with the pliers and use them to get the turning leverage you need. Slowly and steadily, twist it to the left. This trick almost always works.
Step 4: Deep Clean the Receptacles
Once all the old cleats are out, you’ll see the empty threaded holes or receptacles. These are likely filled with more dirt and grime. This is where your old toothbrush comes in handy. Dip it in the soapy water and give each receptacle a thorough scrubbing. You want the threads to be perfectly clean. A clean receptacle allows the new cleat to lock in flush and securely, preventing it from wiggling loose or falling out later on the course.
Wipe the entire sole dry with your towel when you're done.
Step 5: Install the New Cleats
Now for the satisfying part. Take a new cleat and place it into one of the clean receptacles. Use your fingers to begin turning it clockwise (to the right) to ensure it's properly threaded and not cross-threaded. Once it's started, use your wrench to finish the job.
Turn it until it is snug. For locking systems like Fast Twist, you will typically feel and hear one or two loud clicks. That click is your confirmation that the cleat is fully locked. Do not continue to apply force after you hear the click - over-tightening can strip the plastic threads and damage the receptacle. Repeat the process for all the spikes.
Step 6: A Quick Final Check
After you've installed all the new cleats, give each one a quick final look. Make sure they are all sitting flush against the sole of the shoe and aren't crooked. If you have the time, put the shoes on and walk around on a soft surface (like carpet) for a minute to feel them underfoot. It’s always good to give them a quick once-over before you head to the first tee.
Final Thoughts
Taking a few minutes to change your golf cleats is a simple job that pays huge dividends in performance. Having a stable foundation allows you to swing with confidence and power knowing your feet won’t fail you, which is a feeling that translates directly into better, more consistent golf shots.
Building a dependable game is all about taking care of the fundamentals, both in your swing and with your gear. We built Caddie AI with that same philosophy in mind - to give you a reliable foundation on the course. While fresh cleats secure you to the ground, our app gives you that same confident feeling when standing over a tough shot or planning your way down a new hole. Instead of guessing about club selection or how to play a tricky lie, Caddie AI can analyze the situation for you, giving you a smart, simple strategy so you can commit fully to every swing.