Getting your Nike Air Max 270 golf shoes caked in mud, grass, and sand is a sign of a round well played. But letting that grime sit will do more than just make your gear look bad - it can impact performance and shorten the life of your favorite spikes. This guide will walk you through, step by step, the best way to clean your AM 270s safely, restoring their sharp looks and course-ready function without damaging the materials.
Why Bother with a Deep Clean?
You might be tempted to just knock the mud off and call it a day, but taking ten minutes to clean your shoes properly is one of the best investments you can make in your gear and your game. Think of it this way: these shoes aren't traditional leather spikes, they are modern athletic equipment designed with specific materials that need a bit of care.
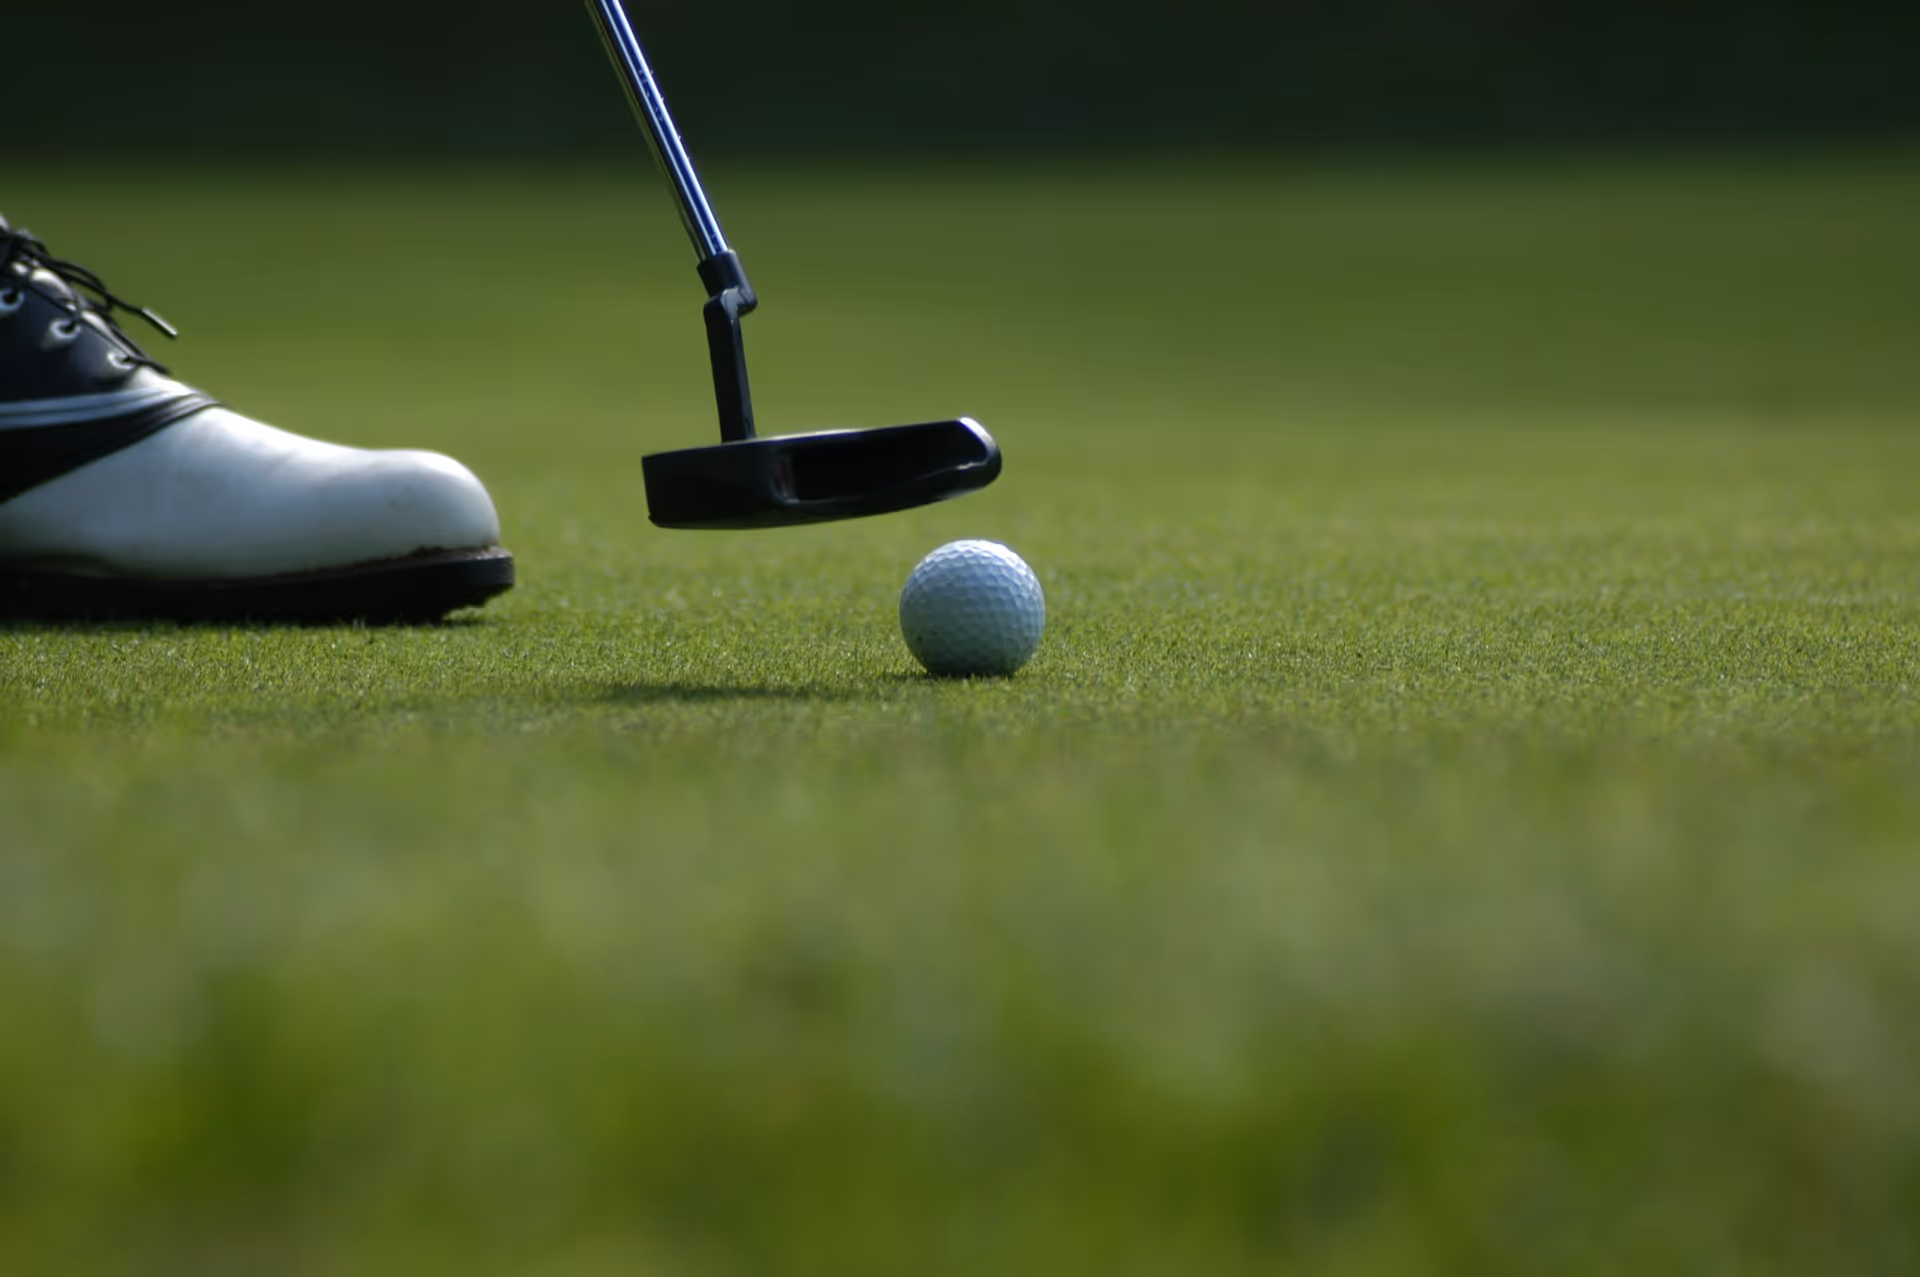
First, there's the performance aspect. The integrated traction pattern on the outsole of the 270s is designed to grip the turf, giving you a stable base for your swing. When those grooves get clogged with dried mud and matted grass, you lose a significant amount of grip and stability. A clean outsole is a grippy outsole. In golf, your connection to the ground is the foundation of power and consistency, so this isn't a small detail.
Next comes longevity. Dirt, sand, and chemical fertilizers from the course are abrasive. When left on the shoe’s upper, particularly in the flexible mesh areas, they create friction as you walk and swing. Over time, this microscopic sawing action will wear down the fibers and seams, leading to premature breakdown and tears. Similarly, moisture trapped by mud can weaken the adhesives that bond the sole to the upper.
Finally, you bought these golf shoes for their comfort and style. A major part of that is the iconic, large-volume Air Max unit and the sleek, synthetic upper. Keeping them clean not only preserves their visual appeal but also protects specialty features, like the waterproof overlay, ensuring they continue to do their job of keeping your feet dry.
Assemble Your Cleaning Arsenal
You don't need a professional cleaning lab to get your shoes back to factory-fresh condition. Most of the items you need are likely already around your house. Avoid harsh household cleaners or chemicals, as they can discolor or damage the delicate synthetic materials.
Here’s your simple, effective toolkit:
- Two or three microfiber cloths: One for washing, one for rinsing, and one for drying. Old towels work fine, too.
- A soft-bristle brush: An old toothbrush is perfect for this. It’s gentle enough for the mesh uppers but can still scrub the outsole effectively.
- Mild soap or detergent: A small amount of gentle laundry detergent or dish soap is ideal. You can also buy a specialized sneaker cleaner if you prefer.
- A basin or bowl of cool to lukewarm water: Never use hot water, as high temperatures can weaken the glue used in modern shoe construction and even deform some synthetic materials.
- Mr. Clean Magic Eraser (optional): This is your secret weapon for removing stubborn scuff marks from the white foam midsole.
- Shoe trees or newspaper: These are essential for the drying process to help the shoes hold their shape and absorb internal moisture.
- A golf tee or toothpick: For cleaning out impacted debris from the traction grooves.
A Quick Word on What NOT to Use
Stay far away from bleach, acetone-based cleaners, and any abrasive powders. And the most important rule of all: your washing machine and clothes dryer are off-limits. The aggressive tumbling and high heat will destroy your golf shoes, causing them to delaminate, shrink, and warp.
The Step-by-Step Guide to Cleaning Your Nike 270s
Follow this process, and your shoes will be clean, fresh, and ready for your next tee time. Patience, especially during the drying stage, is the most important part.
Step 1: Prep and Dry Brush
Before you introduce any water, get rid of all the loose, dry dirt. Find a spot outside or over a trash can and clap the shoes together sole-to-sole to knock off caked mud and grass. Remove the shoelaces and insoles, these will be cleaned separately. Then, take your dry, soft-bristle brush and give the entire shoe a thorough brushing, focusing on the outsole and the seams where dirt tends to accumulate. This initial dry brush will make the wet cleaning stage much easier and cleaner.
Step 2: Wash the Laces and Insoles
Don't forget these easily overlooked parts. To clean the laces, let them soak in your bowl of soapy water for about 10-15 minutes. After soaking, rub them between your hands, rinse with clean water, and squeeze out the excess moisture. To clean the insoles, avoid fully submerging them, as this can cause them to become waterlogged and deformed. Instead, dip a cloth in the soapy water, wring it out, and gently wipe down the surface of each insole. Set both the laces and insoles aside to air dry completely.
Step 3: Clean the Upper and Midsole
Now, let's tackle the main body of the shoe. Create your cleaning solution by adding a small amount of mild soap to your bowl of cool water. You just want some light suds, not a foam party.
- Dip your soft-bristle brush into the soapy water and gently scrub the mesh and synthetic parts of the upper. Use small, circular motions and apply light pressure. Be attentive on the mesh areas to avoid fraying the fabric.
- For the white foam midsole, the brush works well, but for stubborn scuffs - the Magic Eraser is your best friend. Lightly dampen the eraser and gently rub the marks. You’ll be stunned how easily they vanish.
- Pay special attention to the Air Max unit in the heel. Gently wipe it clean with a soapy microfiber cloth rather than scrubbing it with the brush.
- Once you've scrubbed everything, take a clean cloth, dip it in fresh water (without soap), and wipe down the entire shoe to remove any soap residue. This is an important step, as leftover soap can leave a sticky film that attracts more dirt later.
Step 4: Detail the Outsole
This is where the real grime lives. The outsole can handle more aggressive scrubbing, so feel free to apply a bit more elbow grease here. Use your brush and soapy water to scrub the entire traction pattern thoroughly. For the deep grooves and between the integrated spikes where mud gets compacted, use a golf tee or toothpick to carefully pick out the debris. A completely clean outsole will give you the rotational grip the shoe was designed to provide.
Step 5: The All-Important Drying Stage
How you dry your shoes is just as important as how you clean them. Stuff the inside of each shoe with balled-up newspaper or, even better, slide in a pair of cedar shoe trees. This helps absorb moisture from the inside and, most importantly, helps the shoe maintain its proper shape as it dries. Once stuffed, find a well-ventilated spot at room temperature and let them air dry naturally.
This may take 8 to 12 hours, or even longer depending on the humidity. Be patient. Under no circumstances should you try to speed up the process by placing them near a heater, fireplace, in a dryer, or in direct sunlight. This kind of intense, direct heat is the fastest way to ruin your shoes.
Final Thoughts
Keeping your Nike Air Max 270 golf shoes in top condition is a straightforward process that pays off big time in both aesthetics and on-course performance. A little bit of gentle care after a few rounds preserves their look, protects their technology, and extends their lifespan, helping you get the most out of your investment.
And while proper gear maintenance handles one part of the game, having the right information in the moment handles another. If you find your newly cleaned shoes in a tricky spot - like a muddy lie in the deep rough with a tree blocking your path - it can be tough to know the right play. For those moments of on-course uncertainty, Caddie AI acts as your personal strategist. You can snap a photo of your ball's lie, and the app will instantly give you smart, simple advice on the best shot to play, helping you turn a potential disaster into a confident recovery.