Building your own golf hitting mat is one of the smartest investments you can make for your game, giving you a dedicated spot to groove your swing right at home. However, making a mat that feels right and, more importantly, doesn’t cause injury, requires a bit of know-how. This guide will walk you through everything you need to know, from the essential components to step-by-step instructions for a couple of different project levels, so you can build a practice station that truly helps you improve.
Why Build Your Own Hitting Mat?
You can certainly go online and buy a pre-made hitting mat, and some of them are excellent. But there are real satisfaction and tangible benefits to building your own. First, it’s often more cost-effective. You can build a tour-quality surface for a fraction of the price of a high-end commercial mat. Second, you get to customize it. You can build it to the exact size you need for your space and even create a mat with replaceable hitting strips for long-term use.
From a coaching perspective, the process of building a mat teaches you what makes a good hitting surface. You learn how different materials absorb impact and how turf interaction really works. You develop an appreciation for a surface that allows you to hit down on the ball without punishing your body. This awareness is incredibly valuable, as the surface you practice on has a huge impact on your swing habits and your physical well-being. Hitting off a surface that’s too hard is like practicing on concrete - it’s hard on your joints and teaches bad swing mechanics like "scooping" the ball to avoid pain. A proper mat has layers that work together to mimic the feel of taking a healthy divot from real grass.
Understanding the Anatomy of a Great Hitting Mat
A quality hitting mat isn’t just a square of artificial turf glued to a piece of wood. The cushion layer is what gives the mat its "give," absorbing the energy of the club at impact and preventing jarring shocks to your wrists, elbows, and shoulders. Hitting a thousand balls off a hard surface is a recipe for tendinitis, but a good cushion layer lets you practice for hours.
The Base Layer: Your Foundation
The base provides stability and is the literal foundation of your mat. It needs to be heavy enough not to move during your swing and rigid enough to support the other layers. A solid piece of ¾-inch plywood is a great, accessible option. For something heavier and more durable, a heavy-duty rubber horse stall mat works brilliantly as a stand-alone base.
- Good: ¾" Plywood (3'x4' or 4'x5' is a good size to start).
- Better: Heavy-duty rubber horse stall mat (available at farm supply stores). These are dense, shock-absorbing, and heavy enough that they won’t slide around.
The Cushion Layer: Saving Your Joints
This is the most critical component for preventing injury. The cushion layer is what gives the mat its "give," absorbing the energy of the club at impact and preventing jarring shocks to your wrists, elbows, and shoulders. Hitting a thousand balls off a hard surface is a recipe for tendinitis, but a good cushion layer lets you practice for hours.
- Good: Interlocking gym floor tiles or closed-cell foam pads. These provide a simple and effective layer of cushioning.
- Better: A thick, dense rubber horse stall mat (if used as the base) often provides enough cushioning on its own. The combination of density and flexibility is what makes them so popular for this application.
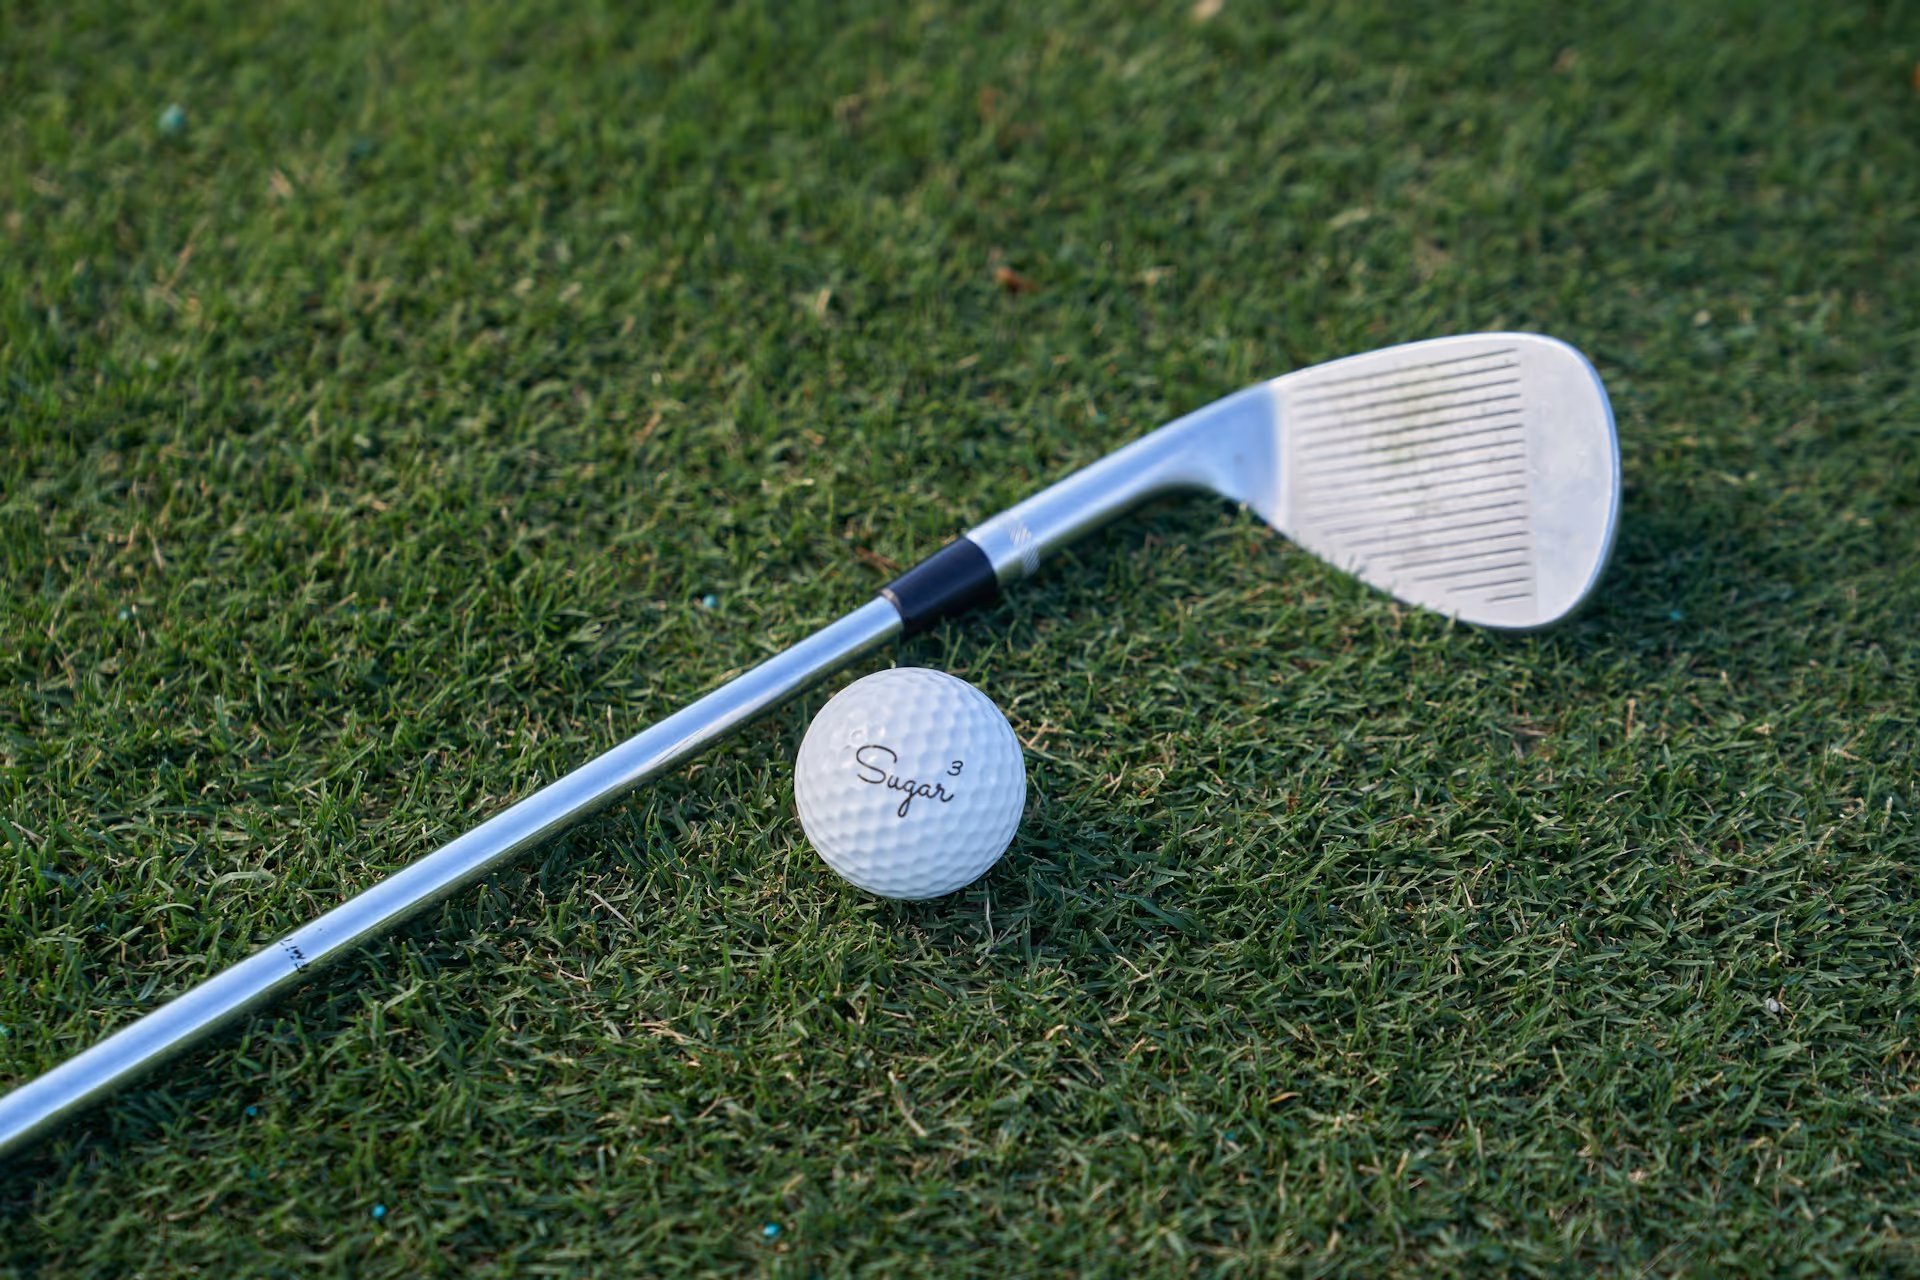
The Hitting Surface: The Turf
This is the part your club actually touches. The goal is to find artificial turf that is durable and has a pile density that feels realistic. Cheap, thin turf will wear out in a matter of weeks and doesn’t give you good feedback. Look for a dense, high-quality nylon turf, which is what most commercial ranges use.
- Good: High-quality, dense artificial turf from a home improvement store. Look for turf with a short, dense pile.
- Better: A dedicated golf hitting mat insert or strip. These are small rectangles (e.g., 1'x2') of premium nylon turf made specifically for taking golf shots. Building one of these into your mat gives you a phenomenal hitting surface that you can also replace when it eventually wears out.
The "Quick & Simple" Hitting Mat Project
This method is great for getting started. It provides a solid, comfortable hitting station that is miles better than hitting off carpet or a cheap, thin mat. You can get most of these materials at a local hardware store.
Materials & Tools List
- One piece of ¾-inch plywood, cut to your desired size (a 3'x4' piece is a good start).
- One or more interlocking foam gym floor tiles to cover the plywood.
- One piece of high-quality artificial turf large enough to cover the mat surface with a little overhang.
- Strong construction adhesive (e.g., Liquid Nails, PL Premium).
- Heavy-duty staple gun with 1/2" staples, or pan-head screws and a drill.
- Utility knife.
Step-by-Step Instructions
- Construct the Base: Lay your plywood on a flat work surface. If you want a handle for easier transport, now is the time to drill a couple of holes and knot a piece of thick rope through them.
- Add the Cushion: Apply a generous amount of construction adhesive to the top of the plywood in a winding S-pattern. Carefully place your foam gym tiles onto the adhesive, making sure the edges are tight against each other if you're using more than one. Press down firmly and place some weight on top (books, toolboxes, etc.) while it dries.
- Attach the Turf: Once the cushion layer is secure, repeat the process. Apply adhesive to the top of the foam tiles. Lay the artificial turf over the top, starting from one end and smoothing it out as you go to remove any air bubbles.
- Secure the Edges: After the adhesive has had time to cure (check the product label), flip the mat over. Wrap the excess turf around the edges and pull it tight. Use a staple gun or short screws with washers to secure the turf to the underside of the plywood. This keeps the turf from peeling up. Trim any excess with a utility knife.
- Let It Cure: Give the entire mat a full 24 hours for the adhesive to completely cure before you start hitting off of it.
Remember, this mat will be elevated. You'll want to stand on another mat or platform of similar height to ensure your feet and the ball are on the same level. This prevents you from ingraining compensations in your swing setup.
The "Range Quality" Hitting Mat Project
This is the go-to method for serious golfers who want a durable, long-lasting mat with a premium feel. Using a heavy horse stall mat as the base and a replaceable insert for the hitting area is the professional standard for DIY setups.
Materials & Tools List
- One heavy-duty rubber horse stall mat (4'x6' is a common and excellent size).
- One premium nylon golf hitting strip/insert (typically 1'x2' or similar).
- Strong straight edge (like a long metal ruler or level).
- Sharp utility knife with plenty of extra blades (you will go through them).
- Construction adhesive.
Step-by-Step Instructions
- Prepare the Base: Place your horse stall mat on a flat surface you don’t mind scratching (like a piece of scrap plywood on the garage floor). Decide where you want your hitting area. Most people center it, leaving plenty of room for their stance on either side (for both right-handed and left-handed use).
- Trace the Opening: Place your turf insert on the horse stall mat where you want it to go. Using your straight edge, carefully trace the outline of the insert onto the rubber mat. Be precise - a tight fit is paramount.
- Cut the Recess: This is the toughest part of the job. Using your sharp utility knife and straight edge, begin cutting along the traced lines. Do not try to cut all the way through the rubber in one pass. It's too thick and tough. Instead, make multiple scoring passes, going a little deeper each time. Changing blades frequently will make the work much easier. Take your time and be safe. Once you’ve cut all four sides, the rubber piece should pop out.
- Set the Insert: Test fit your hitting insert. It should be snug. Once you're happy with the fit, remove the insert, apply a bead of construction adhesive along the bottom edges of the cutout in the horse stall mat, and then firmly press the insert into place. Wipe away any excess adhesive that squeezes out.
- Level and Cure: Place a flat, heavy object over the insert to weigh it down and ensure a good bond as the adhesive cures over the next 24 hours. The brilliant part about this design is that if you ever wear out your hitting strip after thousands of shots, you can simply pry it out and drop in a new one without rebuilding the entire mat.
Final Thoughts
Creating a DIY hitting mat is a rewarding project that directly contributes to your ability to practice effectively at home. Whether you opt for a simple plywood build or a more robust horse stall mat design, the key is focusing on the layers - a stable base, a forgiving cushion, and a durable turf - to get a surface that performs well and keeps you safe.
Once you have your perfect practice station, the next question is what to work on. Grinding out swings is one thing, but practicing with a purpose is another. If you're ever looking for drills to use on your new mat, need to understand the difference between a chip and a pitch, or want some clear advice on your swing, that's where I can help. Using Caddie AI is like having a golf coach in your pocket, ready to give you the simple feedback you need to turn all that practice into real on-course improvement.