So you’re teeing it up at the Black Diamond Ranch. This isn't just another round of golf, it’s an adventure carved out of a limestone quarry that tests every club in your bag and every ounce of your nerve. We’re here to give you a smart, straightforward game plan to navigate Tom Fazio's masterpiece. This guide will walk you through the famous Quarry holes and provide an overall strategy to help you play with confidence, not intimidation.
First, Know the Terrain: The Three Nines
Black Diamond is comprised of three distinct nines, each with its own character. Your round will likely be a combination of two of them, and knowing what to expect is step one. While all are spectacular, the Quarry Course is the one people travel the world to play. The other two nines are:
- The Ranch Course: This one feels more like a classic Florida course, though with more dramatic slopes and towering pines. It’s open and scenic, moving through fields and meadows. Don't be fooled by its beauty, the green complexes are challenging and require precise approach shots.
- The Highlands Course: A shorter, more rugged nine that weaves through native vegetation. It has some dramatic elevation changes and a different feel from the other two. It's a fantastic test of your iron game and course management skills.
But let's be honest, you came here for the main event. You came for the Quarry.
Conquering the Quarry: Your Hole-by-Hole Game Plan
The star of the show at Black Diamond is the five-hole finishing stretch on the Quarry nine, holes 13 through 17. These holes are carved directly from the remnants of an 80-foot deep limestone quarry. They are visually stunning, strategically demanding, and some of the most memorable holes you will ever play. Let’s break down how to attack them without letting them attack you.
Hole 13: The Opening Act (Par 3, approx. 185 yards)
Your journey into the quarry begins with this brilliant par 3. The tee is elevated, playing down to a wide-but-shallow green. The backdrop is the sheer 80-foot rock wall of the quarry, and the green is guarded by bunkers and a steep fall-off to the right.
The Coach's Advice: The elevation change here is key. It will play about one club less than the yardage, but don't get greedy. The biggest mistake is going for a pin tucked on the right side. The safe play is always the center of the green. A shot that lands in the middle of this green, leaving you a 30-foot putt, is a huge win. Take a smooth, balanced swing and trust the club. A fearful, jabby swing will almost always end up short or right in the trouble.
Hole 14: The Forced-Carry Test (Par 4, approx. 375 yards)
You’ll step onto this tee, look across a massive expanse of the quarry, and feel your palms start to sweat. This dogleg right requires a tee shot that carries over the chasm to a fairway that slopes from left to right. It's a dramatic hero shot.
The Coach's Advice: Commitment is everything here. Don't try to bite off more than you can chew. Choose a club (for many, it’s a 3-wood or hybrid) that you know you can carry about 200-220 yards comfortably. The aiming point is the left side of the fairway or even the left-center. The slope will work the ball back toward the middle. Trying to cut the corner on the right brings the quarry wall into play and is a very low-percentage shot. Once you pick your line, take a deep breath and make a confident swing. A solid tee shot here sets you up for a short iron into a receptive green.
Hole 15: The Double-Dare (Par 4, approx. 420 yards)
If you thought 14 was intimidating, well, welcome to 15. This is a longer, more difficult version of the previous hero shot. From another elevated tee, you face another long carry over the quarry to a fairway that angles away from you from left to right. There is more room out to the left than you can see from the tee.
The Coach's Advice: This hole demands your best drive of the day. For most players, driver is the right call. Again, err on the side of caution and aim up the left half of the fairway. The bail-out area to the left is massive. A block or slice to the right is gone forever. This is where your pre-shot routine is so important. Visualize the shot, feel the swing you want to make, and let it go. Trying to "steer" this shot is the worst thing you can do. The approach shot plays into a large green, but you'll likely have a mid to long iron in your hands, so par is a fantastic score.
Hole 16: The Strategic Marathon (Par 5, approx. 520 yards)
After two nerve-wracking tee shots, Fazio gives you a bit of a reprieve… visually, at least. This par 5 plays along the rim of the quarry, which runs all down the left side. The fairway is generous, but the hole slowly tightens as you get closer to the green.
The Coach's Advice: Think of this as a three-shot chess match. Don't even think about going for it in two unless you are a scratch golfer hitting the ball perfectly.
- Tee Shot: Aim for the right-center of the fairway. This takes the quarry out of play and gives you the best angle for your second shot.
- Lay-up Shot: The goal here is to hit to your favorite wedge distance. A shot of about 150-175 yards will leave you with a straightforward third into the green. Again, favor the right side, as anything pulled left could find the slope and kick down toward the quarry edge.
- Approach Shot: From your ideal lay-up spot, you'll have a scoring club into a green that's well-bunkered. This is your chance to be aggressive and make a birdie.
Hole 17: The Crown Jewel (Par 3, approx. 180 yards)
Get your camera ready. This is one of the most famous and photographed Par 3s in golf. The tee is perched on the quarry's highest point, and the green is set down at the bottom, an 80-foot drop below. It’s surrounded by rock walls, sand, and danger. The wind swirls down here, making club selection a puzzle.
The Coach's Advice: Whatever a yardage book or GPS tells you, the shot will likely play 2 to 3 clubs less due to the severe drop. If a normal 180-yard shot is a 5-iron, you might be hitting a 7 or even an 8-iron here. The key is to watch the flagstick and throw a piece of grass up to feel the wind, which can be totally different on the tee than it is at the green. The green is actually quite large, so the smart play is to disregard the pin and aim for the dead center. Just pick your club, trust the yardage adjustment, and put a smooth, easy swing on it. Let gravity do the work and enjoy the view as your ball hangs in the air.
Your Pro's Notebook: General Tips for Surviving Black Diamond
Beyond the famous quarry holes, here are a few things to keep in mind for your entire round.
Managing Tom Fazio Designs
Tom Fazio is known for designing courses that look harder than they play. His fairways are often generous, but his greens are protected like fortresses. Don’t be a "pin-seeker." Aiming for the fat, middle part of the green will leave you with a lot of birdie putts and prevent the big numbers that come from short-siding yourself in a deep bunker.
Playing From Uneven Lies
Black Diamond is far from flat. You will face countless shots from uneven stances - ball above your feet, below your feet, uphill, and downhill lies. The fundamental adjustment here is to get your setup right. On a side-slope, try to match the tilt of your shoulders to the tilt of the hill. On an uphill or downhill lie, do the same. This allows you to swing with the slope, not against it, which is the secret to solid contact. Just like your basic setup, a good athletic posture with a stable base is the foundation for success here.
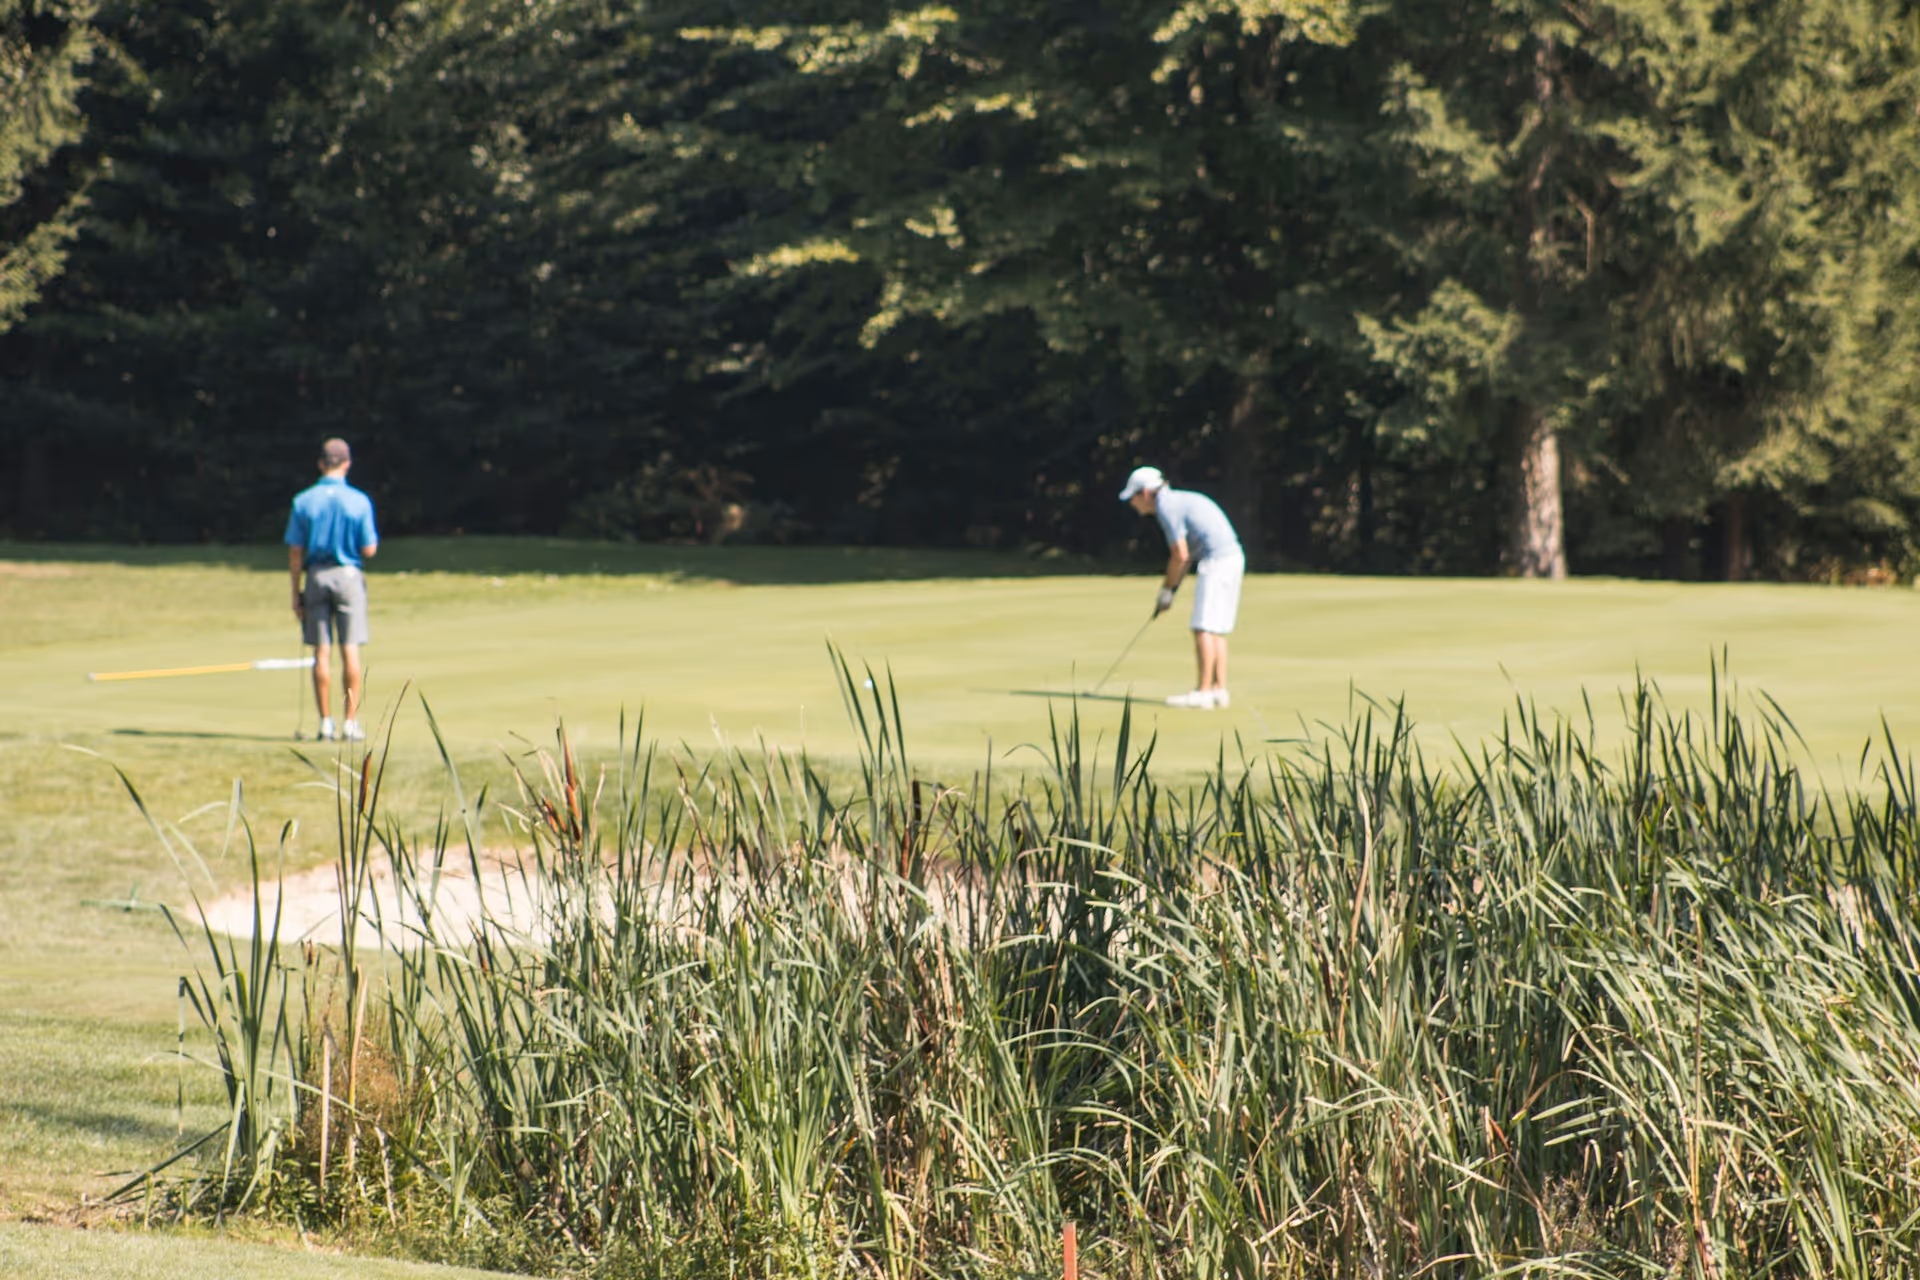
Mastering The Greens
The putting surfaces are typically quick and have a lot of subtle, hard-to-read slopes. Spend time on the practice green before your round to get a feel for the speed. When reading putts, take a look from behind the hole as well. This often reveals a break you might not see from behind the ball. Your primary goal should be speed control. Focusing on getting your first putt to within a three-foot circle of the hole will eliminate those frustrating three-putts.
Final Thoughts
Playing Black Diamond is a test of every part of your game, from powerful drives over the quarry to delicate putts on slick greens. By having a good game plan for the signature holes and playing smart, disciplined golf on the rest, you can post a score you're proud of and create some truly unforgettable memories.
Walking a complex course like this is where having a reliable strategy in your head is so valuable. We built Caddie AI to be that trusted partner in your pocket for exactly these situations. When you're standing on the 14th tee debating the right line, or you find your ball on a tricky sidehill lie and feel unsure about club choice, you can get instant, expert advice. It removes the guesswork so you can step up to every single shot with clarity and confidence, allowing you to fully commit to your swing.