Your connection to the ground is the bedrock of your golf swing, and swapping out worn-down shoe spikes is one of the easiest, most affordable ways to restore the traction you need for a powerful, balanced swing. This guide will walk you through exactly when your shoes need attention, what you'll need for the job, and the step-by-step process for resoling them like a pro. Forget slipping on wet turf, let's get you locked in and confident on every shot.
Why Bother Resoling Your Golf Shoes?
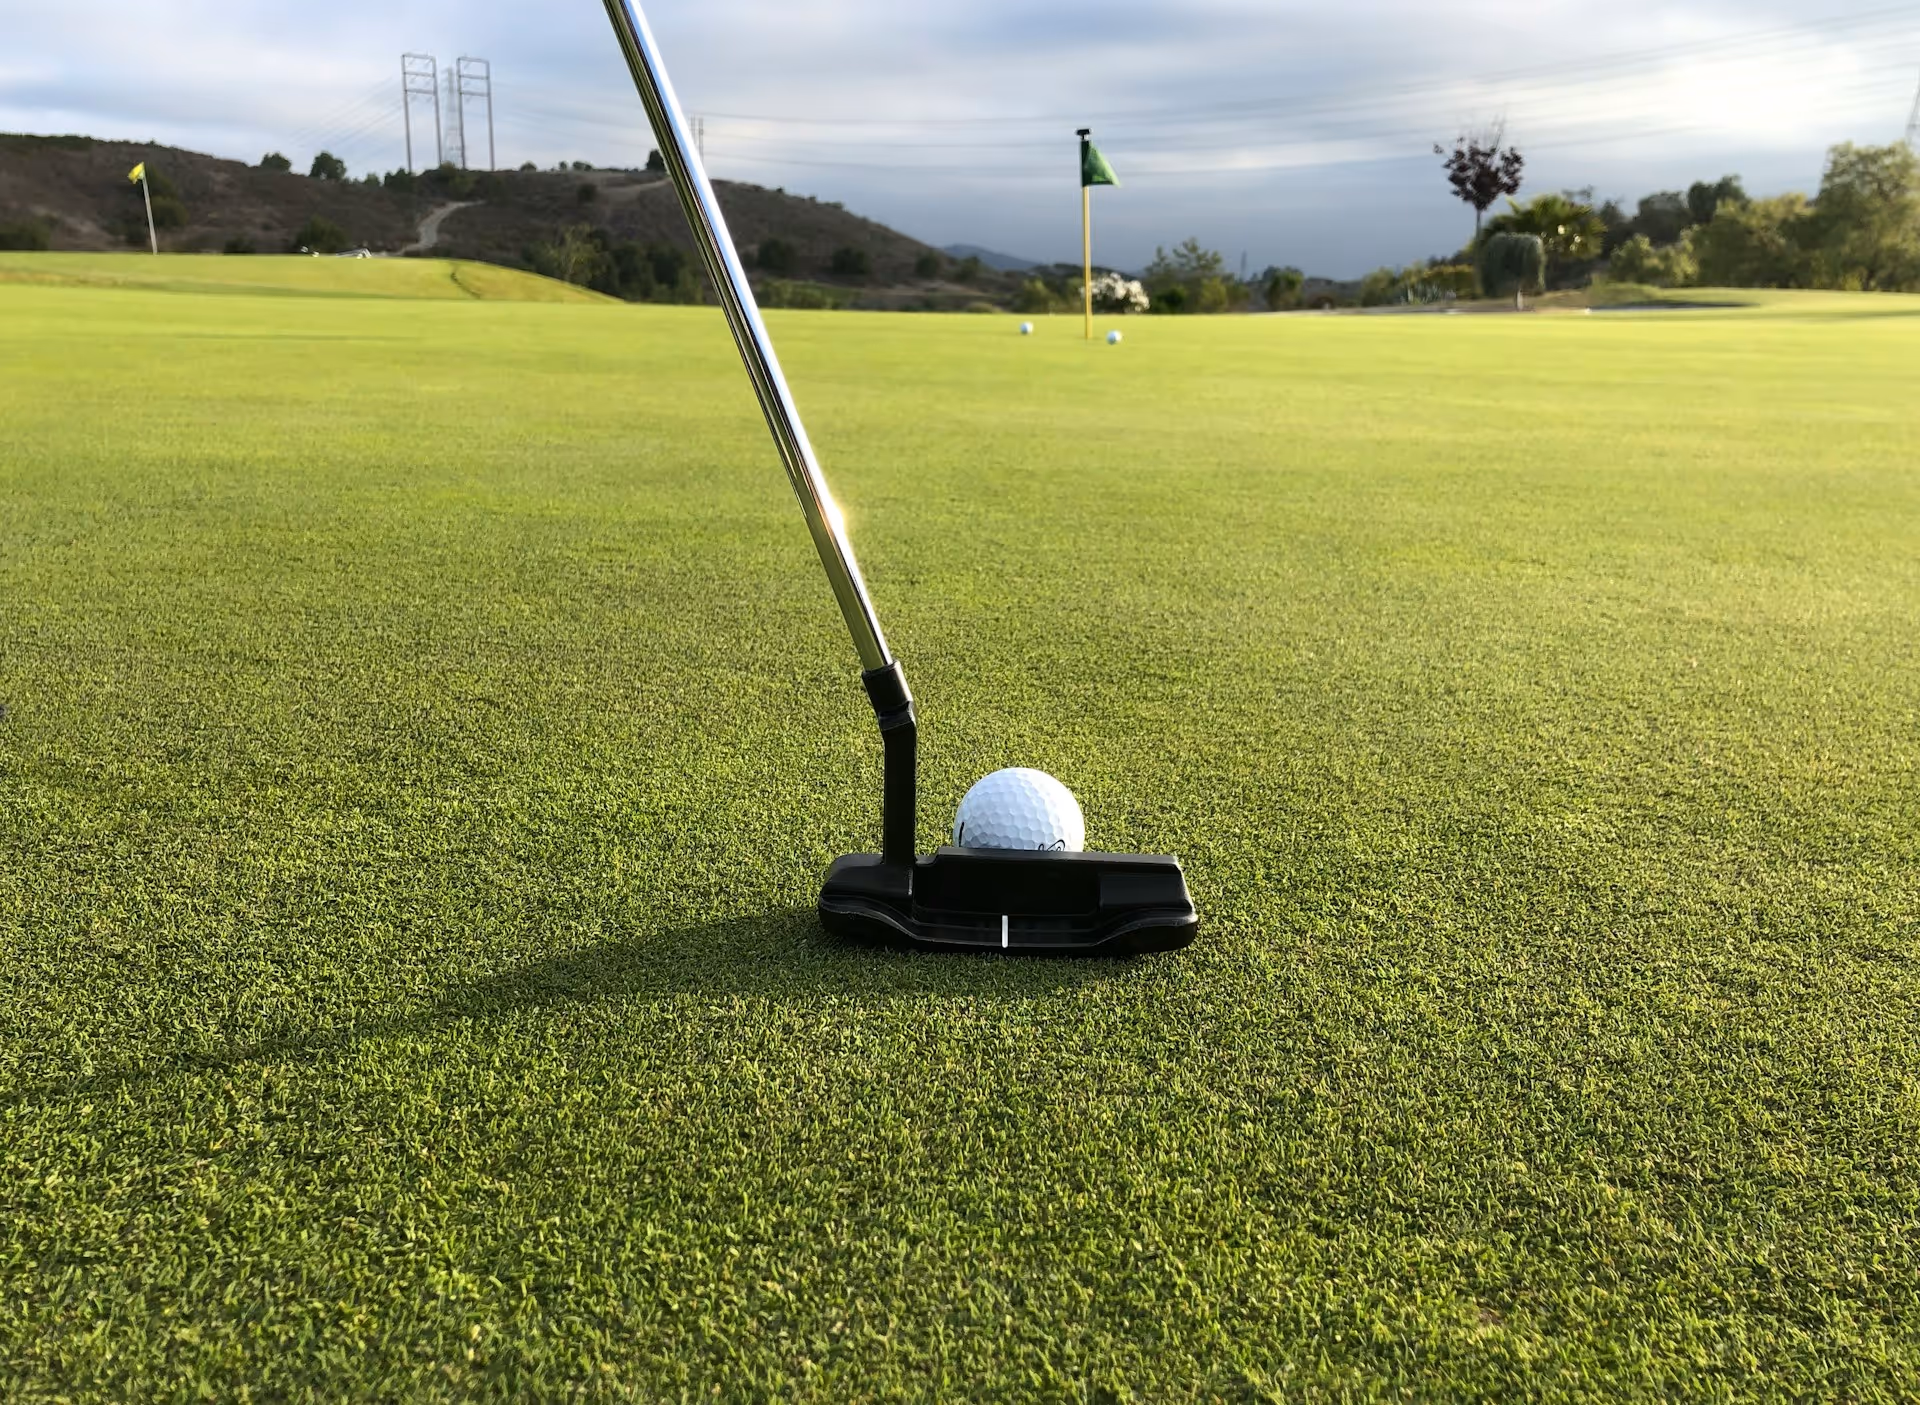
I see a lot of golfers spend thousands on new clubs but completely overlook the one piece of equipment connecting them to the earth: their shoes. Think about it. We talked in The Complete Golf Swing Guide about how the swing is a powerful rotational action, turning your hips and shoulders to create speed. A stable base isn't just a suggestion, it's a requirement for transferring that energy efficiently into the golf ball.
When your spikes are worn, your feet can slip and slide, even if it’s just a little. That subtle instability forces your body to make compensations to stay balanced, robbing you of power and consistency. Fresh spikes dig into the turf, giving you a firm, anchored foundation. This allows you to rotate with force and aggression through the ball, knowing your footing won’t give out.
Beyond performance, there are two other big benefits:
- Safety: A wet day on a hilly course can be treacherous with bad spikes. Maintaining solid traction prevents unnecessary slips and a potential injury that could keep you off the course for weeks.
- Cost-Effectiveness: A brand new pair of premium golf shoes can cost upwards of $200. A set of replacement spikes? Around $15-$25. If the uppers, midsole, and waterproofing on your shoes are still in good condition, resoling is a smart financial decision that extends the life of your favorite pair. There's no reason to throw away perfectly good shoes just because the traction is gone.
The Telltale Signs: When to Resole?
So, how do you know when it’s time for a change? You don’t have to wait until you take a spill on the 4th fairway. Your shoes will give you several clues that their gripping power is fading.
Visual Inspection is Your First Check
This is the most obvious one. Turn your shoes over and take a hard look at the spikes. A new spike has sharp, defined "legs" or gripping points. Over time, these points become rounded, flat, or even shear off completely. If your soft spikes are starting to look more like smooth nubs than traction-hungry claws, it’s time.
Also, check for any discoloration. Many modern spikes have a built-in wear indicator - often a colored dot or symbol in the center. Once that indicator becomes visible or begins to wear away, the manufacturer is telling you that the spike has reached the end of its useful life.
You Feel it on the Course
Your performance and feel are often the best indicators. Start paying attention to your footing in these situations:
- During the swing: Do you feel your back foot slip slightly as you transition and start your downswing? This is a massive power leak and a huge red flag.
- On sidehill lies: When you’re addressing a ball that’s above or below your feet, do you feel less “locked in” than you used to? Your shoes should give you the confidence to make a normal swing on an awkward lie without fear of sliding.
- Walking in wet conditions: If you find yourself tensing up and walking extra carefully on dewy morning grass or after a rain shower, your spikes aren't doing their job. Fresh spikes should make you feel almost as secure on wet turf as you do on dry.
A General Rule of Thumb
While visual and physical cues are best, a good guideline is to replace your spikes every 15 to 20 rounds. This number can change based on a few factors. If you play frequently in wet, soft conditions, your spikes will wear down slower. If you often walk across cart paths, parking lots, or other hard surfaces in your golf shoes (which you should try to avoid!), they will wear out much faster. If you practice a lot on mats, that will also grind them down quickly. Get in the habit of cleaning your shoes after every round and giving the spikes a quick once-over.
Gathering Your Tools for the Job
This is a quick and easy job, and you only need a few simple items. Having everything ready beforehand will make the process go smoothly.
- Replacement Spikes: The most important item! We'll cover how to choose the right ones in the next section.
- Spike Wrench: This is an essential tool. It’s typically a handle with two metal prongs that fit into the holes on the spike for leverage. Most are standard, but some brands have proprietary designs. Often, a new pack of spikes will come with a basic wrench.
- Wire Brush: A stiff brush (like a grill brush or a heavy-duty scrub brush) is perfect for cleaning out dirt and debris from the soles.
- Pliers (Optional but Recommended): A pair of needle-nose or standard pliers comes in handy for grabbing really stubborn or broken spikes.
- Soap and Water: For a final cleaning of the spike receptacles once the old cleats are out.
- A Towel: For drying the shoes after cleaning.
How to Resole Golf Shoes: A Step-by-Step Guide
Alright, you’ve got your tools and your new spikes. Let's get to it. The entire process shouldn't take you more than 15-20 minutes.
Step 1: Deep Clean the Soles
Before you even think about putting a wrench on the spikes, you need to thoroughly clean the bottom of your shoes. Over a round, the sole and spike receptacles get packed with dirt, sand, and clipped grass. If you don't clean this out, you won't be able to get a good grip with your wrench, making the removal process much harder. Use your wire brush and some soapy water to scrub away all the grime. Pay special attention to the area immediately around each spike. Rinse them off and dry them with your towel.
Step 2: Remove the Old Spikes
This is where the real work begins. Take your spike wrench and firmly insert the two prongs into the corresponding holes on a spike. With a firm grip on the shoe, turn the wrench counter-clockwise (lefty-loosey). You might need to apply a bit of force to break the initial seal, especially if they haven't been changed in a while. Once it breaks free, it should unscrew easily.
Troubleshooting Stubborn Spikes: If a spike just won’t budge, don’t force it so hard you break the wrench or the receptacle. First, double-check that you’ve cleaned out all the debris. If it’s clean and still stuck, a shot of WD-40 or similar lubricating spray can help loosen old threads. If the holes on the spike are stripped or broken, this is where your pliers become a lifesaver. Grab onto whatever remains of the spike and twist it out counter-clockwise.
Step 3: Clean the Empty Receptacles
With all the old spikes removed, you’ll see the threaded receptacles where the new ones will go. These are often filled with muck. Take your wire brush (or even a golf tee or Q-tip) and meticulously clean out these threads. This step is incredibly important. Clean threads ensure your new spikes will screw in flush, seat properly, and create a tight, waterproof seal. Any leftover dirt can prevent the spike from tightening all the way, causing it to fall out on the course later.
Step 4: Install the New Spikes
Now for the satisfying part. Grab a new spike and place it into a clean receptacle. Begin tightening it by hand, turning it clockwise (righty-tighty) to make sure it’s threading in correctly and not cross-threading. Once it's hand-tight, insert your wrench and continue to tighten it.
Most modern spike systems, like the popular Fast-Twist 3.0, have a built-in torque mechanism. As you tighten it, you’ll hear and feel it "click" twice. That’s your signal to stop. The first click means it's secure, and the second click means it’s fully locked in. Over-tightening past the second click can strip the threads or damage the spike.
Step 5: The Final Inspection
Once all the new spikes are installed, give each one a quick visual check and a little wiggle to make sure they are all tight and secure. Your shoes now have brand-new grip and are ready for the course. It’s a great feeling!
Choosing the Right Replacement Spikes
It used to be a little confusing, but these days the spike systems have become much more standardized. However, you still need to make sure you get the right kind for your specific shoes. You can’t put a Ford engine in a Honda, and you can't put PINS spikes in a Fast-Twist receptacle.
There are a handful of common systems on the market:
- Fast-Twist 3.0 (and legacy Tour-Lock/Fast-Twist): This is the most common system used today by major brands like FootJoy and Callaway.
- PINS (Performance INSErt System): Used by many brands like Adidas and Puma, known for its lower-profile design.
- Q-LOK: Another system you might see on brands like older Nike or some Ecco models.
So how do you know what you have? The easiest way is to look at one of the old spikes you removed. Often, the attachment system name is printed right on it. If not, go to the website of your shoe manufacturer (e.g., footjoy.com) and look up your shoe model - it will specify the required cleat system. Sites like softspikes.com also have helpful "Cleat Replacement Guides" where you can input your shoe to find out what you need.
Final Thoughts
Maintaining your golf shoes by swapping out a fresh set of spikes is a simple task that pays huge dividends in performance, confidence, and safety. A solid, stable base is the foundation for a powerful and repeatable golf swing, and spending 20 minutes on this easy fix will make a noticeable difference in your connection to the ground.
Developing that stable foundation is just as critical for your course strategy as it is for your footwear. When you have a smart, simple game plan for a hole, the uncertainty disappears, which lets you swing with complete confidence. To help golfers get that same level of confidence in the tricky situations on the course, I built Caddie AI. If you're ever stuck between clubs, facing a strange lie, or just aren't sure on the strategy for a tee shot, our instant, on-demand coach is there to give you the expert advice you need to feel in complete, confident control of your game.