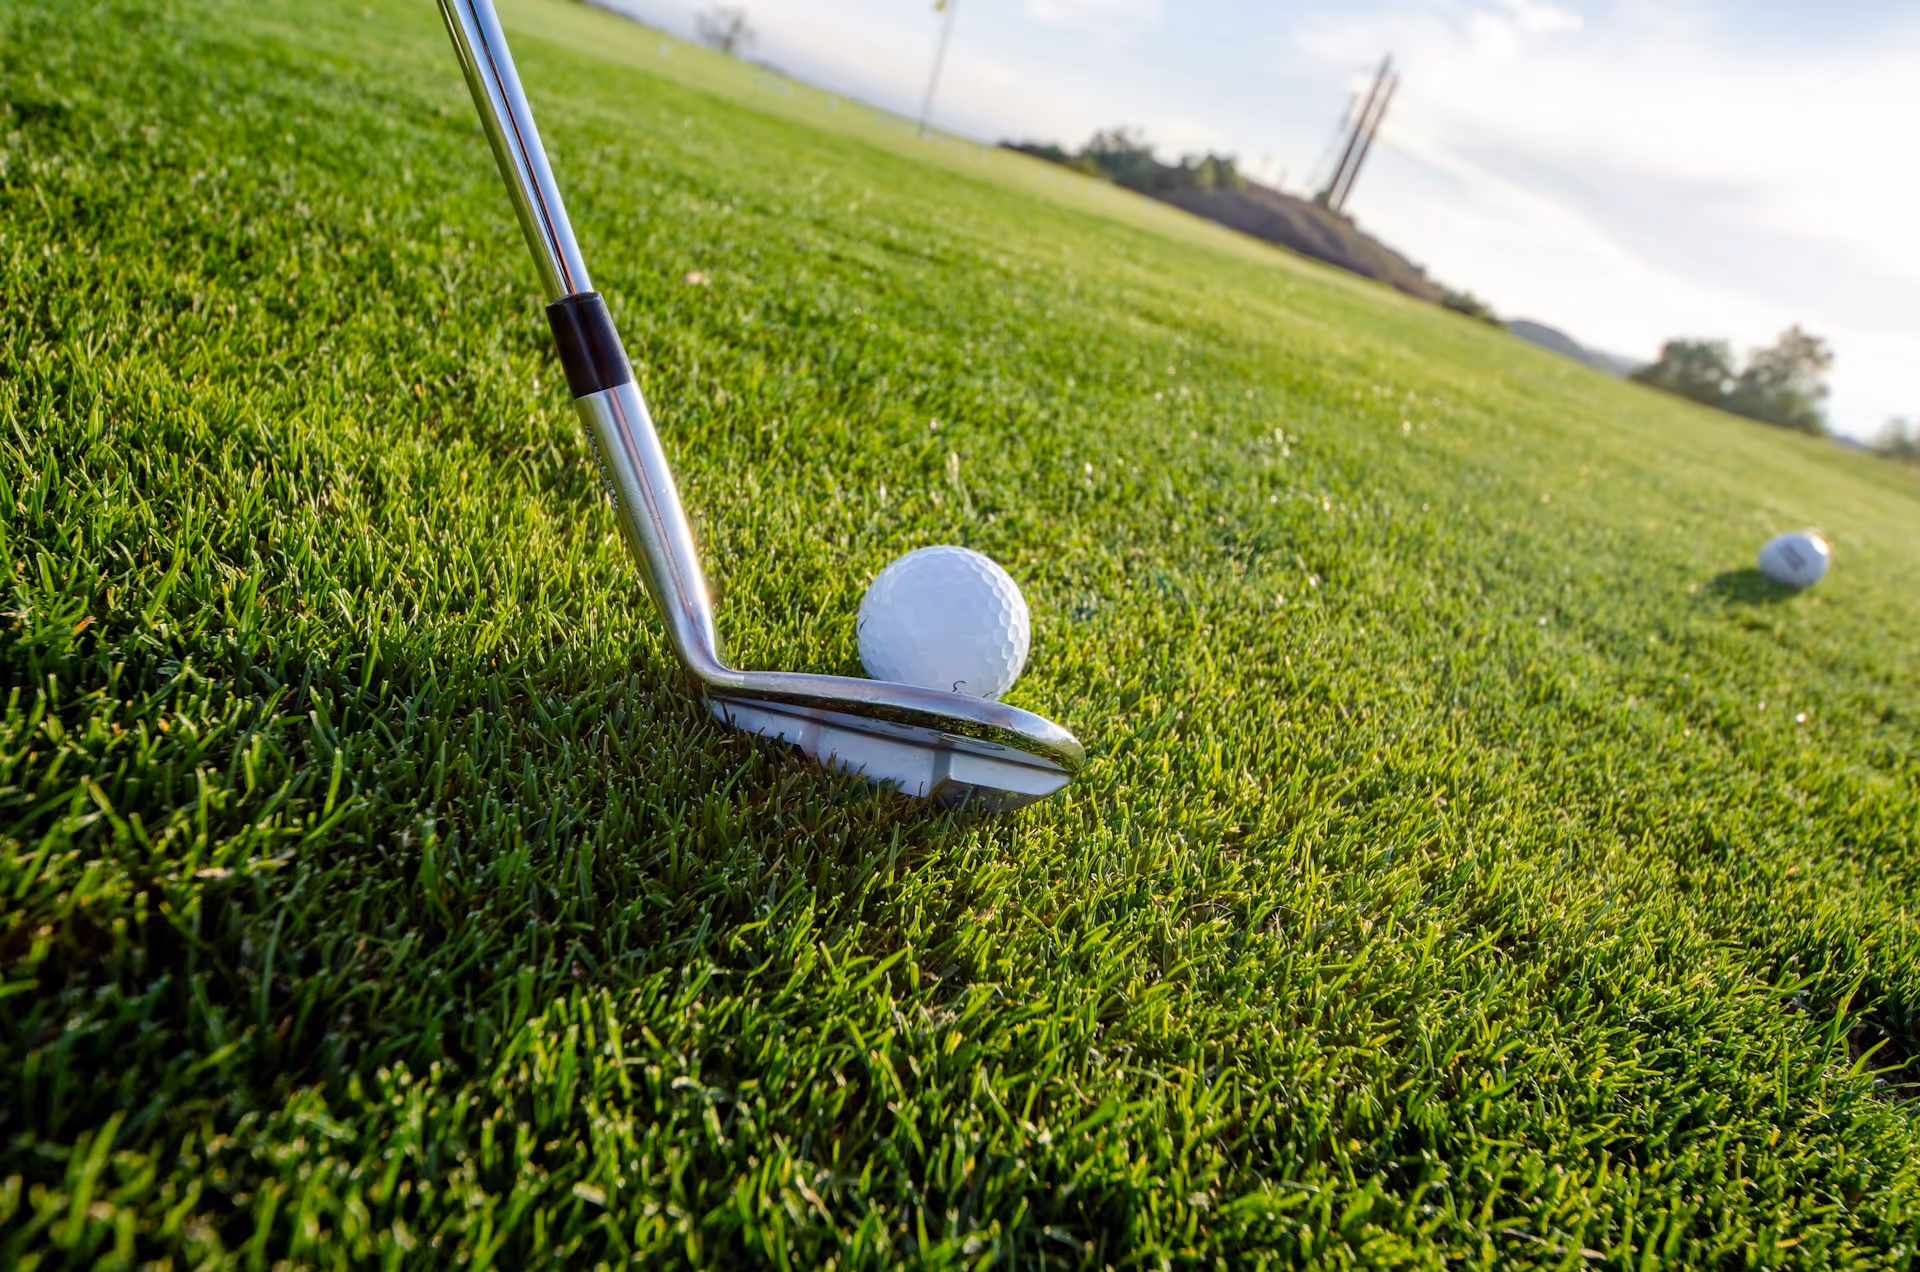
Finding a neglected bucket of golf balls in your garage or stumbling upon a few premium models by a water hazard can feel like a small victory. But what’s the next step? Don’t just toss them in your shag bag, with a little bit of effort, you can transform these dirty, worn-out spheres into genuinely playable golf balls. This guide will walk you through exactly how to restore golf balls, from giving them a tour-level deep clean to handling minor scuffs, so you can know which ones are ready for your next round.
Why Bother Restoring Golf Balls?
First off, why should you even spend time on this? Beyond the obvious benefit of saving money - a restored premium ball is far cheaper than a new one - there are two other great reasons. The first is performance. A golf ball's dimples are engineered for perfect aerodynamics. When they are caked with mud or scratched up, that design is compromised, leading to inconsistent flight. A clean ball simply flies truer. Secondly, there’s genuine satisfaction in bringing gear back to life. It’s a sustainable approach to the game and connects you a little more deeply to the equipment you use.
Sorting and Assessment: What to Keep and What to Toss
Before you start scrubbing, you need to play "golf ball triage." Not every found ball is a candidate for restoration. Instead, sort them into three categories so you know where to focus your energy.
Category 1: Good to Go (Minor Cleaning Needed)
These are your prime candidates. They might have light dirt, grass stains, or faint marker lines, but the cover is still in great shape. There are no significant scuffs or discoloration. You can pretty much count on these being ready for competitive play after a simple, thorough cleaning.
Category 2: The "Maybe" Pile (More Effort Required)
These balls need a little more love. This category includes lake balls that have been submerged and might be slightly discolored, or balls with very minor "cart path rash" - light abrasions that haven't broken through the urethane cover. They might also have stubborn stains. These are often salvageable for casual rounds or practice, and with the right techniques, sometimes they can even be returned to regular play.
Category 3: Practice Bag Fodder
It’s important to know when to quit. Some balls are beyond saving for on-course use. Look for these tell-tale signs:
- Cracks or deep cuts: If you can catch your fingernail in a gash, it's done for. The aerodynamics are shot.
- Waterlogging: This is common in lake balls. A waterlogged ball feels heavy and dead. A good test is to drop it on concrete from chest height next to a new ball. If it has a significantly lower bounce and makes a dull "thud," its core is compromised.
- Out-of-round shape: It's rare, but sometimes a ball gets deformed. A quick roll on a flat surface will reveal any wobbles.
Don't throw these away! They are perfect for your shag bag for chipping practice or for hitting into a net in the backyard.
Level 1 Restoration: The Ultimate Deep Clean
This is the foundation of restoring any golf ball. A proper cleaning will revive 90% of the surface-level issues and is all that Category 1 balls will need. Forget the on-course ball washer, we’re going for a spa treatment.
What You'll Need:
- A bucket
- Warm water
- Mild dish soap (like Dawn) or a specialized golf ball cleaning solution
- A soft-bristle brush (an old toothbrush is perfect)
- A couple of old towels
Step-by-Step Instructions:
- Create the Soaking Solution: Fill your bucket about halfway with warm water - not hot or boiling, as extreme heat can damage the ball's outer layer. Add a generous squirt of dish soap and give it a little stir to create some suds.
- The Soak: Drop your dirty golf balls into the bucket. Let them soak for at least 30 minutes. If they are caked in stubborn, dried mud, leaving them for a couple of hours or even overnight won’t hurt.
- The Scrub: Fish out one ball at a time. Hold it firmly and use your toothbrush to scrub every single one of its dimples. Work in a circular motion. This is where the magic happens. You’ll see the grime lift away, revealing that bright white surface underneath. Pay extra attention to getting into the depths of the dimples.
- The Final Rinse: Once a ball is scrubbed clean, rinse it under cool, clean water to wash off any soap residue. Soap left on the ball can make it feel slightly slick and attract more dirt later.
- The Dry: Lay a towel down and place the wet balls on it. Use another towel to pat them dry. For best results, let them air-dry completely on the towel or a drying rack for a few hours. A perfectly dry ball is ready for the bag.
Level 2: Tackling Stains and Discoloration
Sometimes, a simple wash won’t cut it, especially for balls that have been hiding in the woods or sitting in water. If you still have discoloration or stains, it’s time for a slightly more aggressive approach.
For Stubborn Stains and Marker Lines
If you have some pesky permanent marker lines or ground-in stains, a Magic Eraser can be incredibly effective. Just wet the eraser and scrub the mark. It's a fine abrasive that can often remove surface-level marks without damaging the ball's finish.
For more serious discoloration, especially on lake balls, you can try a mild bleach solution. This is a strong option and should be used with care. Mix a solution of three parts water to one part bleach. Let the balls soak for only one or two minutes maximum. Any longer and the bleach can begin to break down the ball's cover. After the soak, immediately rinse them thoroughly under clean water and proceed to scrub and dry as usual.
Level 3: Handling Scuffs and Minor Abrasions
This is where we get into true "restoration." Let me be clear: you cannot fix a deep cut or a significant gash. The goal here is to smooth out minor abrasions, like the kind you get from a cart path, to improve the feel and, to a small degree, the aerodynamics.
The Safer, Manual Method
For small, light scuffs, I recommend a bit of elbow grease. Get yourself an automotive polishing compound or a plastic polish - the kind you might use to restore hazy car headlights. These are designed to gently smooth surfaces without being too harsh.
- Apply a small dab of the polish to a microfiber cloth.
- Rub the scuffed area on the golf ball using firm, circular motions.
- You'll need to work at it for a minute or two. You won't see the scuff vanish completely, but you should notice it becoming significantly smoother to the touch.
- Wipe the ball clean with a damp cloth to remove any polish residue.
This method can make a scuffed ball feel better off the clubface and can slightly reduce its negative impact on ball flight. It turns a "definitely a practice ball" into a "usable for a casual round" ball.
When Is a Golf Ball Truly Beyond Saving?
As a coach, I have to stress that using a severely damaged ball in a serious round is a bad idea. Performance will be unpredictable. You'll know a ball is past the point of no return if:
- It has deep cuts you can see and feel.
- It fails the "bounce test" and is clearly waterlogged.
- You wipe it down and can see visible cracks in the cover.
A ball with these issues has lost its structural and aerodynamic integrity. Consistency becomes impossible. Keep these for practicing your swing mechanics, not for scoring.
Final Thoughts
Restoring old and found golf balls is a rewarding process that can save you a good bit of money. By systematically sorting, cleaning, and carefully polishing your finds, you can build a stock of perfectly playable balls and give neglected gear a second chance on the course.
Playing smarter golf comes from confidence, both in your equipment and your decisions. While a freshly restored ball gives you trust in your gear, sometimes you need a little more trust in your strategy. With all the variables on the course, I know that having an expert opinion to guide tough shots makes a huge difference. If you’re facing a tricky lie and are unsure how it will affect your shot, you can ask for a quick analysis that considers your position and gives you a clear plan. That's why I'm here - use Caddie AI anytime you need to take the guesswork out of your game and play with more confidence.