The green is where a promising golf hole can either crumble into a frustrating mess or become a satisfying birdie. It’s the final stage, the scoring zone, and understanding every aspect of it is one of the fastest ways to lower your handicap. This guide will walk you through exactly what a golf green is, from its physical makeup and the official rules that govern it to the practical skills you need to read its slopes and knock more putts into the hole.
What Exactly Is a Putting Green?
In simple terms, the putting green is the specially prepared area of turf at the end of each golf hole that contains the cup. Think of it as the ultimate destination. The entire design of a par-3, par-4, or par-5 is meant to guide (and challenge) you on your way to this specific spot. Its defining characteristic is the quality of its grass, which is the most expensive and meticulously maintained turf on the entire course for one simple reason: to provide a smooth, consistent, and true surface for putting.
The grass on a putting green - typically a fine-bladed species like Bentgrass or Bermuda - is mowed incredibly short, often to just an eighth of an inch or even less. This low height reduces friction, allowing the golf ball to roll rather than bounce. The ultimate goal for a course superintendent is to create 18 putting surfaces that are consistent in speed and condition, so a putt on the 1st green feels the same as a putt on the 18th.
The Anatomy of a Green: More Than Just a Patch of Grass
While we often just call it "the green," this area is a complex of different parts, each serving a unique function and presenting its own set of challenges. Knowing the different zones can help you make smarter decisions on your approach shots and around the green.
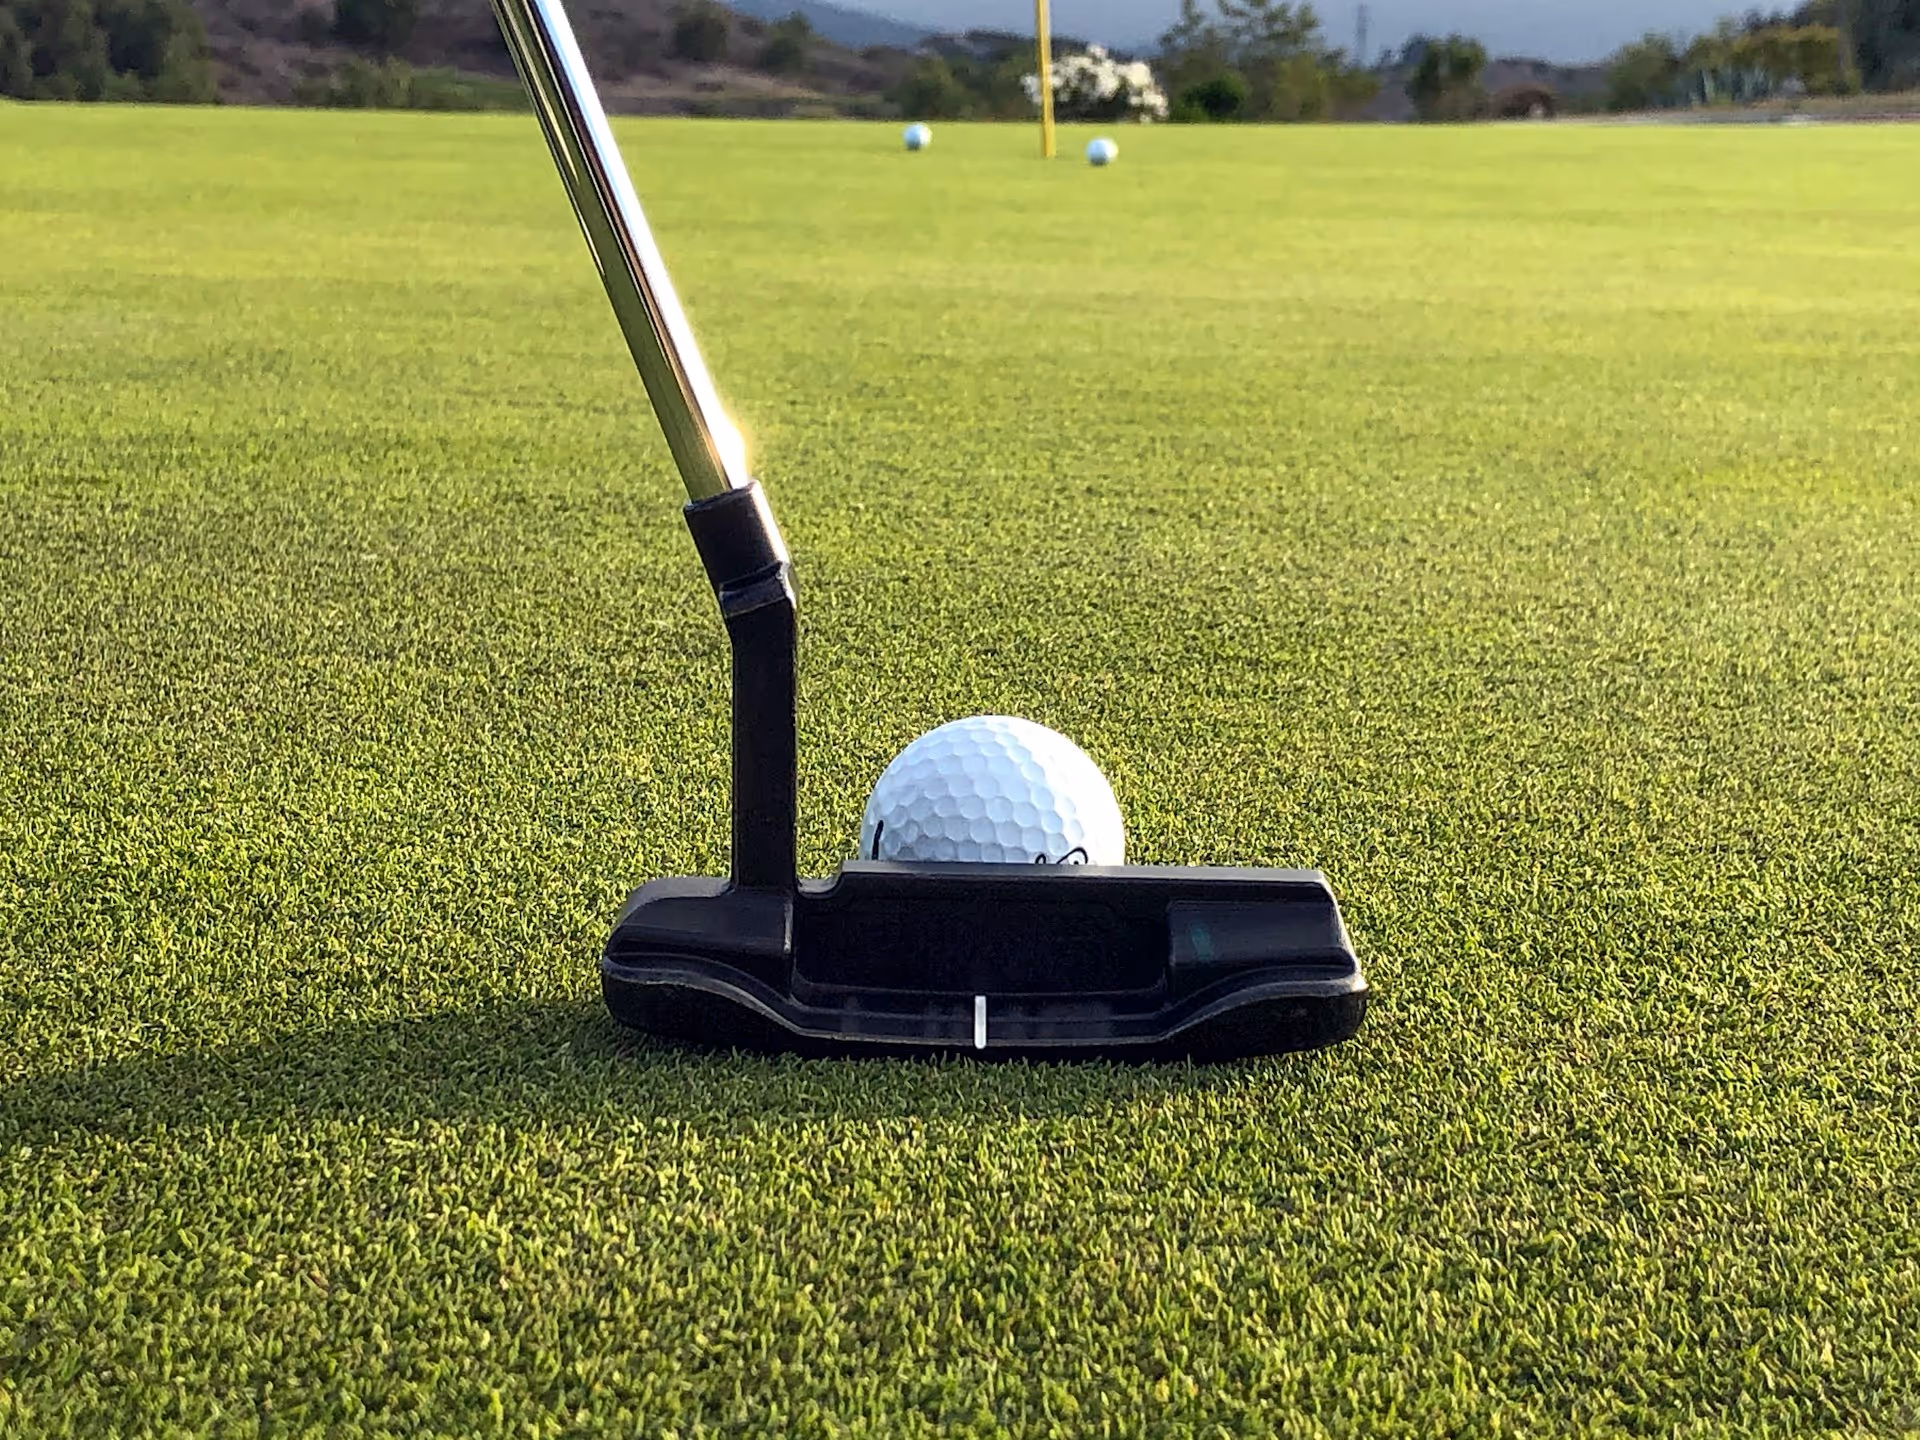
The Putting Surface
This is the main event - the shortest grass where the flagstick and cup are located. It's the only area on the course where you are permitted by the rules to mark, lift, and clean your ball. The surface itself is where the real game is played, featuring a complex system of subtle (and sometimes not-so-subtle) slopes and tiers.
Slopes and Tiers (The "Break")
A flat green is a rare and uninteresting thing. The vast majority of greens are designed with contours to create navigational challenges. These contours are what we refer to as the "break" of a putt.
- Slopes: These are the mounds, valleys, and undulations that cause a putt to curve. A putt might have a "right-to-left break," meaning the slope will push the ball from right to left as it rolls. Greens often have a general slope based on the surrounding landscape, typically draining towards a low point like a pond or valley.
- Tiers: A tiered green has two or more distinct levels, separated by a steep slope or ridge. If your ball is on the wrong tier, you often face a very difficult putt. Your first goal on approach shots to tiered greens is to land your ball on the same level as the flagstick.
The Fringe (or Collar)
The fringe is the ring of slightly longer grass that separates the putting surface from the surrounding fairway or rough. The grass here is taller than the green but shorter than the fairway. When your ball is on the fringe, you have a choice: you can putt it just like you would on the green, or you can use a wedge to chip it. The decision depends on how much grass is between your ball and the putting surface and your confidence with each type of shot.
The Cup and Flagstick
The hole, or "cup," is always 4.25 inches in diameter. Its location on the green can change daily, dramatically altering how a hole plays. An "easy" pin placement might be on a flat part of the green, while a "tough" pin placement could be on a small shelf near a bunker. The flagstick (or "pin") simply marks the location of the cup so golfers can see it from far away.
The Essential Rules on the Green
The putting green has a special set of rules. Understanding them will not only help you avoid penalties but will also help you use the rules to your advantage.
- Marking Your Ball: Once your ball is on the putting surface, you can (and should) mark its position with a small ball marker or a coin. Place the marker directly behind your ball before lifting it. This is done to clean your ball or to prevent it from obstructing another player's putting line.
- Lifting and Cleaning: The green is the only place where you can routinely lift and clean your golf ball (unless specific local rules like "lift, clean, and place" are in effect). Taking a moment to wipe away any mud or sand can make a huge difference in how your putt rolls.
- Repairing Damage: You are allowed - and encouraged by good etiquette - to repair damage on the putting green. This mainly includes ball marks (the small indentations made when a ball lands on the green from a high-lofted shot) and old hole plugs. Fixing your ball mark keeps the green smooth and healthy for everyone.
- The Flagstick Rule: Thanks to a recent rule change, you now have the option to putt with the flagstick in or out of the hole. Many golfers find that leaving the pin in can act as a helpful "backstop" for putts that are rolling a bit too fast. Others prefer to have it removed to avoid any chance of the ball deflecting off the stick. It's a matter of personal preference.
- Touching the Line of Putt: You cannot deliberately touch your "line of putt" (the path your ball will take to the hole) in order to test the surface. However, you are allowed to remove loose impediments like leaves, sand, pebbles, or twigs from your line by picking them up or brushing them away with a hand or towel.
How to Read a Green: Your Step-by-Step Guide
Reading a green is more of an art than a science, but following a consistent process can turn you from a guesser into an educated putter. Good putting is about two things: speed and line. Reading the green is all about finding the right line.
Step 1: Start from the Fairway
Your read should begin as you approach the green. From 30 or 40 yards out, you can see the big-picture slopes. Does the whole green tilt from back to front? Or from left to right? Look for the high points and low points (often where water would drain).
Step 2: Read from Behind the Ball
Once you've marked your ball, crouch down directly behind it and look towards the hole. This is the most common vantage point. From here, you’re trying to visualize the path the ball will take. Imagine pouring a bucket of water from where your ball is - which way would it flow? That’s the break.
Step 3: Walk to the "Low Side"
Don’t just read from one angle. Walk to what you perceive as the "low side" of the putt. If you think your putt will break from left to right, walk to the right side of your putting line, about halfway to the hole. Looking at the slope from this side view can either confirm your initial read or reveal a different break.
Step 4: Feel it With Your Feet
Your sense of balance is surprisingly effective. As you walk around the hole, pay attention to the pressure in your feet. You can often feel an uphill or downhill slope more accurately than your eyes can see it. Is one foot bearing more weight than the other? That’s your slope.
Step 5: Glance at the Hole and Grain (Advanced)
The "grain" is the direction the grass blades are growing. This can subtly affect the speed and break of a putt.
- With the Grain: If the grass is growing towards the hole from your ball's position, the putt will be slightly faster and can look shiny or silvery.
- Against the Grain: If the grass is growing away from the hole, the putt will be slightly slower and look darker or duller colored. A quick way to check is to look at the edge of the cup, a jagged, torn edge usually indicates you're putting against the grain.
A Note on Green Speed (The "Stimp")
You may hear experienced golfers or commentators talk about the "Stimp" or "Stimpmeter." This is a simple device that superintendents use to measure the speed of the greens, ensuring they are consistent across the course. A "fast" green might stimp at 11 or 12, meaning a putt will roll very far with little effort. A "slow" green might be an 8 or 9. The most important thing for you to do is head to the practice putting green before your round. Hit a few putts to get a feel for the day's speed. Is the ball racing past the hole, or do you have to give it a firm rap? Adjusting to the speed is just as important as reading the line.
Final Thoughts
The putting green is where every hole reaches its conclusion and where the most strokes are often won or lost. By understanding its key parts, knowing the rules that apply, and developing a consistent process for reading its contours, you can approach every putt with more confidence and clarity.
Getting your ball to the right section of the green is just as important as what you do when you get there, and that's a big part of smart course management. We built Caddie AI to act as your personal course strategist, giving you simple advice on how to play a hole to avoid trouble and give yourself the easiest possible putt. If you find yourself in a tricky lie around the green, you can even snap a photo, and our AI will give you guidance on the best way to play the shot, taking the guesswork out of the game so you can play with total confidence.