Seeing all those different colored stakes, plates, and painted lines on a golf course can feel like you’re trying to read a secret code. But every single marker has a specific purpose, designed to give you information and help you navigate the course. Once you understand what they all mean, you can stop guessing, start making smarter decisions, and play with more confidence. This guide will decode every marker you'll find, so you know exactly what to do in any situation.
The Starting Line: Understanding Tee Box Markers
Your round starts at the teeing area, and the first decision is choosing which set of tee markers to play from. These colored blocks aren't just for decoration, they indicate different yardages and difficulty levels for the hole.
While there isn't a mandatory universal standard, most courses follow a similar system. Here’s a general rundown of what you can expect, typically from longest/most difficult to shortest/easiest:
- Black or Gold Tees: Often referred to as the "championship" or "pro" tees, these present the longest and most challenging version of the course. They are intended for highly skilled, low-handicap golfers and professionals.
- Blue Tees: The next step down, these tees are a solid test for low-to-mid handicap players and those with a good amount of distance off the tee.
- White Tees: This is generally considered the "member's" or "men's" tee and is the most common starting point for the average male golfer. It offers a good balance of challenge and playability for a wide range of skill levels.
- Red or Green Tees: Traditionally known as the "ladies'" tees, they offer a shorter, more accessible version of the course. However, it's becoming very common for seniors, juniors, and beginners of any gender to play from these tees to have a more enjoyable experience. Some courses have added even shorter "family" tees as well.
A Coach’s Tip: Don't let ego dictate your tee choice. The goal is to have fun and score well. If you’re a beginner or not a long hitter, move up to the white or even the red tees. Playing a course that matches your skill level makes the game monumentally more enjoyable. You'll have shorter clubs into the greens and a much better chance of making pars and birdies.
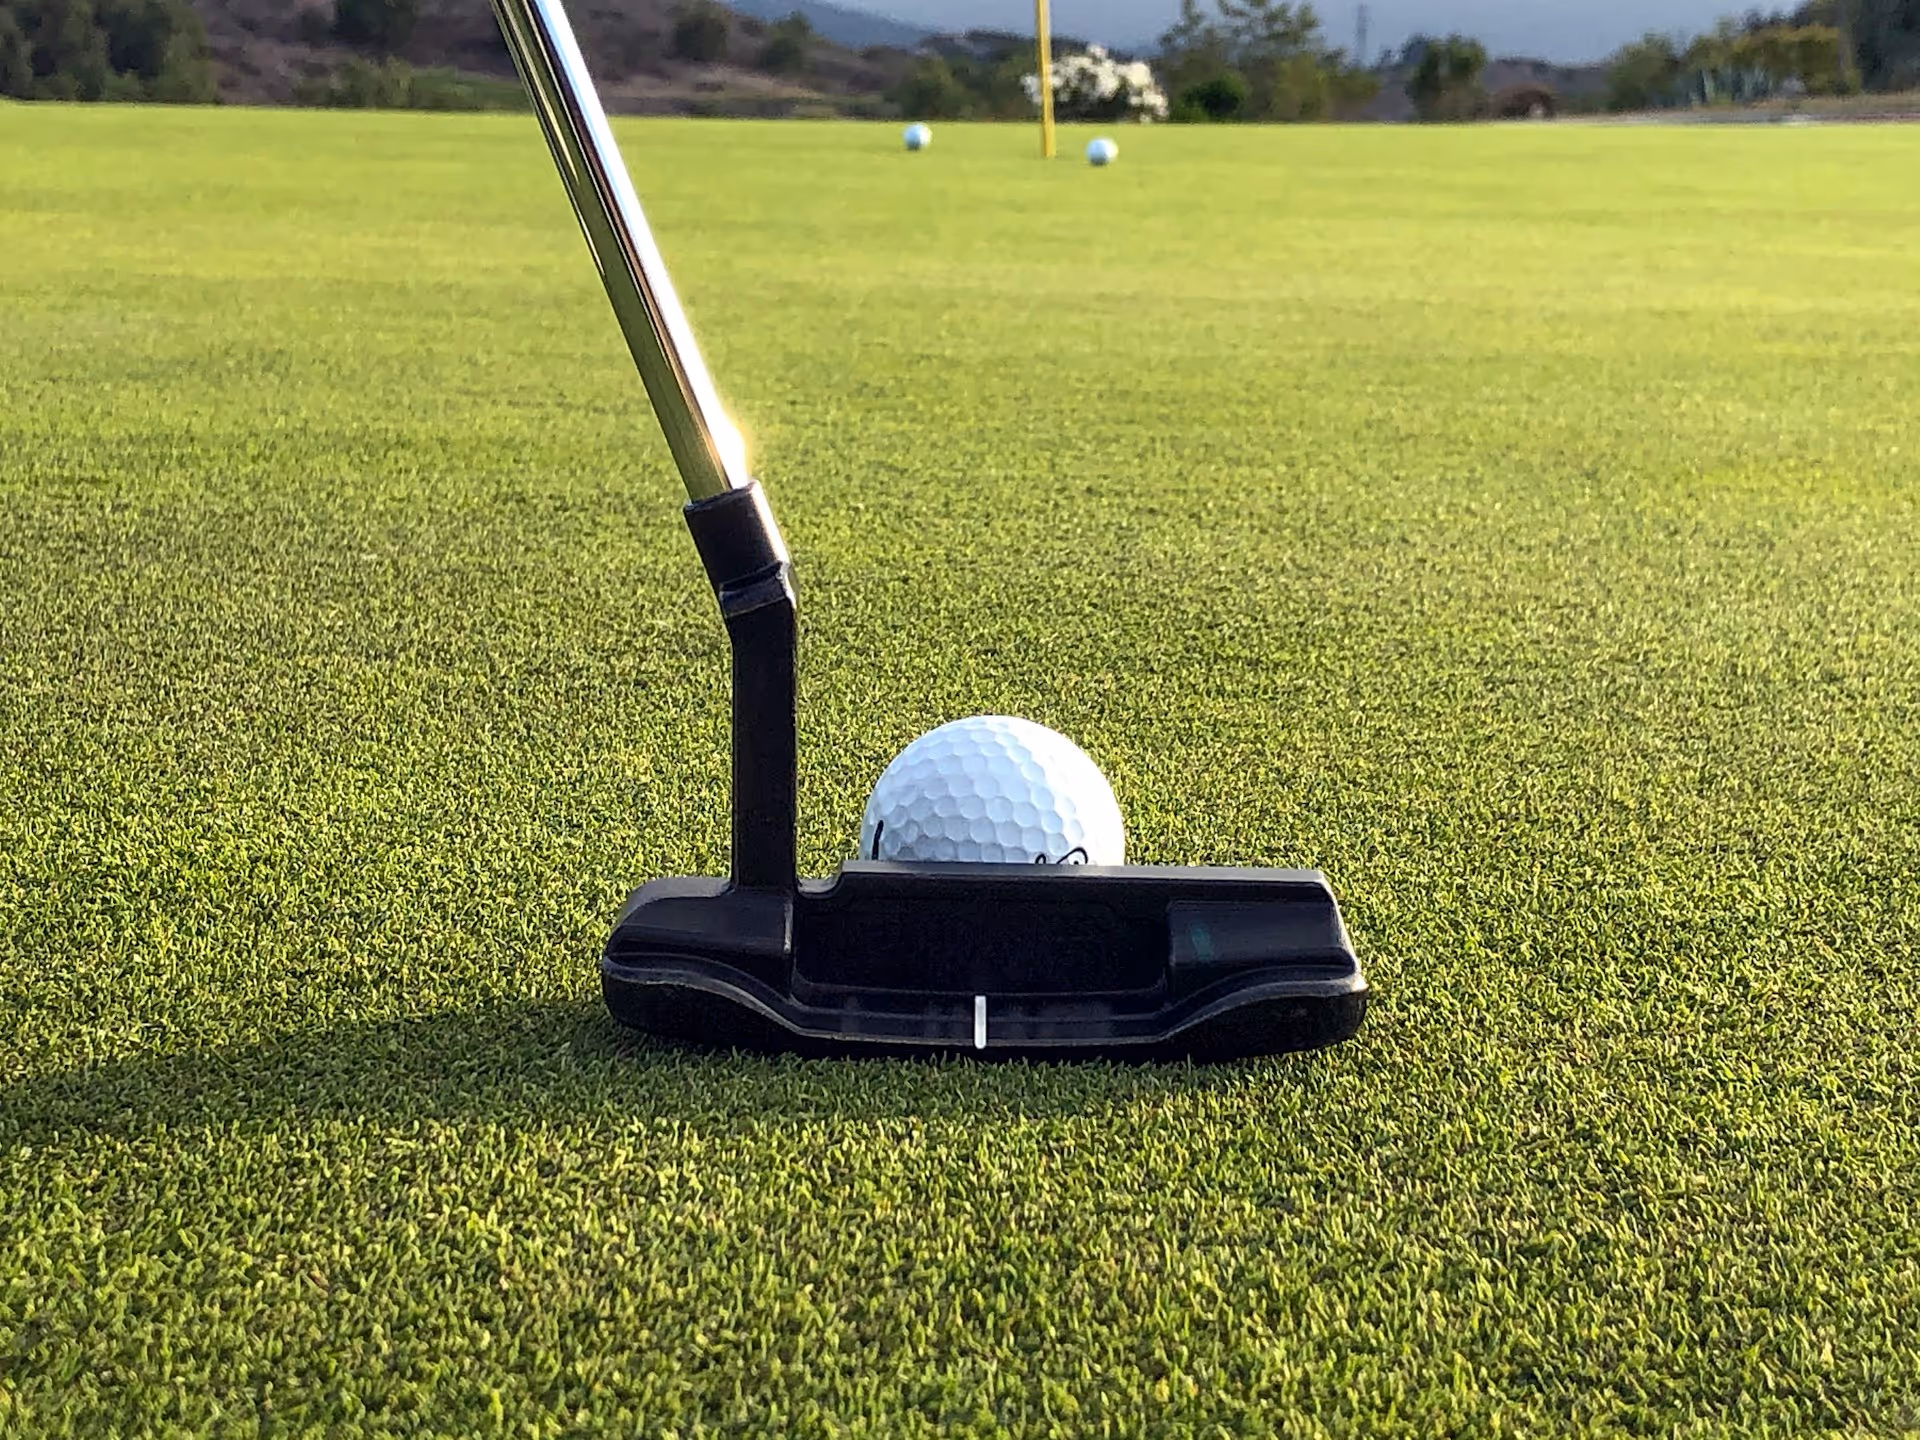
Your On-Course GPS: How to Use Yardage Markers
Once you’re in the fairway, yardage markers are your best friend for choosing the right club. They remove the guesswork from your approach shots. Nearly every course provides markers indicating the distance to the center of the green. It's important to remember that distance is almost always to the center unless specified otherwise.
Common Fairway Markers
Most courses use a simple, color-coded system that makes it easy to find a quick distance reading from a distance:
- Blue Marker: Indicates 200 yards to the center of the green.
- White Marker: Indicates 150 yards to the center of the green. This is often the most significant marker on a par 4.
- Red Marker: Indicates 100 yards to the center of the green - the prime scoring zone!
Sprinkler Head Yardages
The most precise yardage information often comes from sprinkler heads. If you look closely at the sprinkler heads located in the fairway and rough, you’ll usually find numbers stamped or printed on them. These typically provide the distance to the front, middle, and back of the green.
For example, a sprinkler head might have three numbers: 142, 155, 168. This means it is:
- 142 yards to the front edge of the green.
- 155 yards to the middle of the green.
- 168 yards to the back edge of the green.
This level of detail is extremely helpful. Knowing it's 142 to just get on the green versus 168 to reach a back pin location can totally change your club selection.
Flagstick (Pin) Colors
To supplement yardage markers, many courses use a color-coded system on the flagstick itself to tell you the pin's location on the green.
- Red Flag: The pin is located at the front of the green.
- White Flag: The pin is in the middle of the green.
- Blue Flag: The pin is at the back of the green.
Knowing this is so useful. If you have 150 yards to the middle of the green (a white marker) but see a red flag on the pin, you know your actual shot needs to travel closer to 140 yards. If you see a blue flag, you need to fly it closer to 160 yards.
Decoding the Danger Zones: Penalty Area Markers
Stakes and lines are used to define the boundaries of penalty areas (what used to be called "hazards") and out of bounds. The color of the stake or line tells you exactly what kind of area it is and what your relief options are if you find your ball in there.
Red Stakes &, Lines: Lateral Penalty Area
Red paint or stakes define a lateral penalty area. Think of these as water hazards that run alongside the hole, like a creek, pond, or a designated area of thick woods.
If your ball is in a red penalty area, you first have the option to play it as it lies without penalty (if you can swing it safely!). If that's not possible, you have three options, all for a one-stroke penalty:
- Stroke and Distance: Go back to where you hit your previous shot and play again.
- Back-on-the-Line Relief: Identify the point where your ball last crossed into the penalty area. Keeping that point between you and the hole, you can go back as far as you want on that line and drop your ball.
- Lateral Relief (The Red-Only Option): This is the special option you only get with red stakes. From the point where your ball last crossed the boundary, you can measure two club-lengths (no closer to the hole) and drop your ball within that area. This is often the most convenient and advantageous option.
Yellow Stakes &, Lines: Penalty Area
Yellow paint or stakes define a regular penalty area. These are bodies of water that typically cross in front of the line of play, like a pond you have to hit over to get to the green.
Again, you can always try to play the ball as it lies. If not, you have two options for a one-stroke penalty:
- Stroke and Distance: Go back and play from your original spot.
- Back-on-the-Line Relief: Just like with a red penalty area, you can identify the point where the ball last crossed the yellow line and drop along a straight line going back from the hole.
The critical difference: With a yellow penalty area, you do not get the two club-length lateral relief option. You can only go back on the line from the hole or re-hit.
The Point of No Return: Out of Bounds Markers
White Stakes &, Lines: Out of Bounds (OB)
White stakes or solid white lines define Out of Bounds. This is any ground on which play is prohibited. Think of it as off the property - a road, a parking lot, or a neighboring backyard. If your ball comes to rest beyond the white stakes (the course-side edge of the stakes defines the line), it is out of bounds.
This is the most punishing penalty. There is only one option:
- You must take a stroke-and-distance penalty. This means you add one penalty stroke to your score and go back to the spot of your previous stroke to hit again. For example, if you hit your tee shot out of bounds, you are now hitting your third shot from the teeing area again.
Because the penalty is so severe, it's always a good idea to hit a "provisional ball" if you think your shot might be out of bounds. Just announce to your group, "I'm going to hit a provisional," and play a second ball. If you find your first ball is in-bounds, you just pick up the provisional and carry on. If it's out of bounds, you play the provisional ball and save yourself the long walk of shame back to the original spot.
Other Common Course Markings
Beyond the primary markers, you might see a few other defined areas on the course.
- Ground Under Repair (GUR): This is an area marked with a continuous white line (or sometimes stakes with green tops) from which you are not supposed to play. It might be a patch of new sod, an area damaged by maintenance vehicles, or a casual puddle of water after heavy rain. This is an "abnormal course condition," and you get free relief. You find your nearest point of complete relief (where you can stand and swing without interference) and drop within one club-length of that spot, no closer to the hole.
- Drop Zones: In areas where taking normal relief from a penalty area is difficult or would slow down play, a course may provide a designated "Drop Zone" or "DZ". This is usually a small painted circle or marked area. If your ball goes into the associated penalty area, you can proceed directly to the drop zone, take your one-stroke penalty, and play from there.
Final Thoughts
Understanding the stakes, lines, and yardage markers on a golf course makes the game less confusing and far more strategic. Knowing these markings allows you to choose the right club, avoid costly penalties, and manage your way around the course with the confidence of an experienced player.
Of course, knowing what a yardage marker means is one thing, deciding how to hit the perfect shot from that distance is another. For those moments on the course when you need tailored advice - whether you're stuck between clubs for an approach shot or trying to figure out the best way to handle a tricky lie - this is where real-time guidance can make all the difference. That's why I created Caddie AI. It gives you instant, personalized strategies and shot recommendations, acting as your personal coach right in your pocket so you can feel clear and confident over every single shot.