Ever found yourself on a par-3 staring at a gigantic putting surface with two different flagsticks? You've likely stumbled upon one of golf’s most interesting and sometimes confusing features: a double green. These massive greens are more than just a novelty, they are a unique architectural feature with a rich history and a specific set of challenges. This guide will walk you through exactly what a double green is, why they exist, and most importantly, a clear strategy for how to play them with confidence.
What Exactly Is a Double Green?
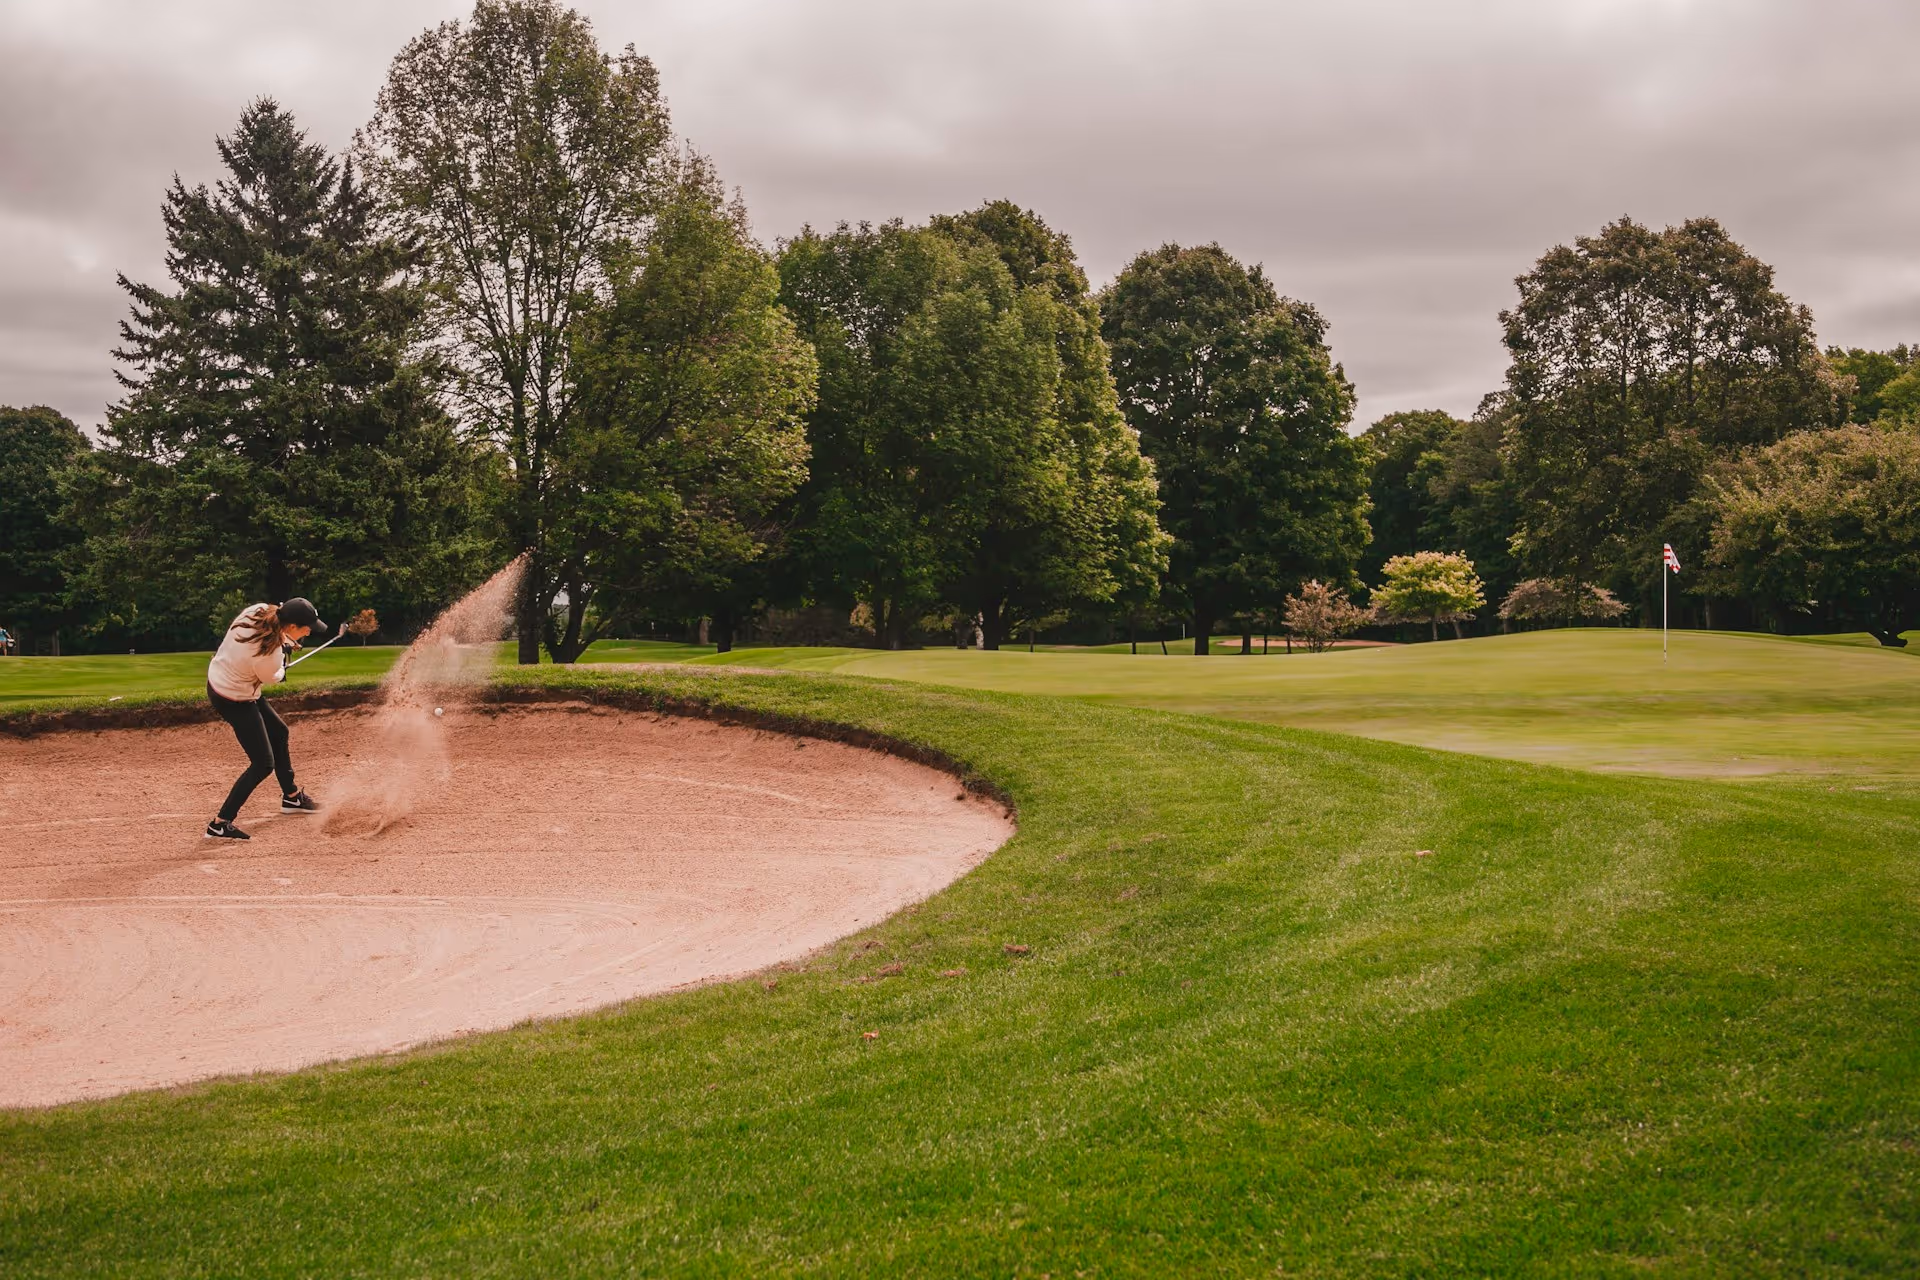
A double green is a single, large putting surface designed to serve two different holes on a golf course. Instead of having two separate, smaller greens, the architect combines them into one massive area. You'll find two distinct flagsticks and two cups on this one surface, with each pin corresponding to its designated hole.
Here are the key characteristics that define a double green:
- Two Flags, Two Cups: This is the most obvious sign. One flag and hole will be the target for, say, hole #4, while the other will be the target for a different hole, often on the back nine, like hole #13.
- Massive Size: To accommodate two different approach shots and putting areas, these greens are enormous. They can often be two, three, or even four times the size of a standard green, sometimes covering over an acre of land.
- Significant Contours: Architects don't just create a big, flat surface. Double greens almost always feature dramatic slopes, tiers, humps, and ridges that help to visually and strategically separate the two putting areas. This topography acts as a natural divider.
- Shared by Front and Back Nine Holes: The most common pairing for a double green is to link a hole on the front nine with one on the back nine whose paths cross nearby on the course routing. This is an efficient use of space.
Why Do Double Greens Even Exist? The History and Purpose
The concept of a double green might seem strange at first, but it originated out of tradition, practicality, and clever design. Understanding why they were built can help you appreciate the challenge they present.
The Birthplace: St. Andrews
You can't talk about double greens without talking about the Old Course at St. Andrews in Scotland, "The Home of Golf." The Old Course is the original and most famous example. On its classic "out-and-back" routing - where golfers play nine holes out away from the clubhouse and nine holes back in - space was limited. The early course designers creatively used double greens to maximize the playing area on a relatively narrow piece of land. Of the 18 holes at the Old Course, a remarkable 14 of them share a green. Only holes 1, 9, 17, and 18 have their own private putting surfaces.
The Modern Design Philosophy
While many double greens built today are a direct tribute to St. Andrews, modern architects use them for several strategic reasons:
- Land Efficiency: Just like on the Old Course, sometimes a piece of property has an ideal spot for a green that two different holes can access. Combining them saves on construction, maintenance (fertilizer, water, mowing), and total acreage.
- Architectural Interest &, Variety: A well-designed double green is a memorable feature. It creates a stunning visual from the tee box and presents a unique set of strategic questions for the golfer. It breaks up the rhythm of a course in a compelling way.
- Strategic Challenge: The sheer scale of a double green introduces an element of precision that few other features can. Hitting the correct portion of the green becomes the primary goal, changing the mental calculus of an approach shot.
Famous Examples of Double Greens
While not a common feature on your average local course, double greens are showcased at some of the world's most venerated golf destinations.
- The Old Course at St. Andrews, Scotland: The king of them all. The most famous is the shared green for the 5th and 13th holes, a par-5 and a par-4 respectively. It's a vast landscape of humps and bumps that requires precise approaches to avoid a truly monstrous putt.
- Doonbeg Golf Club, Ireland: Greg Norman’s links design in western Ireland features a spectacular double green serving the 9th and 18th holes, located right in front of the charming stone clubhouse, providing a dramatic finish for both nines.
- Streamsong (Black Course), Florida: Showing the concept is alive and well in modern architecture, acclaimed designer Gil Hanse built a brilliant double green for the 9th and 18th holes at Streamsong Black, bringing that classic links feel to a Florida setting.
- The Prairie Club (Dunes Course), Nebraska: Tom Lehman and Chris Brands crafted this world-class course in the Sandhills of Nebraska, which includes a terrific double green connecting the 8th and 11th holes.
The Strategic Challenge: How to Play a Double Green
Alright, let's get practical. Standing on the tee and seeing two flags can be intimidating. But with a clear, simple plan, you can navigate this challenge successfully. It breaks down into three key phases.
Step 1: Confirm Your Target Before You Swing
This is the most important step, and it happens before you even pull a club. A mistake here will guarantee a difficult time. You absolutely must know which flag is yours.
- Check the Scorecard or Yardage Book: They will almost always have a note indicating your target. For example: "Hole #7 - Right Green" or "Hole #16 - Flag on Left."
- Look for On-Course Signage: Many courses with double greens have a small sign on the tee box directing you to the correct pin.
- Communicate with Your Group: Just to be 100% sure, a simple "We're going for the flag on the right for number 7, right?" removes all doubt.
Hitting a great shot to the wrong pin can leave you with a putt of 100 feet or more. Don't let that happen. Verify your target!
Step 2: Laser Focus on Your Quadrant
Once you know which flag you're aiming for, your mindset has to shift. You are not aiming for "the green." You are aiming for a specific zone, section, or quadrant of the green. The rest of the putting surface is irrelevant - it might as well be a water hazard.
- Get Your Yardage: Use a rangefinder or GPS to get the distance to your flag. Then get the front and back yardages for your specific side of the green. Don’t be tricked into taking extra club just because the overall green looks massive.
- Identify the Divide: Look for the high point, ridge, or swale that separates the two putting areas. Your goal is to be on the correct side of that divide.
- Plan Your Miss: Consider where the safe place to miss is. If a big ridge splits the green, a shot that ends up 10 yards short on your side is infinitely better than landing pin-high but on the wrong side of the ridge.
Step 3: Mastering the Mammoth Putt
Even with a good approach shot, you can easily face a 50, 60, or 70-foot putt on a double green. When faced with this, your goal changes completely from "making the putt" to "not 3-putting."
- Speed is Everything: On a very long putt, lag putting is the only goal. Your success is determined by how well you control your distance. Get the ball to stop somewhere within a 6-foot circle around the hole. A tap-in for par is a win. Take several practice strokes looking at the hole, trying to feel the speed needed to get the ball there.
- Read the Putt in Chapters: Don't try to process a 100-foot putt all at once. Break it down. The first 30 feet might be uphill and break right, the next 40 feet might be downhill and straight. Analyze each segment to build a complete picture of the putt's journey.
- Consider an Alternative Club: If you're on the very wrong side of the green or have to navigate rough terrain like a collar or fringe, don't be afraid to chip or putt with a hybrid. A putter isn't always the best choice on a bumpy, multi-tiered surface. A hybrid can get the ball rolling much more effectively over these obstacles and give you better distance control.
Navigating Double Green Etiquette
Because you're sharing the space with another group of golfers, there's an extra layer of awareness required.
- Be Aware of the Other Group: As you approach the green, be on the lookout for the group playing the other hole. Note where their balls are.
- Don't Walk in Their Line: This basic rule of golf becomes even more important here. Give their putting lines a very wide berth, as they may be much longer or more unconventional than on a normal green.
- Keep Quiet and Still: Behave as if they were in your own group. When they are addressing their ball or putting, stop moving and talking.
- Communicate Clearly: A polite wave or a simple question like, "Are you guys ready to putt?" can solve any confusion about who should go first. Generally, the group that is furthest out or that arrived first will play, but common sense and courtesy go a long way.
Final Thoughts
A double green is a wonderful and historic feature of golf course design that challenges your precision and your putting touch. Playing one effectively boils down to a simple process: confirm your target before you hit, aim for a specific section on your approach, and prioritize speed with your lag putting.
Navigating unique course features like double greens can feel intimidating sometimes, but a clear strategy removes that guesswork and lets you play with confidence. We designed Caddie AI to give you that confidence right in your pocket. Before your approach, you can get a simple, smart play, and if you ever end up with a tricky lie around one of these massive greens, you can even ask what to do if you’re unsure, and I’ll help give you a good option for your next shot. My goal is to let you focus on making a great swing, not guessing your way around the course.