What if you could consistently shoot lower scores without having to overhaul your golf swing? That's not a gimmick, it's the power of good course management. This is the part of the game that many golfers neglect, yet it's the single fastest way to shave strokes off your handicap. We're going to break down exactly what course management is and provide a simple, step-by-step framework to help you start thinking your way around the golf course like a seasoned pro.
The best AI golf app: Caddie is your personal AI golf coach. Get expert-level golf advice instantly, 24/7 to help you play like a pro. Try it free →
What Is Golf Course Management, Really?
At its heart, golf course management is the art of creating a game plan to navigate 18 holes. It's about making smart, strategic decisions that play to your strengths and, more importantly, steering you clear of big, score-wrecking numbers. Many golfers believe that improving means hitting every shot perfectly. But the truth is, better golf isn't about perfection, it's about managing your imperfections.
Think of it like playing a game of chess. A beginner reacts to their opponent's last move, focusing only on the piece right in front of them. An expert, however, thinks three, four, or five moves ahead. They're positioning their pieces not just for the next immediate capture but to control the board and set up a checkmate down the line.
On the golf course, the reactive player simply pulls a driver on every par 4, tries to hit it as hard as possible, and then figures out what to do next. The strategic player, the one using course management, is thinking from the green backwards. They're asking, "Where do I need to be on my next shot to have the best chance of success?" That question changes everything.
Get pro-level golf advice instantly, 24/7
Ask Caddie anything. From “what club should I use?” to “how do I play this shot?” and get instant answers.
Step 1: The Pre-Shot Game Plan – Thinking from Green to Tee
This is probably the biggest mental shift an amateur golfer can make, and it completely changes how you see a hole. The standard approach is to walk up to the tee, glance down the fairway, and wonder a simple thing: "Where should I hit this?" The course management approach asks a different, more powerful question: "Where is the ideal spot to hit my approach shot from?"
Reverse-Engineering the Hole
You need to learn to work backwards from the pin. Before you even pull a club on the tee, you should build a simple plan based on your desired second shot.
Let's walk through an example. You're on the tee of a 380-yard par 4. The fairway is generous, but the green is long and narrow, with a deep bunker guarding the front-left and the pin tucked right behind it.
The Reactive Golfer's Plan: "It's a par 4. I hit driver." They blast it down the left side of the fairway, leaving about 120 yards to the pin. It looks good, but now they have to hit a perfect shot directly over that deep bunker to get it close. A slightly mis-hit shot ends up in a brutal situation.
The Strategic Golfer's Plan: Working backwards, they think, "That front-left pin is a trap. I don't want to approach it from the left side of the fairway because that brings the bunker directly into play. The absolute best angle into this green is from the right side. From there, I have tons of green to work with and I'm taking the bunker completely out of the equation."
This "green-to-tee" thinking totally changes the tee shot strategy. Maybe the best play isn't driver at all. Maybe it's a 3-wood or a hybrid aimed at the right-center of the fairway, even if it leaves a slightly longer second shot of 140 or 150 yards. That longer approach shot from the right is infinitely easier and safer than the shorter one from the left. That's good course management.
Identifying 'Go' Zones and 'No-Go' Zones
Every single golf hole has danger areas and safe areas. A 'No-Go Zone' is any place you simply can't afford to miss: out of bounds, a water hazard, a deep pot bunker, or thick woods. Your primary goal on any shot should be to eliminate the No-Go Zone.
Let's say you're on a 150-yard par 3 entirely over water. The pin is cut on the front edge.
The No-Go Zone: Short. Anything short of the green is wet.
The Go Zone (or Safe Miss): Anywhere on the green, or even long. Being in the back bunker or chipping from behind the green is much better than being in the pond taking a penalty stroke.
What does this mean for your club selection? You don't hit your "perfect" 150-yard club. You take the club that, on a normal or average swing, will carry the entire body of water and land in the middle of the green. Pin-hunting right over a No-Go Zone is reserved for the pros, but for the rest of us, playing to the fat part of the green and avoiding trouble is the smart path to a par.
Step 2: Choosing the Right Club for the Situation
Another monumental mistake golfers make is picking a club based strictly on one thing: the yardage to the pin. Effective course management means considering all the variables that influence how far the golf ball will actually travel.
Know Your Real Carry Distances
Let's be honest. When someone asks how far you hit your 7-iron, what do you say? You probably think of that one pure shot you hit last week that flew farther than ever before. But that's not your average distance, that's your 'hero' distance. For smart course management, you need to know your stock carry distance - the number you hit with a normal, 80% effort swing time and time again.
Next time you're on a range with a launch monitor, don't just try to hit for max distance. Hit ten 7-irons, throw out the best and worst ones, and average the rest. That number is your new, reliable 7-iron carry distance. Using this number for your on-course calculations will immediately improve your decision-making.
Accounting for Conditions
Once you know your reliable yardage, you can adjust for the conditions of the day.
Wind: This seems obvious, but it's often misjudged. A simple rule of thumb is to add one club for every 10 mph of "into the wind" shot and take one less club for every 10 mph of "downwind" shot. Don't forget about crosswinds - a right-to-left wind will push your ball left and can even knock it down, costing you distance.
Elevation: An uphill shot will play longer than its flat yardage, and a downhill shot will play shorter. You can find rangefinders that help calculate this "playing" distance, but a good general estimate is to add or subtract a club for every 15 feet of elevation change.
The Lie: How the ball is sitting has a huge effect on the shot. A ball in the thick rough will typically come out with less spin, meaning it won't stop as quickly on the green (sometimes known as a "flyer," though just as often it can result in a dead shot that goes nowhere). If the ball is above your feet, it will have a tendency to draw or go to the left (for a right-handed golfer). If it's below the feet, the ball will tend to fade, going right. You must adjust your aim to account for these tendencies.
Play for the Middle of the Green
This might be the single best piece of course management advice for the amateur golfer. Pros call pins tucked on edges or behind hazards "sucker pins" for a reason - they are designed to tempt you into a high-risk shot. Don't fall for it.
Instead, follow this simple rule on all approach shots, especially with mid- to long-irons: aim for the center of the putting surface. If the pin is on the right, aim for the middle. If the pin is on the left, aim for the middle. Committing to this strategy will have you putting far more often, and you'll virtually eliminate the costly "short-sided" miss where you have no green to work with for your chip.
Plan every shot like a pro
Describe your situation and Caddie AI helps you pick your target, shot shape, and club with confidence.
Even the best players in the world hit bad shots. The difference is that they know how to manage the fallout. Great course management truly shines when you're out of position. The number one rule when you get in trouble is this: your first priority is to get out of trouble.
Take Your Medicine
You've driven your ball into the trees. You see a tiny window to the green. Your ego is screaming, "I can hit that miracle shot!" This is the moment that defines a round. Trying the heroic shot usually ends in disaster - you clip a branch and the ball goes deeper into trouble, turning a bogey into a triple bogey. Then you become the player who famously complains, "I tried to make a 4 and made a 7 instead."
The smart play is to "take your medicine." Find the easiest, safest path to get the ball back onto the fairway. It might mean punching out sideways or even backwards. It feels like a wasted shot, but it's not. You're trading one recovery shot for a guaranteed chance at a clean next shot, effectively capping the damage. Your goal from trouble is not to make a miracle par, it's to turn a potential 7 or 8 into a bogey 5.
The Two-Putt Mindset
Course management doesn't stop until the ball is in the hole. On longer putts - anything outside of about 15 feet - your primary focus shouldn't be on making the putt. It should be on not three-putting.
To do this, change your target. Stop aiming for a 4.25-inch hole and start aiming for a three-foot "laundry basket" around the hole. This simple mental switch relieves the pressure to be perfect and allows you to focus solely on getting the speed right. Good speed virtually guarantees a simple, stress-free tap-in for your second putt.
Play Golf like a Pro with Caddie
Learn and improve your golf game as you play. Get pro-level tips, strategy and guidance anytime.
In the end, course management becomes the strategic voice in your head that guides you on every swing. It's about planning from the green backwards, making club choices based on far more than just yardage, and knowing that the smartest shot is often the one that takes big trouble out of play. Adopting this strategic mindset is truly the fastest road to lower scores, and you can start doing it on your very next round.
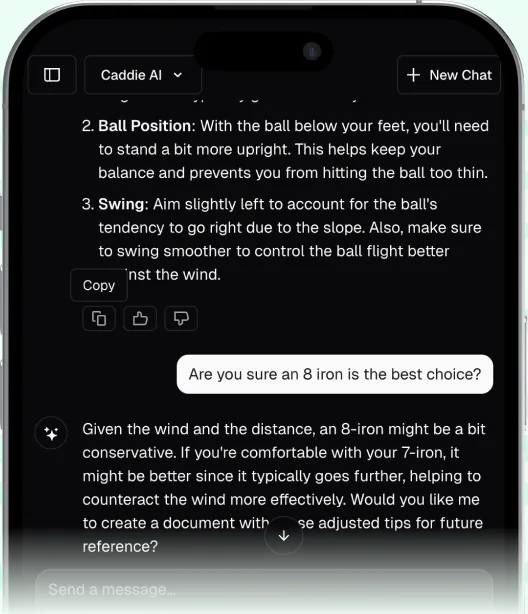
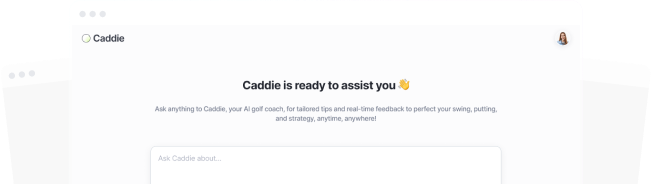
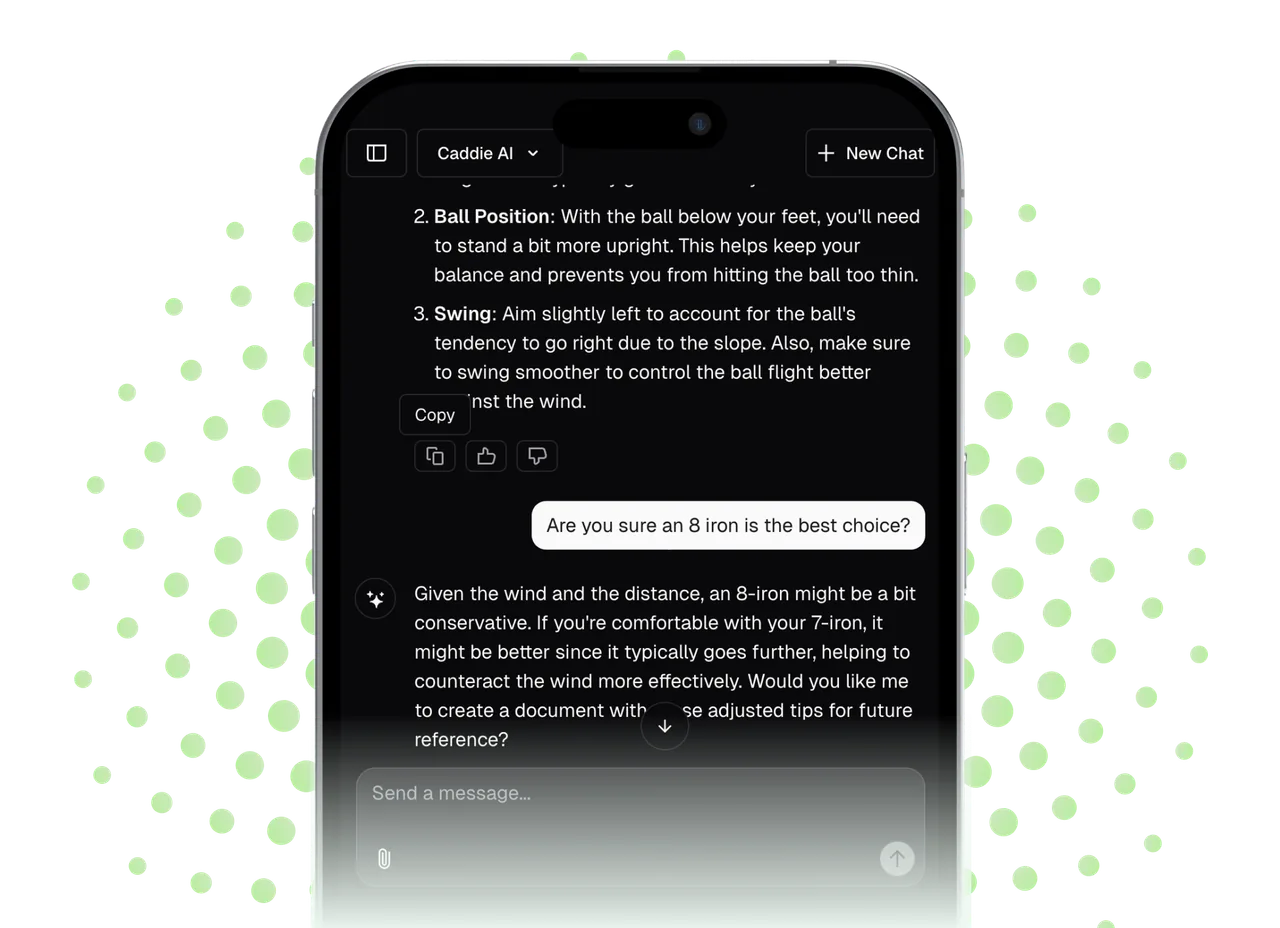
This decision-making process is precisely what a professional caddie does for a Tour player, and it's what we designed Caddie AI to do for everybody. Facing a blind tee shot on a new course or a tricky lie in the rough and unsure of the smart play? You're able to just ask and get back a clear, simple strategy right on the spot. You can even take a photo of your ball's lie to have Caddie AI get an immediate recommendation for the safest and most effective shot. We built it to take the guesswork out of these hard decisions, so you can play with the confidence that you're always making the smartest play.
Spencer has been playing golf since he was a kid and has spent a lifetime chasing improvement. With over a decade of experience building successful tech products, he combined his love for golf and startups to create Caddie AI - the world's best AI golf app. Giving everyone an expert level coach in your pocket, available 24/7. Caddie's mission is simple: make world-class golf advice accessible to everyone, anytime.
Other posts you might like
What Are Woods Used for in Golf?
A golf wood in your hand means one thing: you’re going for distance. Whether you’re standing on the tee looking down a long Par 5 or facing a second shot from the fairway with a lot of ground to cover, these are the clubs designed to send the ball flying. This article will break down exactly what woods are, what each one specializes in, and how you can make a smarter choice about which one to pull from your bag.
When you're watching a professional golf tournament or looking at a leaderboard online, seeing the letter F next to a player's name is a common sight. Simply put, **the F stands for Finished**. This indicates that the player has completed all the required holes for that day's round, or for the entire tournament, and their score is final. This article will not only explain this simple abbreviation but also break down all the other terms you'll see on a leaderboard, helping you understand the full story of a golf tournament as it unfolds.
Ever heard the term 'DOD' on a golf broadcast or at a club fitting and felt completely in the dark? You’re not alone. It stands for Dynamic Loft On Delivery, and while it might sound like complicated pro-level jargon, it’s one of the single most important factors determining how you hit the golf ball. Put simply, it’s the actual loft on your clubface at the exact moment of impact. This article will break down what DOD is, why it's the key to pure contact and consistent distance, and - most importantly - how you can start improving yours today.
You’ve probably seen them before - those two colorful rods poking out of a tour pro’s golf bag or lying on the ground at the driving range. They look simple, and honestly, they are. But an alignment stick is one of the most powerful and versatile training aids you can own. This guide will walk you through exactly what they are and, more importantly, how you can use them to fix your aim, groove a better swing path, and finally build the consistent swing you’ve been searching for.
That wild, right-to-left curve that sends your ball diving into the trees, often called a hook, is one of golf’s most frustrating mistakes. But it’s not random. A hook is a direct result of specific things happening in your setup and swing. This guide will walk you through exactly what causes that nasty hook and provide clear, actionable steps to turn it into a straight shot or a gentle draw.
Walking up to the first tee and seeing a collection of colored markers can feel a little confusing if you're not sure what they mean. The white tees are often the most common set you’ll see, but what are they really for? This guide will anwwer exactly what the white tees are, who should be playing from them (it’s not who you think!), and how to confidently choose the right set of tees for your game.