Thinking about transforming your backyard into a personal golf paradise? Building your own 3-hole golf course is a more achievable dream than you might imagine. In this guide, we'll walk you through everything from planning and design to construction and maintenance, giving you actionable steps to create a practice space that will be the envy of your foursome.
The Essential First Step: Planning Your Course
Before you turn the first shovelful of dirt, you need a solid plan. Good planning saves you time, money, and headaches down the road. It involves honestly assessing your space, thinking about safety, and setting a realistic budget.
Figuring Out Your Space and Layout
The first question is always, "Do I have enough room?" You might be surprised. While you probably don't have enough acreage for three 500-yard par 5s, a fun and challenging trio of par 3s is very doable for many people. A single acre is around 43,560 square feet. A 100-yard par 3, from tee to green, can fit into a space that's roughly 300 feet long and 100 feet wide to allow for some slight mishits.
Walk your property. Get a feel for the landscape. Can you fit three short holes? The best layouts feel natural and have a good flow. Consider how players will move from one green to the next teeing area. You don't want the next tee box to be directly in the line of fire of the previous hole. Look for opportunities to create variety: maybe one short, pitch shot hole of 60-70 yards, a mid-range hole of 100-120 yards, and a longer par 3 that requires a solid long iron shot of 140-160 yards, if space permits.
Safety: The Non-Negotiable Priority
Safety is the single most important consideration. A golf ball traveling over 100 mph can do serious damage. You are responsible for every shot hit on your property. Scout your potential layout from every angle and think about the worst possible shot for a right-handed and left-handed golfer.
- Neighboring Properties: Your layout must absolutely direct shots away from neighbors' houses, windows, and recreational areas.
- Your Own Home: Give your own house, windows, cars, and patio a wide berth. Even the best golfers have bad days.
- Public Areas: Ensure there's no possibility of a hopelessly sliced or hooked shot ending up on a nearby road or public walkway.
If your space is tight, consider installing safety netting. Tall netting, similar to what you’d see at a driving range, can be a great investment to contain errant shots and give you peace of mind.
Designing Your Dream Holes
This is the fun part. You get to be the course architect. Your goal is to create three distinct holes that are fun to play and test different parts of your short game. Sticking to par 3s is the most practical approach for a backyard course.
Working With What You've Got
Great course design works with the land, not against it. Look at the natural features of your yard as opportunities, not obstacles.
- Elevation Changes: Have a small hill? Use it! An uphill shot plays longer and requires more club, while a downhill shot requires precision distance control. You can build a green on a raised plateau or a tee box that sits above the green.
- Trees: A well-placed tree can force a golfer to shape a shot, turning a simple wedge shot into a strategic challenge. Don't clear-cut your property, use the trees to frame holes and add definition.
- Slopes: A yard that slopes from left to right can be used to design a green that funnels shots toward the hole or repels them away, rewarding an accurately placed shot.
Sketching Your Layout
Grab a piece of paper or use a simple design app to sketch your ideas. Mark the locations for tee boxes and greens. Think about variety. A good 3-hole loop might include:
- Hole 1: A short "flick" wedge (60-80 yards) to a relatively flat, welcoming green. A great warm-up hole.
- Hole 2: A medium-length shot (90-120 yards) to a green with some contour or protected by a small bunker.
- Hole 3: The longest hole on your course (130+ yards), perhaps with an uphill approach or a narrower opening, requiring your most precise shot of the day.
The Build: Bringing Your Course to Life
Construction is where your design meets reality. You'll build your course from the ground up, starting with the teeing areas and finishing with the crown jewels: your greens.
Step 1: Building Tee Boxes
Your teeing grounds don't need to be complex. A tee box is simply a firm, flat, level area where you can hit your tee shot from. You want it large enough to allow for different tee placements, which can change the angle and feel of the hole and prevent excessive wear in one spot. At a minimum, aim for an area of about 10 feet by 10 feet. Simply leveling an existing patch of turf and taking excellent care of it (mowing it short, fertilizing) is a perfectly fine starting point.
Step 2: Fairways and The "Rough"
On a short course, you likely won't have Tour-style "fairways" in the traditional sense. Primarily, your "fairway" is simply the mown turf between the tee and the green. You can create definition by mowing this area shorter than the surrounding "rough." This simple visual difference makes the hole look and feel more like a real golf hole.
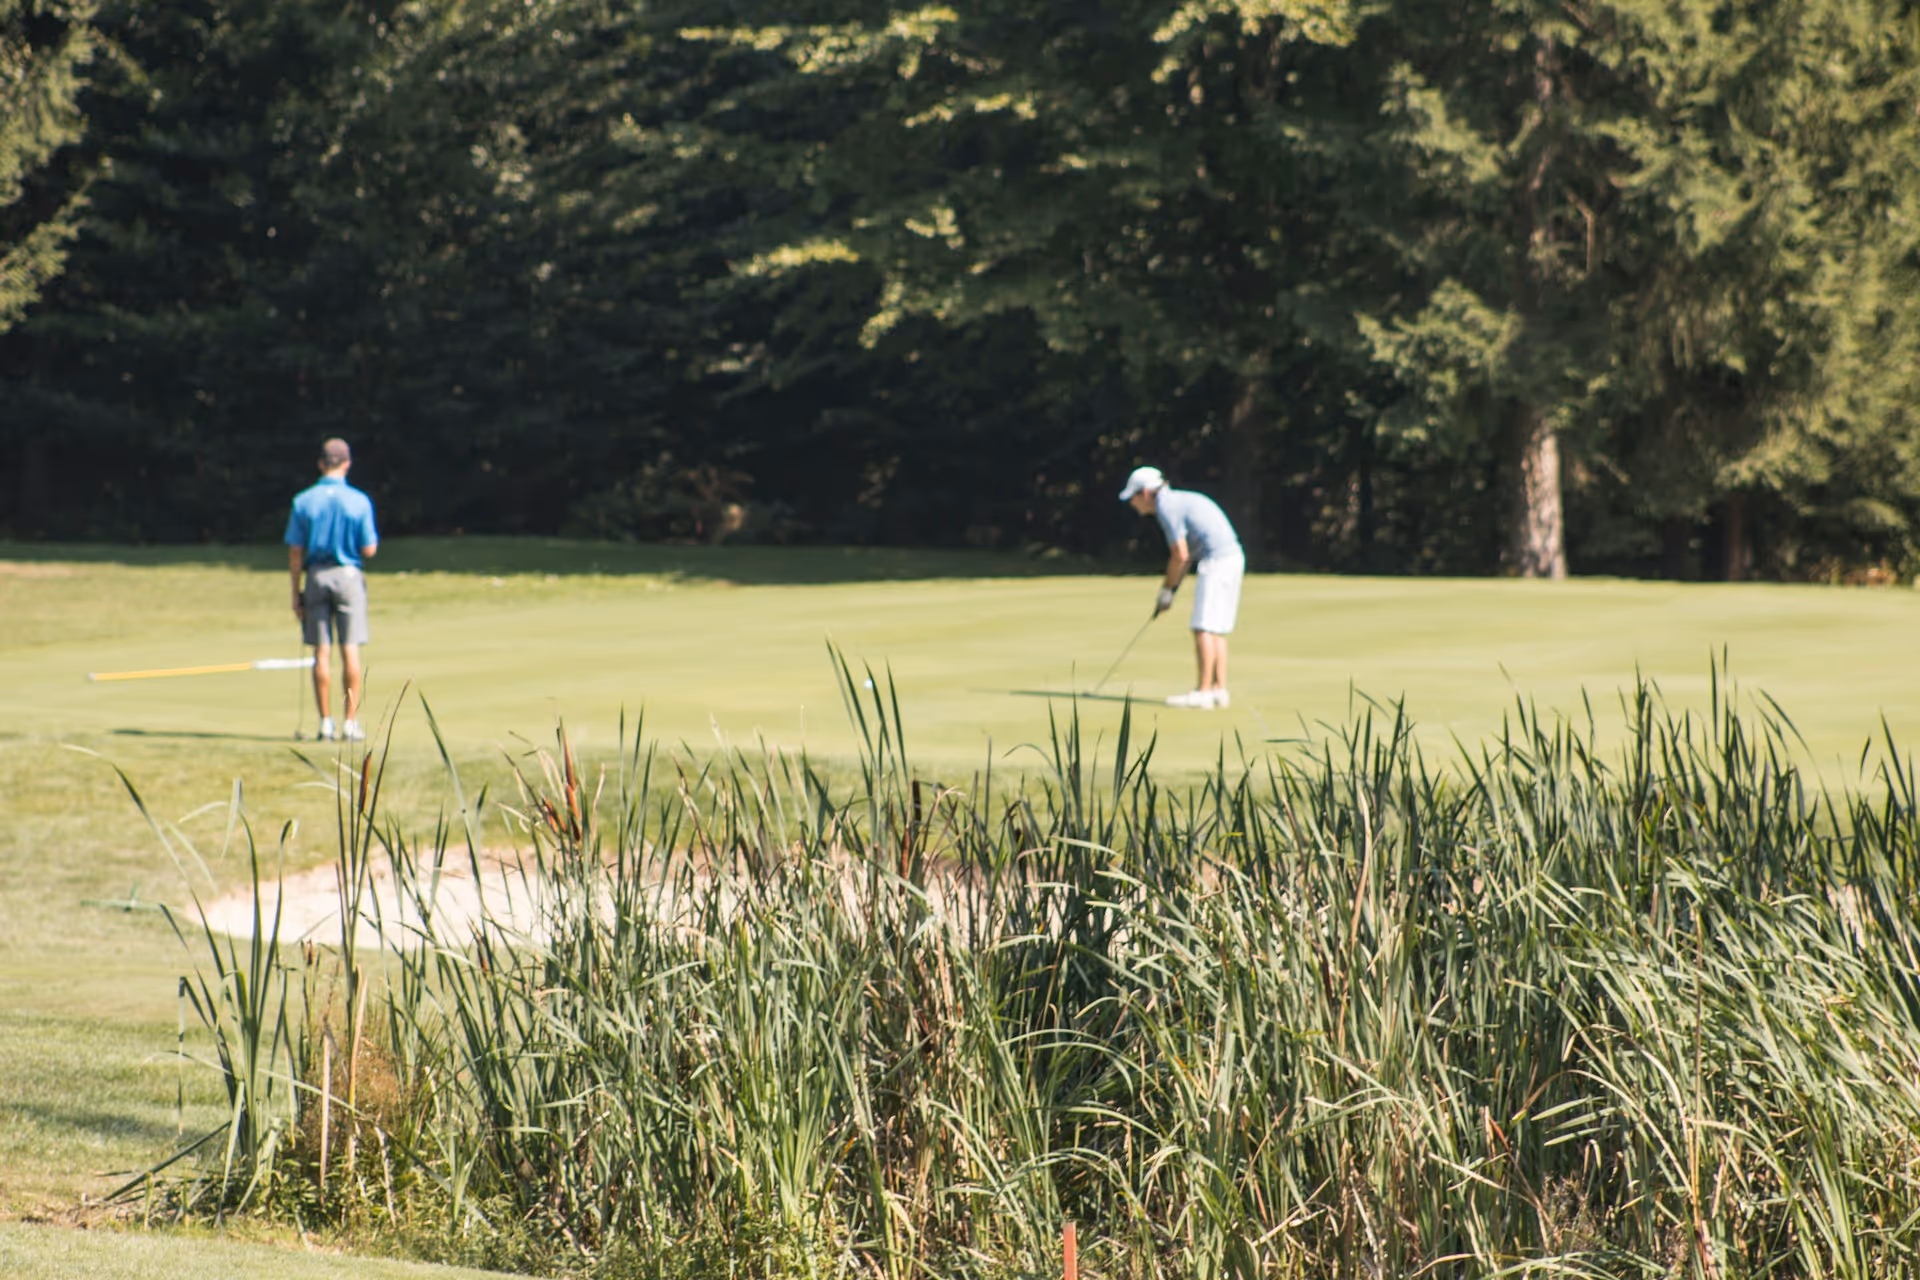
Step 3: Creating Your Greens (The Most Important Part)
The quality of your course will be defined by the quality of your greens. This is where you should focus the most time, effort, and budget. You have two main choices: artificial or natural grass.
Option A: The Low-Maintenance Synthetic Green
Artificial putting greens have come a long way. Modern synthetic turf can offer a remarkably true and consistent roll. A synthetic green is a fantastic choice if your priority is playability with minimal upkeep.
- Pros: Extremely low maintenance (no mowing, watering, or fertilizing), always ready to play, and perfectly consistent putting surface.
- Cons: A significant upfront cost, especially for professional installation. Some purists miss the feel of a natural green.
- Installation: This involves excavating the area, laying a crushed stone base for drainage, compacting it until it's perfectly smooth (or subtly contoured), and then installing the turf. While a DIY installation is possible, hiring a professional company that specializes in synthetic greens often yields the best, most long-lasting results.
Option B: The Traditionalist's Natural Grass Green
Building a natural grass green is a labor of love. It requires more work to build and a serious commitment to maintain, but for many golfers, there is nothing better than the feel of sinking a putt on real, perfectly manicured bentgrass.
- Pros: The authentic feel and look of a real golf course green. The satisfaction of building and maintaining it yourself.
- Cons: High, ongoing maintenance commitment. Susceptible to weather, disease, and pests.
- Construction:
- Excavate: Dig out the green shape to a depth of 12-16 inches.
- Drainage: Line the bottom with a 4-inch layer of pea gravel and install drainage tile to make sure water doesn’t sit on your green.
- Rootzone: Fill the rest with a specialized USGA green-spec sand and soil/peat mix. This allows for proper drainage and root growth. This layer will be about 10-12 inches deep.
- Shape and Seed: Shape the surface with subtle contours and breaks for putting challenges. Create a smooth surface and then seed with a high-quality green-specific grass like Bentgrass (for cooler climates) or sod with Bermudagrass (for warmer climates).
Step 4: The Finishing Touches
Little details make a big difference.
- Cups and Flags: Installing official 4.25-inch cups and fun flagsticks makes your course feel legitimate.
- Bunkers: Digging out a small area, lining it with fabric, and filling it with proper bunker sand can add a great strategic element.
- Markers: Simple tee markers for each hole and even small yardage markers can add a professional feel to your layout.
Maintenance: A Golfer's Zen Garden
Your work isn't done after the last flagstick is placed. A golf course is a living thing that requires consistent care.
Caring for Natural Greens
This is where the real work begins. Managing a natural grass green is a serious horticultural hobby.
- Mowing: You'll need a specialized reel mower (not a rotary mower) to cut the grass to the proper green height (around 1/8 of an inch). This needs to be done multiple times per week.
- Watering: Greens require consistent moisture, but not too much. A dedicated sprinkler system is ideal.
- Feeding and Protection: You'll need a regular program for fertilizing, as well as applying fungicides and pesticides to keep your green healthy.
- Topdressing and Aerating: Periodically applying a thin layer of sand (topdressing) and punching holes in the green (aerating) are essential practices to keep the surface smooth and the soil healthy.
A synthetic green, by contrast, just requires occasional sweeping or blowing to remove debris and brushing to keep the fibers standing upright.
Final Thoughts
Building your own 3-hole golf course is a deeply satisfying project that can provide endless hours of enjoyment and targeted practice. While it demands careful planning and a commitment to either a significant upfront investment or ongoing maintenance, the reward of stepping out your back door to play a few holes is unmatched.
Once your private practice paradise is complete, using smart tools can make every session even more meaningful. When standing on a tee you designed yourself, you can use Caddie AI to instantly map out a strategy for the shot. Our app acts as your on-demand golf coach, you can even snap a photo of a tricky lie in your own backyard rough, and we'll analyze it and suggest the smartest play. It’s about taking the guesswork out of practice, helping you to make faster improvements right at home.