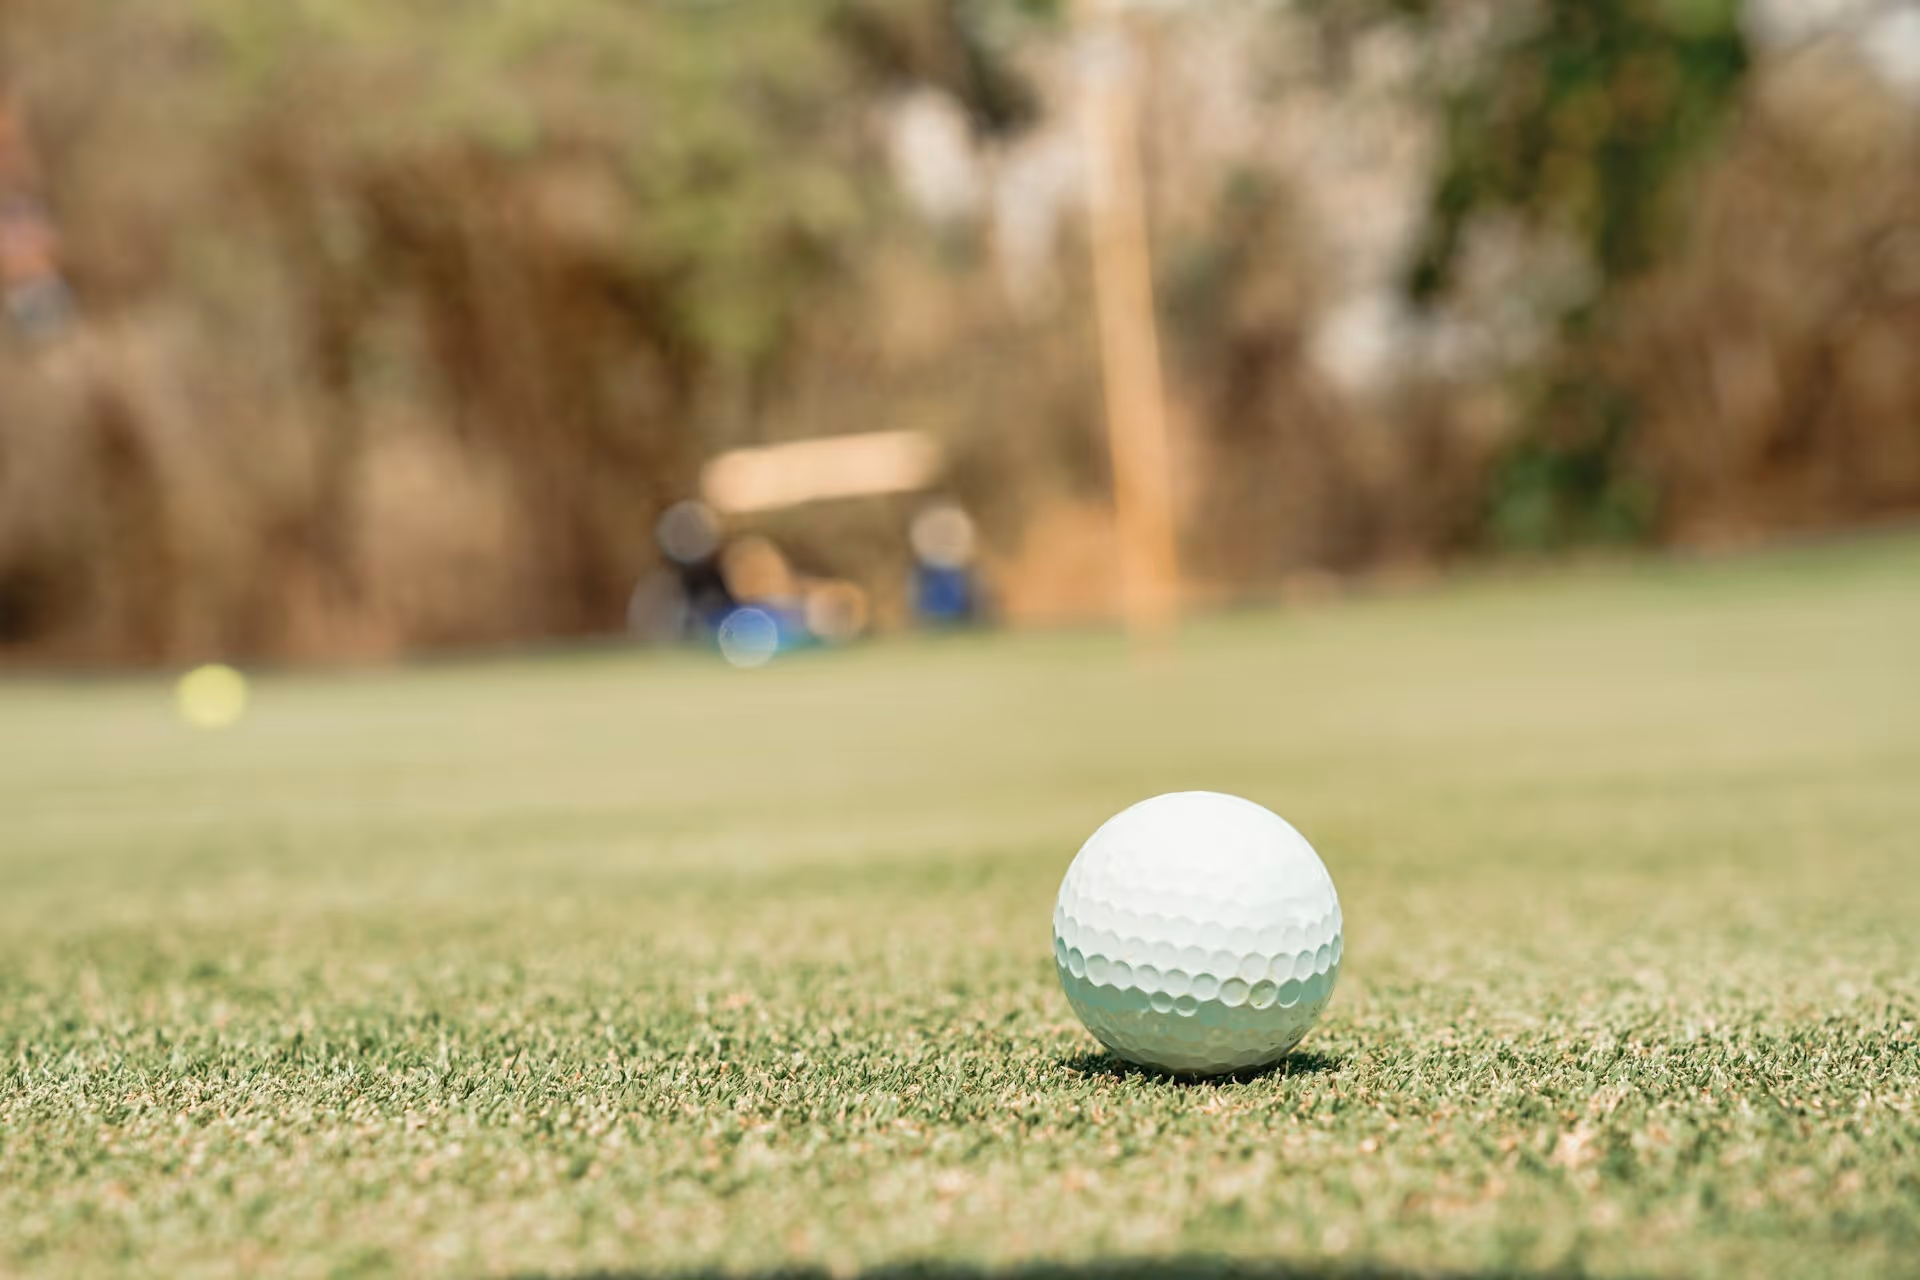
A set of gleaming, perfectly polished golf irons doesn’t just look the part – it can actually help you play better golf. This guide will walk you through the simple, rewarding process of deep cleaning and polishing your irons to restore that mirror shine. We’ll cover everything from the basic cleaning supplies you'll need to the exact techniques for making your clubs look brand new again, including special tips for different types of finishes.
Why Bother Polishing Your Golf Irons?
You might be thinking, "They're just going to get dirty again, so what's the point?" It’s a fair question, but keeping your irons clean and polished goes beyond simple aesthetics. From a performance standpoint, clean grooves are non-negotiable. When your grooves are packed with dried mud, sand, and grass, they can't effectively grip the golf ball upon impact. This dramatically reduces backspin, which negatively impacts your control, flight, and stopping power on the greens. A ball hit with a dirty 8-iron might fly more like one hit with a 7-iron but without the predictable spin, often leading to it bounding over the green.
Think of it from a coaching perspective: consistency in golf comes from removing as many variables as possible. A dirty clubface is a huge variable. Regular cleaning eliminates it. The polishing step is what takes it to the next level. Polishing not only adds a protective layer that helps repel dirt and prevents rust on common chrome finishes, but it also gives you a mental edge. Standing over a shot with a club that looks like it just came out of the box builds confidence. You feel more professional, more prepared, and more committed to the shot you're about to play. Just like a clean car seems to drive better, a sparkling clean iron feels better in your hands and looks way better in the bag.
Gathering Your Supplies: What You'll Need
You don't need a professional workshop to get a fantastic result. Most of the items required are likely already in your home. Before you begin, gather the following supplies to make the process smooth and efficient:
- A Bucket: Anything that can hold a gallon or two of water will work perfectly.
- Warm Water and Mild Dish Soap: A few squirts of standard dish soap (like Dawn) is all you need. It's gentle on the club's finish but tough on grime.
- Soft-Bristle Brush: A dedicated golf club brush is great, but an old toothbrush or a vegetable brush works just as well. The goal is to use something with bristles that can get into the grooves without scratching the face. Never use steel wool or a wire brush made for a grill, as these will permanently scratch your irons.
- Microfiber Towels: You will want at least two. One will be your "wet" towel for washing and wiping down, and the other will be your "dry" towel, used exclusively for buffing and polishing to a streak-free shine.
- Golf Club Polish or Chrome Polish: A product specifically designed for golf clubs is ideal, but any high-quality automotive chrome or metal polish will do the job. Look for a product that is non-abrasive. A small bottle will last you a very long time.
Step 1: The Deep Clean (Don't Polish a Dirty Club)
You can't achieve a great polish without starting with a perfectly clean surface. Trying to polish over dirt will just create a gritty mess and could even scratch the finish. Here's how to properly wash your irons before the main event.
Soak the Heads
Fill your bucket with warm water and add a few drops of mild dish soap. Place your irons in the bucket so that the entire clubhead is submerged but the water level stays below the ferrule (the little black plastic piece that connects the head to the shaft). Soaking the ferrules can, over time, loosen the epoxy that holds the head onto the shaft. Let them soak for 5-10 minutes. This will soften and loosen any caked-on mud and grass, making the next step much easier.
Scrub Away the Grime
Take one club out at a time and use your soft-bristle brush to scrub the entire head. Pay special attention to the face and the grooves. Dip the brush back into the soapy water as needed to keep things lubricated. Scrub the back, the sole (bottom), and the hosel of the club as well. For really stubborn dirt packed into the grooves, you can use a tee or a dedicated groove tool to gently scrape it out before continuing with the brush.
Rinse and Dry Completely
Once you’ve scrubbed a club clean, rinse it off thoroughly under a tap to remove all the soap residue. Immediately dry it with your first microfiber towel. Drying the club completely is very important, you don't want any water spots, and you need a totally dry surface before applying polish. Repeat this process for all of your irons.
Step 2: The Polishing Process for a Mirror Shine
With your irons clean and completely dry, it’s time to bring back that shine. This is the rewarding part where you get to see your efforts pay off.
- Apply the Polish: Squeeze a small, pea-sized amount of polish onto your clean, dry microfiber towel (the one you set aside for polishing). A little goes a long way, so don't overdo it.
- Work It In: Choose an iron and, using the towel, apply the polish to the clubhead. Gently rub the polish over the back, sole, and topline of the iron using small, circular motions. The idea is to cover the entire chrome surface with a thin, even layer. Try to avoid getting excess polish in the grooves or on any painted areas/inserts, though a little bit is fine and can be cleaned out later.
- Let It Haze: Most polishes need a few minutes to dry to a light haze. The specific drying time will vary by product, so give the instructions on the bottle a quick read. You’ll usually see the shiny liquid turn into a dull film.
- Buff It to a Shine: Take a clean, dry section of your polishing towel (or a second, completely clean one for best results) and start buffing the haze off. Again, use circular motions with a bit of firm pressure. As you buff, the haze will disappear, revealing a brilliant, mirror-like finish underneath. It's incredibly satisfying to see the shine reappear.
- Detailing: After buffing, you might notice a little polish residue in the number stamp or any logos on the back of the iron. Simply use a wooden tee, a Q-tip, or a clean corner of your towel to gently wipe it out.
Special Considerations for Different Finishes
Not all irons are created equal. While the process above is perfect for standard chrome irons, you need to adjust your approach for other finishes.
Chrome Finish Irons
This is the most common finish and the one that benefits the most from a good polish. They are designed to be shiny and resist rust. The step-by-step guide above is tailor-made for these clubs.
Raw or Unplated Irons
Raw irons (like some wedges and specialty sets) have no protective chrome plating. They are designed to rust over time. This rust, or patina, is preferred by many golfers who believe it softens feel and increases spin. If you polish a raw iron, you will be removing this rust and returning it to its original finish. This isn't necessarily "wrong," but you're working against the club's design. If you want to keep them shiny, you'll have to polish them regularly, as the rust will quickly return, especially in humid conditions.
Black or PVD (Physical Vapor Deposition) Finishes
Tread very carefully with dark-finished irons. This finish is a very thin coating applied over the base metal and is not nearly as durable as chrome plating. Using an abrasive polish or rubbing too aggressively can literally strip the color off, especially on the sole and leading edge from normal use. For these clubs, avoid traditional polish. After a thorough wash-and-dry, just use a spray wax (like a car detailer spray) on a microfiber towel to give it a clean sheen and a layer of protection. The goal here is to clean and protect, not abrade.
Final Thoughts
Cleaning and polishing your irons is a simple act of maintenance that pays huge dividends in performance, longevity, and pure in-the-bag appeal. By taking 30 minutes every month or so to give your clubs this treatment, you’ll not only ensure your grooves are working as intended but also step up to every shot with the confidence that comes from taking pride in your equipment.
Bringing the best out of your equipment is a great start, but marrying that with smart on-course decisions is how you really lower your scores. If you’ve ever found yourself second-guessing which beautifully polished iron to pull for a tricky approach shot, our Caddie AI can give you on-demand guidance. You get instant access to club recommendations and strategic advice for any situation on the course, ensuring your equipment and your decisions are always working together.