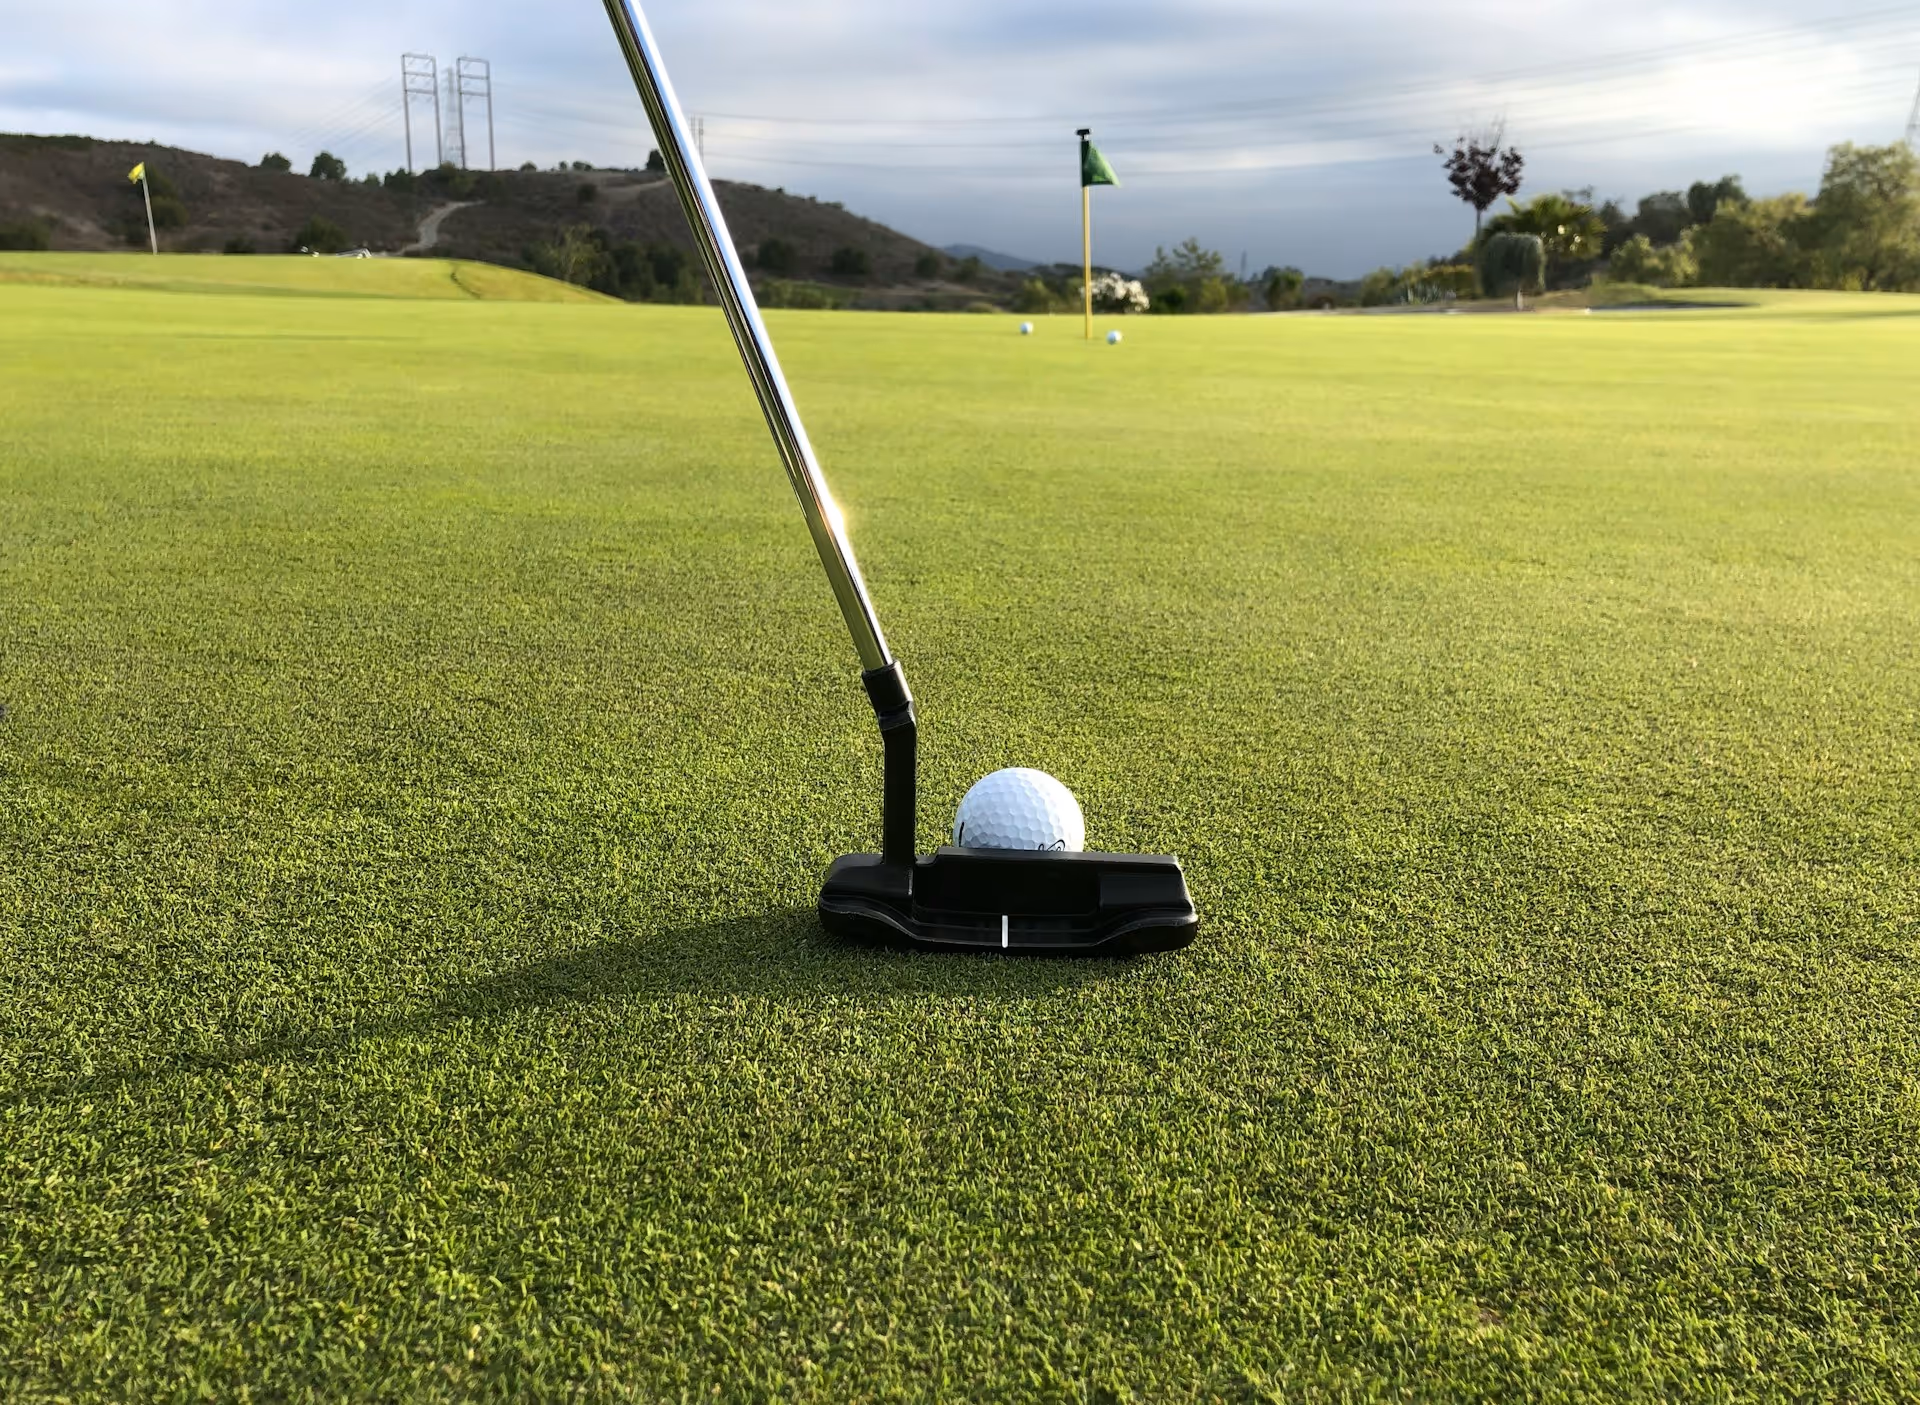
Dragging a dirty, worn wedge through the grass isn’t going to give you that crisp, zipping backspin you see on TV. Restoring the bite on your irons and wedges is one of the fastest and cheapest ways to improve control, and you can do it yourself with a simple groove sharpening tool. This step-by-step guide will walk you through exactly how to use a golf club groove sharpener safely and effectively, helping you bring back that like-new performance to your most important clubs.
Why Sharpen Your Club Grooves?
Before we get into the "how," let's talk about the "why." Think of the grooves on your golf club like the treads on a car tire. Their primary job is to channel away debris - grass, sand, dirt, and water - that gets between the clubface and the ball at impact. When those channels are clean and sharp, they can do their job effectively, allowing for maximum friction between the face and the ball. This friction is what generates spin.
Over time, with every shot you hit, the edges of these grooves get worn down, rounded, and filled with compacted dirt. As they become less effective, you lose spin and, consequently, control. This is most noticeable in a few key areas:
- Approach Shots: Sharp grooves on your wedges and short irons mean the ball will check up faster and stop more quickly on the green. A worn-out wedge shot might release and roll out 15 feet past the pin, while a shot with a freshly sharpened wedge might land and stop within a few feet.
- Shots from the Rough: When there's a lot of grass between your club and the ball, sharp grooves are essential for cutting through that debris and making some contact with the ball's cover. This helps you maintain a degree of spin and control from an otherwise unpredictable lie.
- Wet Conditions: Playing in the morning dew or a light rain? Grooves are your best friend. They work to squeegee water away from the impact zone, preventing the ball from sliding up the face and creating those low-spin "fliers" that sail over the green.
Put simply, sharpening your grooves is about restoring consistency. You’re bringing the club back to its original design specification so you can get more predictable spin rates, carry distances, and control in all types of conditions.
Understanding the Groove Sharpener Tool
A groove sharpener is a small, handheld tool, usually made of hardened tool steel or carbide. It features one or more cutting heads designed to fit perfectly into the grooves of a golf club. There are generally two types of grooves, and it's helpful to know which kind your clubs have.
- V-Grooves: These have angled walls that form a "V" shape. They were common on clubs made before 2010.
- U-Grooves (or Box Grooves): These have squarer walls and a flatter bottom, forming a "U" shape. Most modern clubs (made after 2010) feature U-grooves, which are regulated by the USGA and R&,A for competition play.
Most modern sharpening tools come with multiple cutting tips or a single, cleverly designed head that is compatible with both V- and U-grooves. If you're unsure which grooves you have, a quick search for your club's model and year will give you the answer. For most golfers with clubs from the last decade, you'll be dealing with U-grooves.
Your Pre-Sharpening Checklist: What You'll Need
Gathering your supplies beforehand makes the process smooth and easy. You don't need a professional workshop, just a few simple items:
- A Groove Sharpening Tool: Your main piece of equipment.
- A Stiff-bristled Brush: A wire brush or even a firm nylon brush works well.
- Soap and Water: A bucket of warm, soapy water.
- A Soft Towel or Rag: For cleaning and drying.
- Masking Tape: To protect the areas of the clubface you aren't working on.
- A Stable Work Surface: Holding the club securely is important. You can use a bench vise with a shaft protector (the best option), or simply brace the club firmly on a workbench or even in your lap.
- Light Machine Oil (optional): Such as 3-in-1 oil or WD-40 for a final protective layer.
The Step-by-Step Guide to Sharpening Your Grooves
With your supplies ready, it’s time to get started. Focus on your wedges (Pitching, Gap, Sand, Lob) first, as they benefit most from sharp grooves. You can also do your short irons (8-iron, 9-iron) if you like. Take your time with the first club until you get a feel for the process.
Step 1: Deep Clean the Clubface
You cannot effectively sharpen grooves that are packed with old dirt. Start by giving the clubface a thorough cleaning. Dip the brush in your warm, soapy water and scrub vigorously inside each groove and across the entire face. Your goal is to remove every last bit of dirt, sand, and grime. Once clean, rinse the clubhead and dry it completely with your towel.
Step 2: Protect the Face with Masking Tape
Even with a steady hand, it's possible for the sharpening tool to slip. To prevent accidental scratches on the polished areas surrounding the grooves, apply masking tape to the perimeters. Place a strip of tape along the top and bottom of the groove block, and if you want to be extra cautious, along the hosel and toe as well. This creates a safe "work zone" for you.
Step 3: Secure the Club
A stable club is essential for a clean, consistent sharpening job. If you have a workbench with a vise, clamp the shaft into the vise using a rubber shaft protector to avoid damage. If you don't have a vise, you can sit down and brace the clubhead firmly in your lap, holding the shaft securely under your arm against your body. The key is to minimize any potential for the club to move while you work.
Step 4: Sharpen the First Groove Carefully
Now for the main event. Take your sharpening tool and hold it like a pen. Rest the cutting head in one of the end grooves (starting at either the heel or toe is fine).
Angle the tool slightly, at about 45 degrees, which gives you better control and leverage. Apply light, steady pressure and run the tool through the groove from one end to the other in a single, smooth motion. Don't try to press down too hard. The sharp cutting head is designed to do the work, your job is to guide it. You will hear and feel a slight scraping as the tool re-forms the groove edge, removing tiny metal burrs and caked-in debris.
Step 5: Work Your Way Across the Face
Once you’re satisfied with the first groove, move to the next one and repeat the process. Continue this for every groove on the clubface, maintaining consistent pressure and the same number of passes for each one. This ensures uniform performance across the entire face. As you work, you'll see small metal shavings come off - this is a good sign that the tool is working correctly.
Step 6: Clean, Inspect, and Final Wipe-down
After you’ve completed all the grooves, remove the masking tape and give the clubface a good wipe with your cloth to clear away all the metal dust and shavings. Now, inspect your work. The edges of the grooves should look and feel more defined and sharp. They will appear a bit brighter than the rest of the face. Give the club one final clean with the cloth to make sure it's pristine.
For an optional but professional finishing touch, apply a small amount of light machine oil to the clubface and wipe it around with a rag. This helps protect the raw steel of the newly-exposed groove edges from rust.
Common Mistakes to Avoid: The "Don'ts" of Groove Sharpening
- Don’t Go Overboard: More isn't always better. Stick to 4-6 gentle passes per groove. Aggressively gouging out your grooves can damage the club, ruin feel, and shred golf ball covers.
- Don’t Use Brute Force: Let the tool do the work. Pressing too hard can cause the tool to jump out of the groove, potentially scratching the face or your hands.
- Don’t Worry About Drivers or Fairway Woods: The grooves on your woods are primarily for aesthetics and channeling a bit of water. They don't generate significant spin, so there's no performance benefit to sharpening them. Stick to your wedges and irons.
- Don’t Forget Competition Rules: For the average weekend golfer, this isn’t a large concern. However, if you play in sanctioned tournaments, be aware that altering your grooves CAN make them non-conforming. Sharpening to restore their original condition is usually fine, but deepening or widening them can put them outside USGA/R&,A limits. If you're a serious competitive player, proceed with caution.
Final Thoughts
Restoring your wedges and irons with a groove sharpener is a simple and rewarding piece of DIY club maintenance that can directly improve your control and confidence. By carefully cleaning, sharpening, and protecting your clubs, you can bring that tour-level backspin back to your game.
Of course, having sharp grooves is only valuable if you're making the right strategic decisions on the course. Once your equipment is dialed in, you still have to select the right club and the right shot for the situation. For those tricky moments - like guessing the right club for an approach shot or figuring out how to play a tough lie from the rough - we built Caddie AI to act as your personal course strategist. You can get instant, expert-level advice on everything from tee-shot strategy to shot selection, helping you turn your well-maintained equipment into lower scores.