A golf scope can give you a crystal-clear view of the pin from hundreds of yards away, turning guesswork into a confident club selection. We're going to walk through exactly how to use your Barska golf scope, from getting that first clear image to accurately ranging the flagstick. This guide gives you the step-by-step process and practical tips you need to start using it effectively on your very next round.
First, Understanding Your Barska Golf Scope
Before we get into the "how-to," it's important to know what kind of tool you have in your hands. A Barska golf scope is a monocular, which is basically half of a pair of binoculars. Its main job is magnification - making distant objects appear closer. This is different from a laser rangefinder, which bounces a laser beam off the target to give you an exact yardage readout. The Barska scope won't give you a digital number, instead, you'll use its internal scale, called a reticle, to estimate the distance yourself.
Think of it less like a calculator and more like a traditional map and compass. It gives you the information you need, but you're the one who interprets it. This is a wonderfully simple and effective way to get yardages without batteries or complex electronics. It’s a tool for visualizing your shot, understanding the hole's layout, and getting a reliable distance to the pin.
The Key Parts You'll Use
- Eyepiece: This is where you look through. It has a rotating dial called a diopter to focus the internal reticle to your specific eyesight.
- Focus Dial: This is the main ring around the body of the scope. You'll turn it to focus on your target (the flagstick, a bunker, a tree, etc.).
- Objective Lens: The large lens at the front of the scope that gathers the light. Keep it clean for the best view.
- Distance Reticle: The built-in scale you see when you look through the eyepiece. This is your tool for estimating yardage.
Setting Up Your Scope for a Clear View
Getting a sharp, clear image is the first and most important step. If you can't see properly, you can't get an accurate distance reading. The good news is, you only have to do the first part of this setup once.
Step 1: Adjust the Eyepiece (Diopter)
Before you even look at the pin, you need to focus the internal reticle for your own eye. Think of it like adjusting the driver's seat and mirrors in a new car. It's a one-time personalization.
- Point the scope at a neutral, bright background like the sky or a distant cloud. Don't focus on an actual object yet.
- Look through the eyepiece and you’ll see the distance scale. It might be blurry.
- Rotate the eyepiece itself (the part your eye is up against) left or right until that internal scale (the numbers and lines) is perfectly sharp and black.
- That’s it. You’ve now calibrated the reticle to your vision. You shouldn't have to change this setting again unless someone else uses your scope.
Step 2: Find and Focus on Your Target
Now, let's aim for the pin. Trying to hold a 10x magnification scope steady can be a little wobbly at first. Here’s a simple trick: rest your elbow on your hip for support or, if you're near one, brace your hand against your golf cart's roof support. This creates a much more stable base.
- Bring the scope to your eye and find the general area of the green.
- Locate the flagstick. It will most likely be blurry at first.
- Use the main focus dial (the larger ring on the scope's body) to bring the flagstick into sharp focus. Twist it back and forth until the edges of the flag and the pin are as crisp as possible.
How to Read the Reticle and Estimate Yardage
This is where it all comes together. Once you have a steady, focused view of the pin, you can use the distance scale inside your Barska scope to calculate the distance. It’s a simple system of lining things up.
Imagine the flagstick is a person you’re trying to measure. You would place the start of a measuring tape at their feet and see what number their head lines up with. The scope's reticle works the same way.
The Step-by-Step Ranging Process
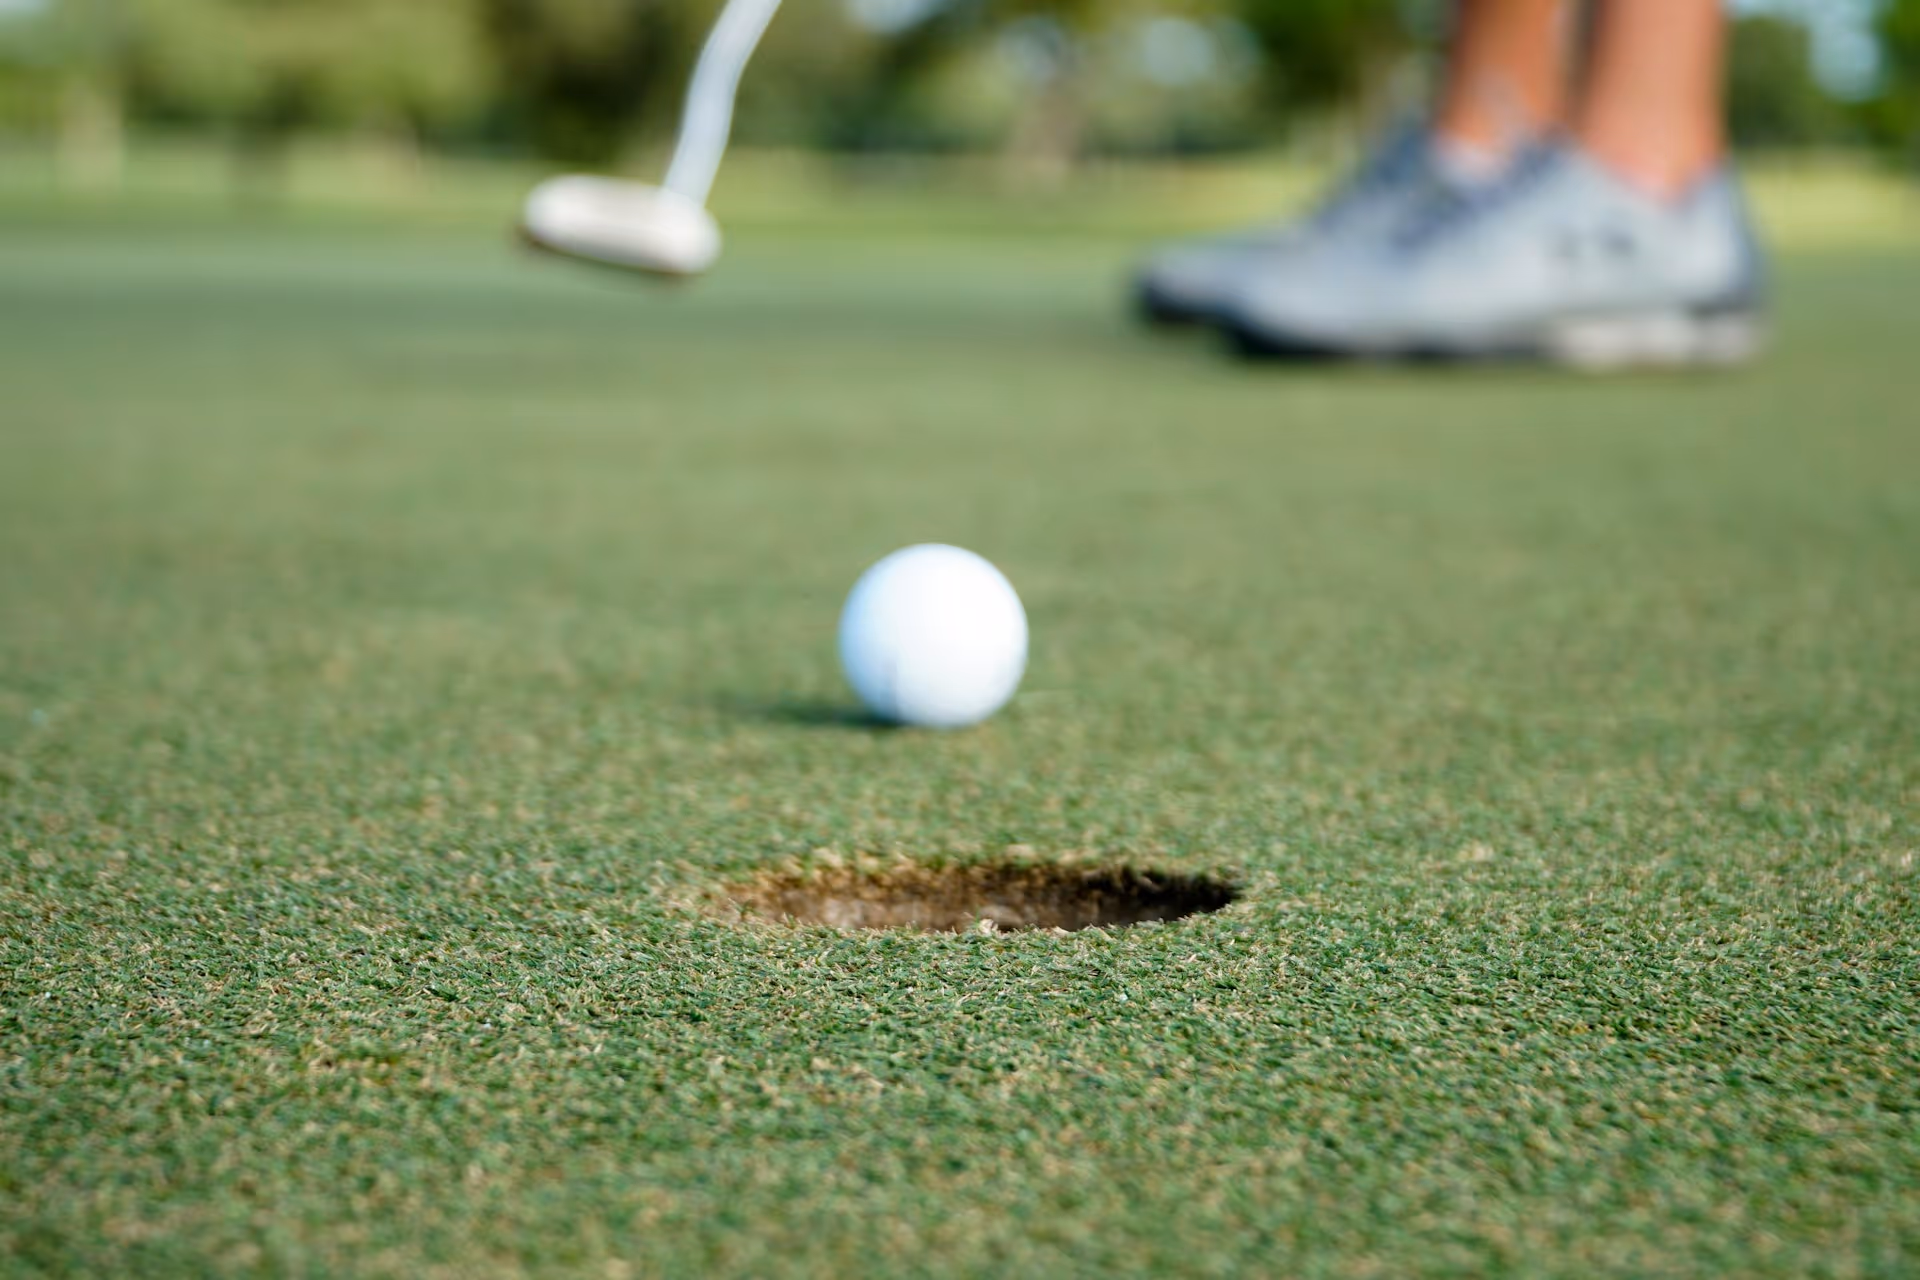
- Focus on the base of the pin first, not the flag.
- You'll see a solid horizontal line at the bottom of the distance scale in your viewfinder. While looking through the scope, position that bottom horizontal line so that it sits right at the base of the flagstick, where it enters the cup.
- Now, without moving the scope, look up toward the top of the pin. The top of the pin will align with or near a number on the arched vertical scale.
- That number is your estimated distance to the hole in yards. For example, if the top of the flagstick lines up perfectly with the mark next to the number '150', you are approximately 150 yards from the pin. If it falls between two markings (e.g., between 150 and 175), you simply estimate the distance.
That really is all there is to it. Line up the bottom, read the top. It’s that simple. But like anything in golf, a bit of practice goes a long way. Before you rely on it completely in a tournament, take it to the driving range. Stand at a tee box and use your scope to measure the range flags that have marked distances (e.g., 100, 150, 200 yards). This will "calibrate" your eye and build confidence that your readings are accurate.
More Than Just Yardages: Other Smart Uses for Your Scope
While ranging the pin is its primary job, a good scope is a fantastic observation tool that helps you develop a smarter course strategy. It's your personal periscope for understanding the hole ahead of you.
Scouting Hazards and Landing Areas
From the tee box, scope the fairway. Where, exactly, is the edge of that fairway bunker? Is there a narrow landing area you can't quite make out with the naked eye? Magnification gives you a new level of detail. Knowing a bunker is 220 yards to carry versus 240 is the kind of information that changes your entire strategy off the tee. You can make a much smarter decision about club selection and aim point when you have a clear picture of what you're up against.
Finding Golf Balls
We’ve all been there: you hit a great-looking drive that just disappears into the semi-rough. Instead of wandering around hoping to stumble upon it, stand back and systematically scan the area with your scope. Your ball, particularly if it's white, will stand out against the green and brown of the rough. It can save you strokes and a lot of frustration from a lost ball penalty.
Visualizing the Approach Shot
From 160 yards out in the fairway, you might know the pin distance, but what’s around it? Use your scope to get a detailed view of the green complex. Is the pin cut tight behind a bunker? Is there a big slope on the left side of the green you can't see? Spotting that the flag is on a small shelf on the back of the green can be the difference between firing aggressively at the pin and playing a safe shot to the middle. This strategic thinking is what lowers scores.
Final Thoughts
Using a Barska golf scope is a simple, effective skill that takes the guesswork out of your approach shots. By learning to steady your view, focus clearly, and correctly read the reticle, you arm yourself with the information you need to select the right club and hit your shots with more commitment and confidence.
Mastering tools like a golf scope gives you the on-course data you need, and the next step is turning that data into smarter decisions. That's precisely why we created Caddie AI. Once you have your yardage, you might have other questions like what type of shot to hit given the wind, your lie in the rough, or how to play a tricky hole strategically. Knowing you can discreetly get a second opinion from us in your pocket removes the uncertainty and helps you commit to every shot with confidence, which is what the game is all about.