Seeing a little red stake by the side of the fairway or green can cause a moment of panic, but it's really just the course's way of telling you exactly how to handle a specific situation. Those red stakes define a lateral penalty area, and understanding the specific rules for them can save you confusion, frustration, and precious strokes. This guide will walk you through exactly what those red posts and lines mean, detail your relief options step-by-step, and give you the strategic insight to make the smartest play every time your ball finds trouble.
What is a Red-Staked Penalty Area?
In golf, a penalty area is any body of water or another area defined by the course's Committee where a ball is often lost or unable to be played. The color of the stakes or lines - either red or yellow - tells you which type of penalty area it is and what your relief options are.
A red-staked area is officially known as a lateral penalty area. The key word here is lateral, which simply means it runs alongside the line of play. Think of things like:
- A stream or ditch that runs all the way down the side of a fairway.
- A lake or pond that borders the edge of a dogleg.
- A protected environmental area (like woods or desert scrub) that you are not allowed to enter.
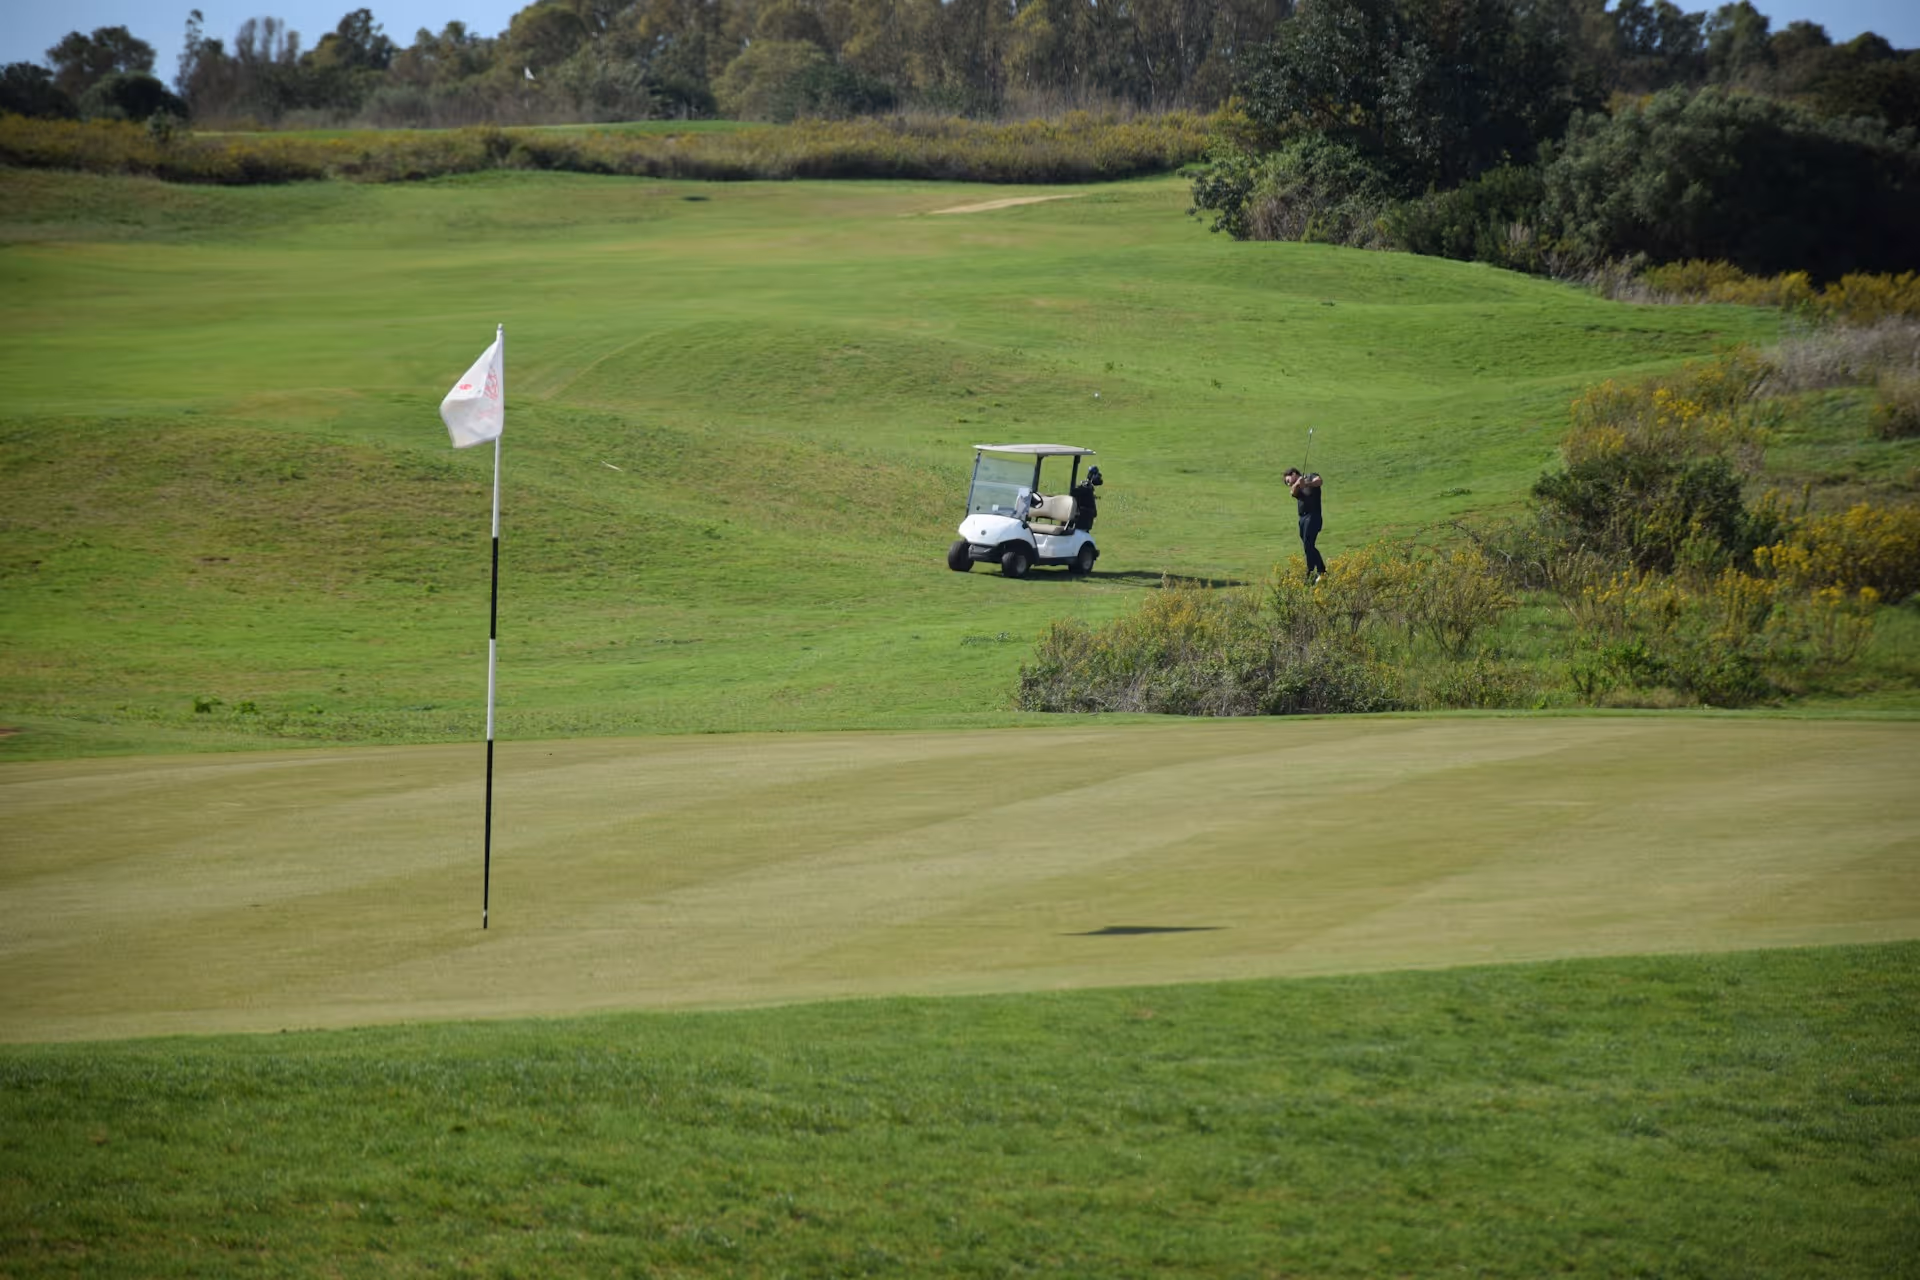
- Areas of thick, unplayable brush adjacent to the green.
This is different from a yellow-staked penalty area, which typically crosses the line of play. For example, a pond that you have to hit your shot over to reach the fairway or green will almost always be marked with yellow stakes. The rules are slightly different for each, and the primary benefit of a red-staked area is an extra relief option that can really help your score.
The Official Ruling: 3 Ways to Handle a Red-Staked Area
So, your ball has found its way past the red line. Take a deep breath. You have choices, and making the right one starts with knowing them all. Here’s the breakdown based on the Rules of Golf.
Option 1: Play the Ball as It Lies (No Penalty)
This is the first thing you should always consider. If you can find your ball and you think you can make a reasonable swing at it, you are allowed to play it from inside the penalty area without any penalty strokes.
A major rule change a few years ago made this option much more appealing. You are now allowed to:
- Ground your club lightly behind the ball.
- Take practice swings that touch the ground.
- Remove loose impediments (like leaves, twigs, or stones) from around your ball.
Basically, you can treat it like any other shot from the rough. The decision to play it comes down to risk versus reward. If your ball is sitting up nicely on a bit of packed dirt or sparse grass just inside the line, go for it! But if it’s submerged in water, plugged in mud, or nestled in an impossible tangle of roots, it's time to consider taking a penalty drop.
Option 2: Take Penalty Relief (One Penalty Stroke)
If playing it as it lies is off the table, you can take relief for a one-stroke penalty. For a red-staked penalty area, you have three distinct relief options. You get to choose the one that works best for your specific situation.
Relief Option A: Stroke and Distance
This is your simplest, though often least appealing, option. You go back to the spot where you hit your previous shot and hit it again, adding one penalty stroke to your score.
- How to do it: Drop a ball in a one club-length relief area based on where you just played from. For example, if it was your tee shot, you just re-tee it, now playing your third shot.
- When to use it: This is rarely the best choice. However, if you hit a poor wedge shot from 80 yards into a red penalty area next to the green, you might prefer to re-hit from that perfect 80-yard distance rather than dropping in a potentially awkward spot next to the hazard.
Relief Option B: Back-on-the-Line Relief
This option gives you a bit more flexibility and is also available for yellow penalty areas.
- How to do it: First, you must identify the point where your ball last crossed the red line of the penalty area. Now, imagine a straight line going from the hole, through that point, extending as far back as you want. You can drop your ball on that line at any spot, giving you a clear shot into the green.
- When to use it: This is a great strategic choice if your other drop options would leave you with a bad lie, blocked by a tree, or at a weird angle. Going back on the line, even a few yards, might open up a much better corridor to the flag.
Relief Option C: Lateral Relief (The Red Stake MVP)
This is the special option available ONLY for red-staked penalty areas. It's the most common and often most beneficial relief procedure because it allows you to drop near where your ball went out of play, without losing significant distance.
- How to do it: First, just like with Back-on-the-Line relief, identify the estimated point where your ball last crossed the edge of the red penalty area. From that point, you can measure two club-lengths (using the longest club in your bag, other than your putter) away from the penalty area, no closer to the hole. You can drop your ball anywhere within that two-club-length arc.
- When to use it: Almost always! Imagine you hit a 240-yard drive that slices into a ditch running alongside the fairway. Stroke and distance would mean going back to the tee and hitting your third shot. Back-on-the-line relief might not be helpful. But Lateral Relief lets you drop just a couple of yards into the fairway, 240 yards down the hole, and hit your third shot from there. It's a huge advantage.
Strategy from a Coach: Making the Smartest Decision
Knowing the rules is half the battle, applying them correctly to save strokes is the other half. Here’s how I advise my students to think through the process.
The "Play It" Checklist
Before you even think about dropping, ask yourself these questions about playing the ball as it lies:
- Is the lie playable? Be honest. A ball half-submerged in mud isn't playable, no matter how much you want it to be. If it's sitting up, great. If not, don't be a hero.
- Do I have a clean stance and swing? Can you get both feet set comfortably? Is there a tree branch, root, or slope that will severely interfere with your swing?
- What is the realistic outcome? The goal isn't just to advance the ball, but to advance it to a better position. Trying to gouge a ball out of thick grass from a downhill lie might just send it 10 feet into an even worse spot. The risk of compounding the error is high. Conceding the penalty and taking a drop on a flat piece of grass is often the far savvier play.
Choosing Your Relief: Lateral vs. Back-on-the-Line
Nearly 90% of the time, the two-club-length lateral relief is going to be your best friend.
So when would you ever choose the Back-on-the-Line option instead?
Picture this: Your approach shot to the green misses just right and trickles into a red-staked pond. The point where it crossed the red line is directly behind a large bunker that shields the hole. If you take lateral relief, you'd have to drop within two club-lengths of that spot, leaving you with a delicate pitch shot over the massive bunker from a potentially awkward lie.
In this scenario, Back-on-the-Line relief might be brilliant. By finding that line from the hole through where your ball crossed, you could walk 10, 15, or even 20 yards straight back from the hazard until you have a perfect, unobstructed line to the green from a clean lie. Yes, you are a bit farther away, but you’ve traded that for a much higher percentage shot.
Clearing Up Common Mistakes
The penalty area rules can be tricky. Here are a couple of common mix-ups I see on the course every weekend.
Never Drop on the Opposite Margin (Unless a Local Rule Allows)
This is a big one. Let's say a ditch runs down the right side of the hole and you slice your ball into it. Many golfers mistakenly think they can go to the other side of the ditch (the left side) and drop there. This is not allowed under the standard rules. Under Rule 17.1d(3), you can only take relief on the opposite side if the committee has established it as an additional relief option with a specific Local Rule. If there’s no specific rule posted, you must use one of the three options from the side where your ball entered.
Stakes are Movable, Lines are Not
If a red stake physically interferes with your stance or swing, you can treat it as a movable obstruction and pull it out of the ground (just remember to replace it after your shot). However, if the penalty area is defined by a painted red line on the ground, the line itself is considered part of the penalty area and you receive no free relief from it.
"Known or Virtually Certain"
You can only take penalty area relief if it is "known or virtually certain" (meaning 95%+) that your ball is in the penalty area. If you hit a wild slice toward some trees and a red-staked creek, but you aren't sure if it went in the water or is just lost in the trees, you cannot assume it's in the penalty area. In that case, you must proceed under the lost ball rule, which is stroke and distance.
Final Thoughts
The red stake simply signals that your ball is in a lateral penalty area. It grants you the standard relief options plus one extra, powerful choice: lateral relief. Learning to quickly assess your lie, know your three relief procedures, and pick the one that gives you the best chance for recovery is a fundamental skill for smarter golf.
Of course, figuring out the best drop zone and strategic play in the heat of the moment can be stressful. We designed Caddie AI to be your ever-present coach in these specific situations. When you're facing a tough call by some red stakes, you can snap a photo of where your ball lies, and I can analyze the situation for you in seconds. We'll help you confirm the rules and give you a clear, strategic recommendation on which relief option will best help you save the hole, taking the pressure off so you can just focus on your next shot.