The par for the Old Course at St Andrews is 72, but that simple number doesn't even begin to tell the story of one of golf's most strategic and historic layouts. To truly understand its par, you have to look at the unique character of each hole and the challenges that make a score of 72 such a monumental achievement. This article will break down exactly what par means at the Home of Golf, providing a hole-by-hole guide and the coaching advice you need to navigate this legendary track.
What Is the Official Par for the Old Course at St Andrews?
For daily play and most major championships, the Old Course at St Andrews plays to a par of 72. What makes this par unusual, especially for a championship venue, is its composition. Unlike a typical course with four par 3s and four par 5s, the Old Course features an irregular and captivating mix:
- Fourteen Par 4s
- Two Par 3s
- Two Par 5s
This layout means you face a barrage of demanding two-shot holes, with very few "rest" holes. The routing itself is a classic "out-and-back" links design. Players go "out" for nine holes away from the famous Royal &, Ancient clubhouse and come "in" for the final nine holes, often facing an entirely different wind direction on each stretch. To shoot par here, you need precision, creativity, and a links golf strategy that goes far beyond just hitting it long and straight.
A Hole-by-Hole Guide to Par on the Old Course
Merely knowing the par is 72 isn't enough. The real analysis lies in understanding how each hole presents its own unique test. Let's walk through the course from a strategic perspective.
The Front Nine: The Outward Journey (Par 36)
The opening stretch moves away from the town, demanding cautious play and an appreciation for subtle contours.
- Hole 1 (Burn) - Par 4: The widest fairway in golf awaits you, yet it might be the most nerve-wracking tee shot you ever face. With the R&,A clubhouse looming behind you and the entire town of St Andrews seemingly watching, the pressure is immense. The real danger is the Swilcan Burn snaking in front of the green. Coach's Tip: For most amateurs, driver is the wrong play here. A hybrid or long iron leaves a simple wedge into the green, taking the famous burn completely out of play. A simple par is a wonderful start.
- Hole 2 (Dyke) - Par 4: Now you start to see the Old Course's true defense: tricky pot bunkers. The gorse down the right and a cluster of bunkers on the left demand a clear plan from the tee. Finding the fairway is the only way to set up a reasonable approach.
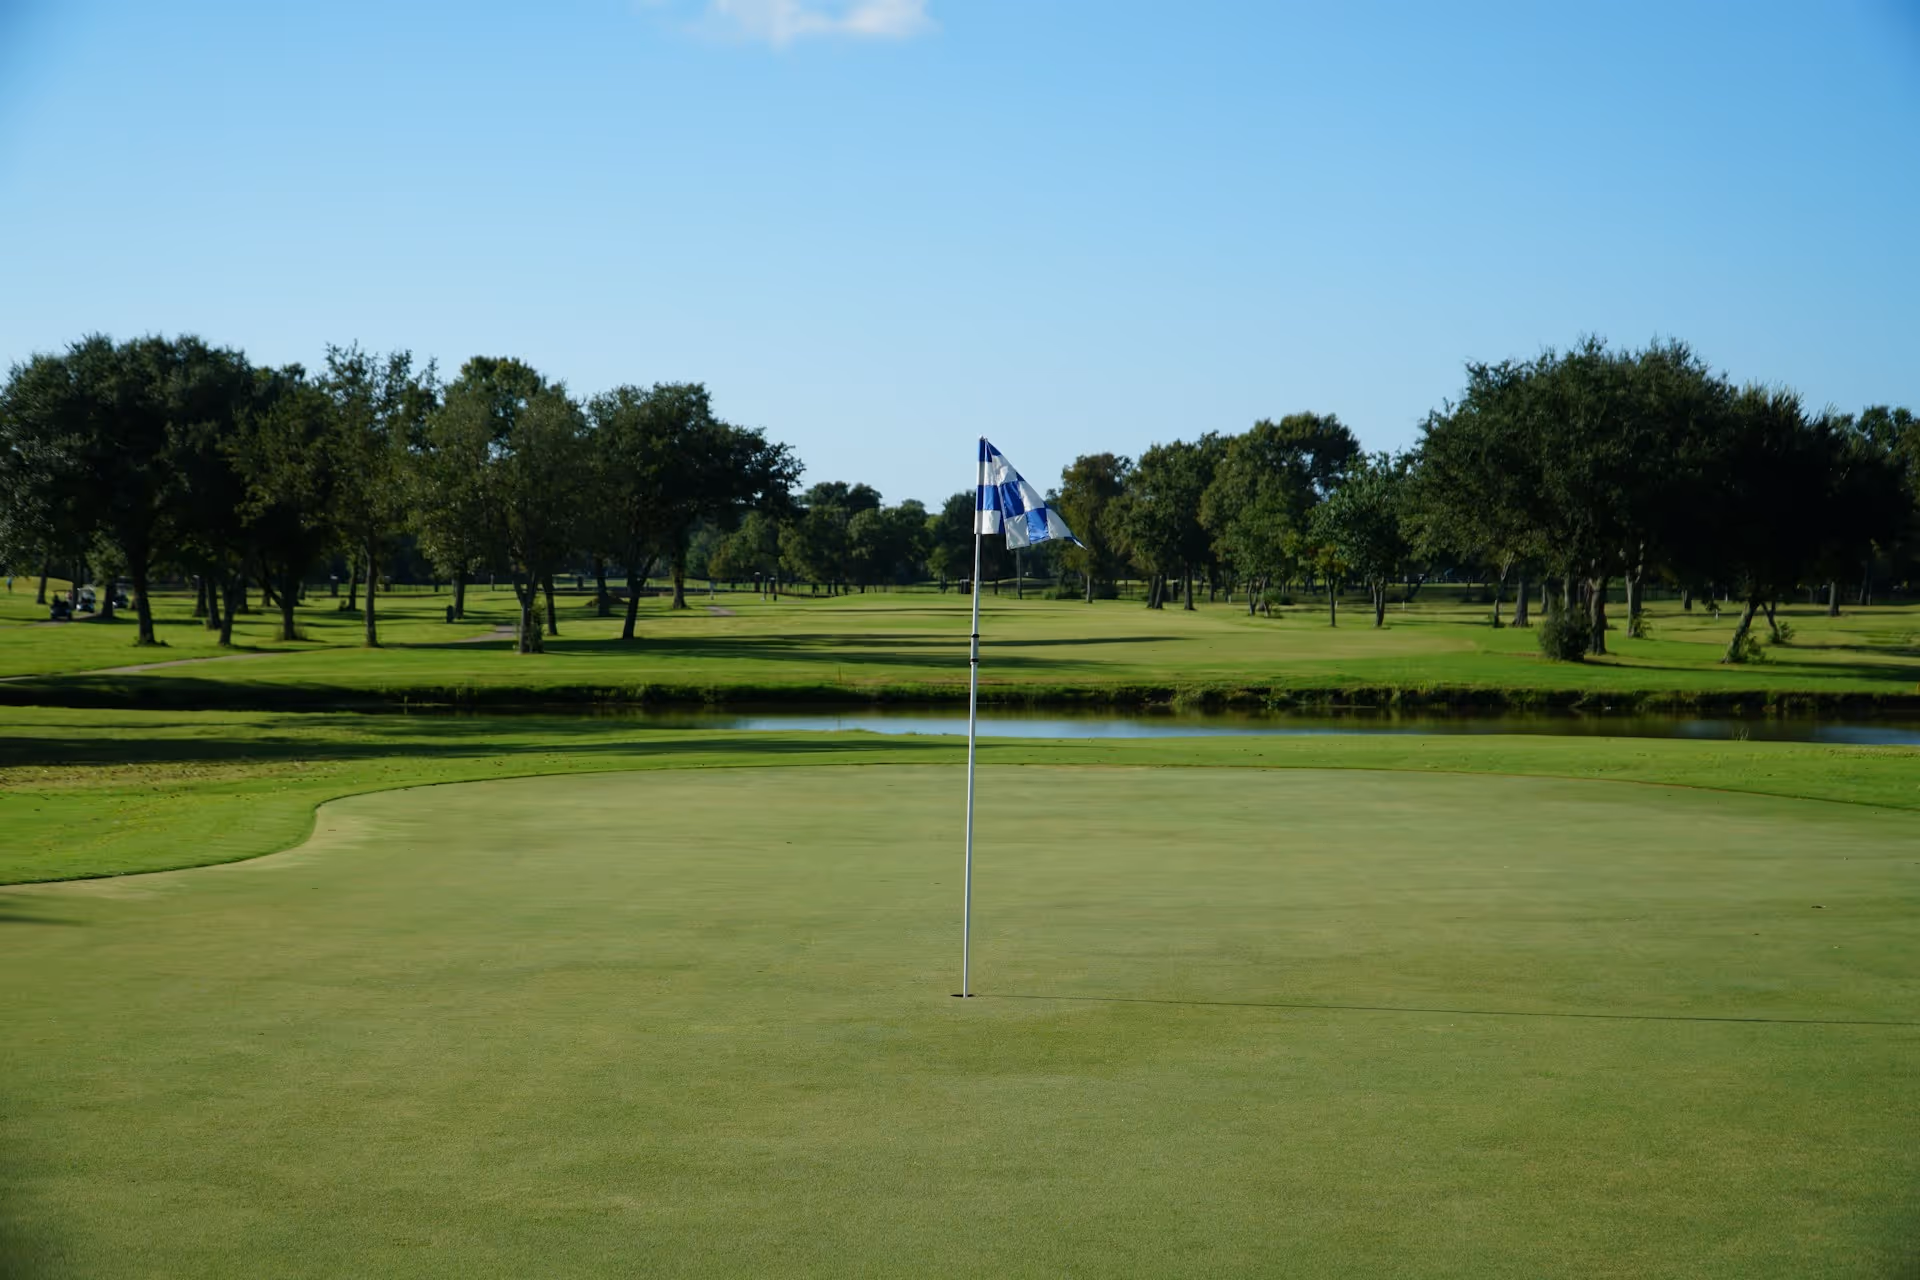
- Hole 3 (Cartgate) - Par 4: Here, you encounter your first of seven massive double greens. This one is shared with the 15th hole. Aiming for the correct half of the green is essential to avoid an impossibly long putt.
- Hole 4 (Ginger Beer) - Par 4: A short par 4, but a small, pot bunker known as "Ginger Beer" sits waiting for any tee shot that isn't perfectly placed.
- Hole 5 (Hole O'Cross) - Par 5: Your first and best birdie opportunity arrives at the 5th. This is the first of only two par 5s on the course. It’s reachable in two for longer hitters, but a group of mounds and hidden bunkers short of the green, known as 'the Spectacles,' pose a real risk for those who go for it. A smart layup is often the path to an easy par or birdie.
- Hole 6 (Heathery) - Par 4: Playing back toward a double green shared with the 12th hole, judging direction and distance into the wind becomes the primary task.
- Hole 7 (High) - Par 4: This hole is guarded by the enormous and terrifying Shell Bunker. The tee shot is partially blind, and you must trust your line. Finding the fairway still leaves a long approach to a green that slopes away from you. A par here feels like a win.
- Hole 8 (Short) - Par 3: At just 175 yards, the first par 3 lives up to its name, but it’s far from easy. The wind will dictate your club choice, and anything from a mid-iron to a hybrid could be required. The green is narrow and well-bunkered.
- Hole 9 (End) - Par 4: A tee shot down the left opens up the best angle into another large, shared green. It’s a good opportunity to post a solid score before making the turn for home.
The Back Nine: The Inward Return (Par 36)
As you turn back towards the Auld Grey Toon, you face some of the most famous - and difficult - holes in all of golf.
- Hole 10 (Bobby Jones) - Par 4: Sharing a double green with the 8th, club selection on the approach is everything. Coming up short is far better than going long here.
- Hole 11 (High) - Par 3: Arguably the tougher of the two par 3s. The hole is named for its elevated tee box, but its notoriety comes from the treacherous "Strath" and "Hill" bunkers guarding the front. There is no bailout. You must carry the bunkers and land the ball softly on a small green that slopes severely from back to front. Par is a brilliant score.
- Hole 12 (Heathery) - Par 4: A short, driveable par 4 for pros, but littered with gorse and hidden bunkers you can't see from the tee. Coach's Tip: The smart play is an iron off the tee, leaving a full wedge shot where you can control the spin into the green. Don’t let ego tempt you into trying to drive it.
- Hole 13 (Hole O'Cross) - Par 4: This hole is defined by the "Coffins" bunkers which greedily await any tee shot drifting down the left side. Navigating these hazards is the only path to making par.
- Hole 14 (Long) - Par 5: The final par 5 is one for the ages. It demands a bold tee shot to avoid the "Beardies" bunkers on the right. The second shot is where the real trouble lies: the formidable "Hell Bunker," a massive cavern of sand where entire Open Championships have been lost. Playing well to the left side and treating it as a three-shot hole is the key to securing a par.
- Hole 15 (Cartgate) - Par 4: After the drama of the 14th, this seemingly straightforward par 4 still requires two excellent shots to a small green target defined by another double green.
- Hole 16 (Corner of the Dyke) - Par 4: Your line off the tee is dictated by the "Principal's Nose," a trio of pot bunkers in the center of the fairway. Left is the safe play but leaves a longer approach. Boldly taking on the right side provides a better angle but brings more sand into play.
- Hole 17 (Road Hole) - Par 4: And then there's this. Perhaps the most famous and difficult par 4 in the world. The tee shot is blind, played over a corner of the Old Course Hotel (and its now-removed railway sheds). Hit your approach too far left and you are in the dreaded, impossibly deep Road Hole Bunker. Hit it too far right and you find a paved road and a stone wall. Anything on the road is in play. For golfers of all levels, a par here feels like a birdie and a bogey is no disgrace.
- Hole 18 (Tom Morris) - Par 4: The iconic finishing hole is a visual masterpiece. You play over the Swilcan Bridge and toward the R&,A clubhouse, with the entire historic town looking in. The "Valley of Sin," a deep swale fronting the green, must be navigated on your approach. A final par in this amphitheater is a memory to cherish for a lifetime.
Why Is Shooting Par 72 So Tough on the Old Course?
The hole-by-hole guide gives you an idea, but several overarching factors make par at St Andrews a monumental task.
The Unforgiving Pot Bunkers
There are 112 bunkers on the Old Course. Many are small, deep, and revetted with sod walls. They aren't just hazards, they are round-wreckers. Often, you can't even advance the ball toward the green and are forced to play out sideways or backward. Avoiding them at all costs is the foundation of a good round.
Mastering the Double Greens
Seven greens on the course serve two holes each. Some of these putting surfaces are over an acre in size. Hitting the green doesn't mean much if you're 150 feet away from the pin, putting you in almost certain three-putt - or even four-putt - territory. Mastering your distance control on approach shots and lag putting is essential.
The Ever-Present Wind
As a true seaside links, the wind is the course's primary defense. It can change direction and strength without warning. The "out" and "in" routing means you might play nine holes directly into the wind and nine holes directly downwind, requiring a complete change in strategy and club selection halfway through your round.
The Psychological Element
You’re not just playing a golf course, you’re walking on hundreds of years of history. Standing on the first tee, thinking of all the legends who stood there before, can be overwhelming. Keeping your cool and focusing on your own game is as much a part of the challenge as any bunker.
The Old Course's par of 72 is built on a foundation of strategic par 4s, forcing you to think your way around rather than simply overpowering it. Understanding its quirky layout, respecting its infamous hazards, and having a smart game plan for each hole are the first steps to carding a score you can be proud of at the Home of Golf.
Playing iconic holes like the Road Hole or navigating around Hell Bunker can feel overwhelming, even with a plan. This is where I find a tool like Caddie AI comes in handy. When you find yourself in a tricky situation, like facing a blind tee shot or looking at a precarious lie near a pot bunker, you can capture the scene and get instant, objective advice. By describing the hole or taking a quick photo, Caddie AI provides you with smart, strategic options, helping you make committed decisions and play with the confidence of someone who has a trusted guide right in their pocket.