When your brand new ball sails majestically off the tee and plunks right into that shimmering blue expanse, you call it a lot of things. Few of them are polite. But professionally, and according to the Rules of Golf, what is that water actually called? This article will clear it up. We'll cover the common slang, the official terminology, and most importantly, give you a step-by-step coaching guide on exactly what your options are when you find your ball in the drink, so you can handle the situation with complete confidence.
Common Lingo: What Golfers Call Water on the Course
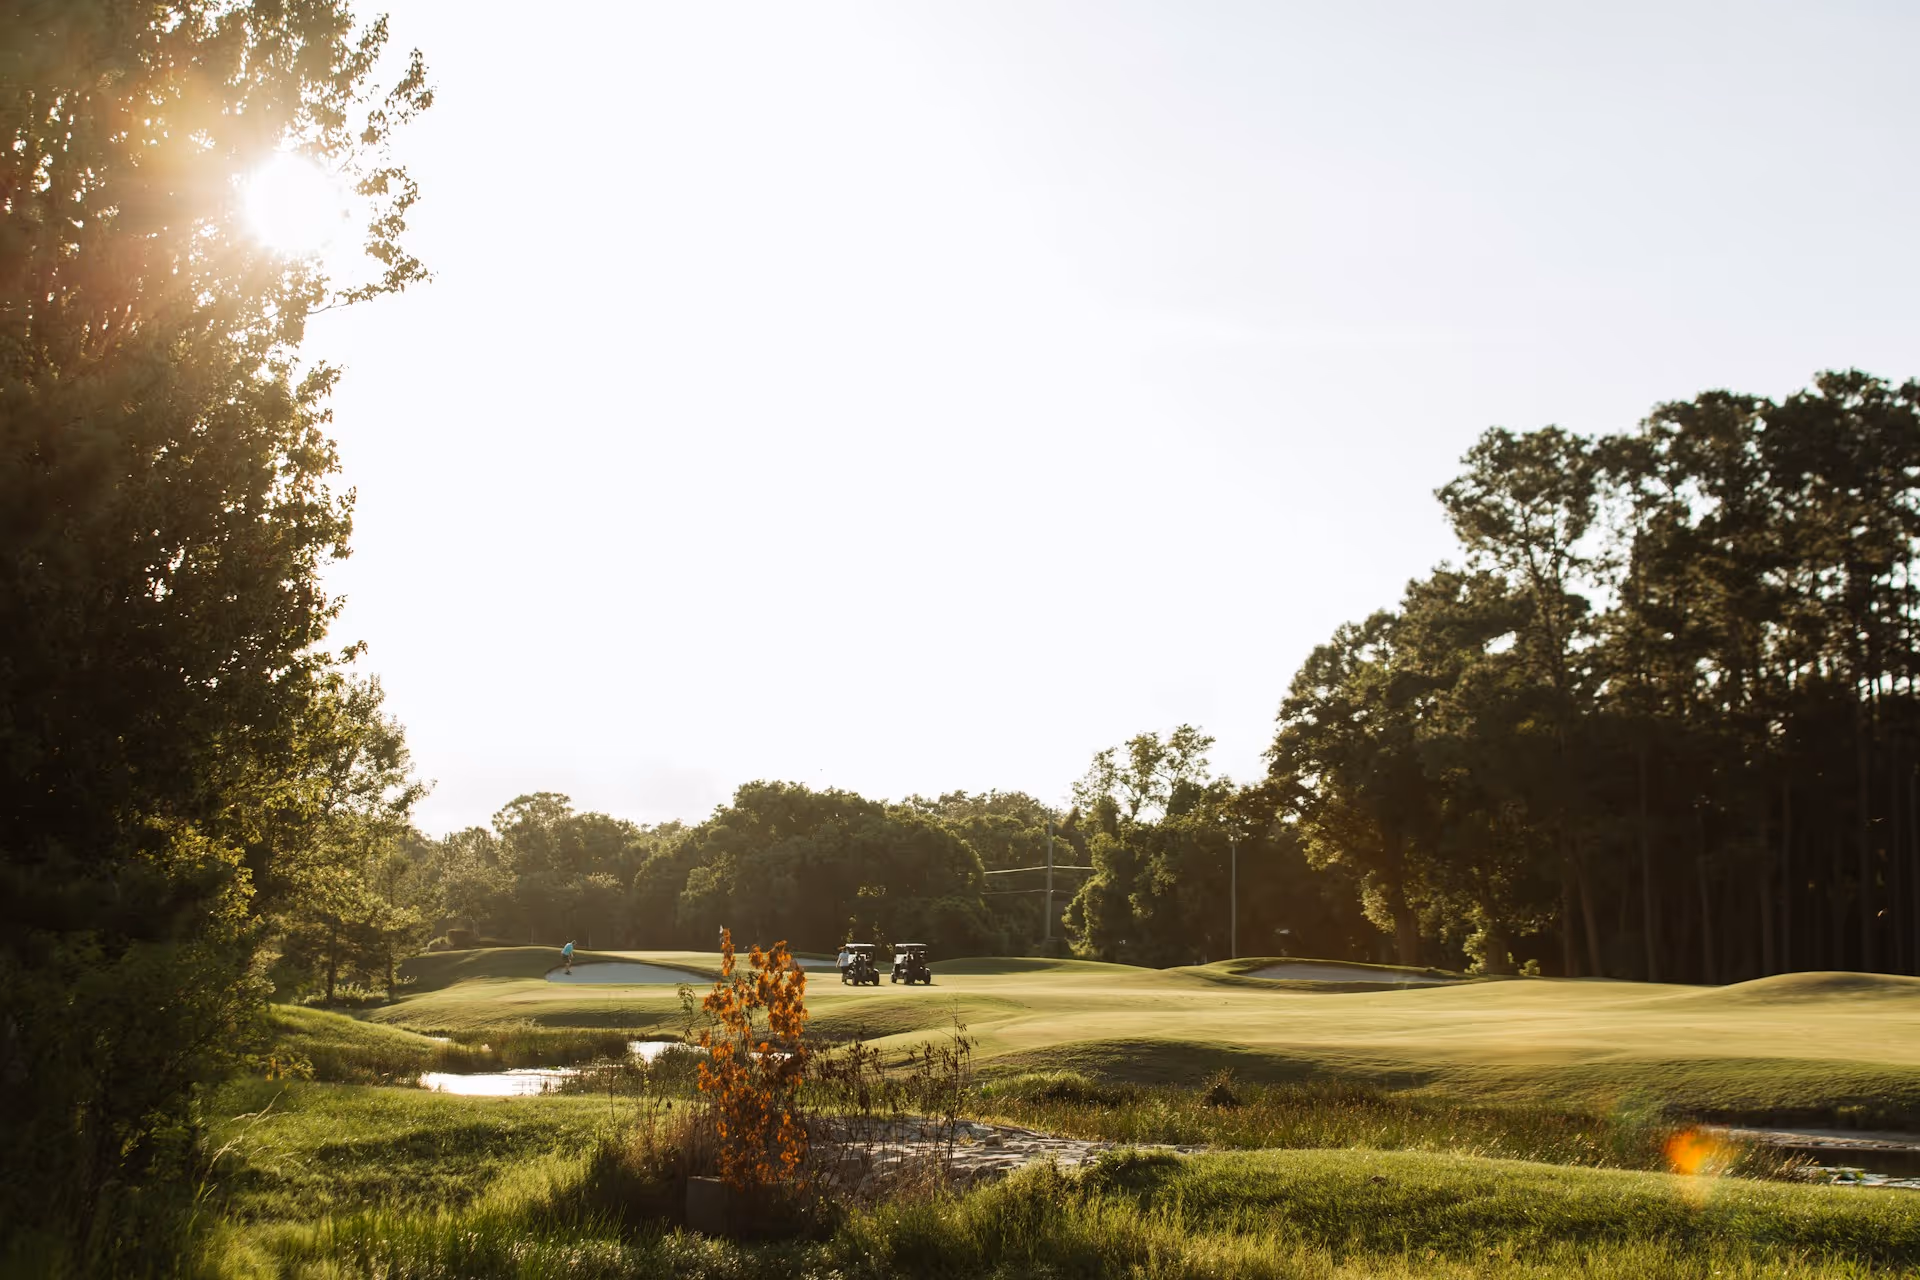
On any given Sunday at your local club, you'll hear a variety of names for the water features dotting the landscape. Most of the time, we use everyday language based on what the feature looks like. These are the casual terms we all know and use:
- Pond: This is probably the most common term for any small, man-made body of water on a course.
- Lake: Generally reserved for larger bodies of water, a "lake" often implies a more significant and intimidating obstacle.
- Creek or Brook: These terms describe smaller, trickling streams of water that meander through the course, often crossing fairways at awkward angles.
- River: A large, natural, flowing body of water that acts as a course boundary or a major feature.
- The Drink / The Water / The Wet Stuff: Universal, informal slang for any body of water, usually uttered right after your ball finds its watery grave.
While all these terms are perfectly fine for a casual round with friends, when it comes to playing by the rules and knowing your options, there's a more specific and official way to talk about these areas.
Going by the Book: The Official Term is 'Penalty Area'
In the official Rules of Golf, those ponds, lakes, and creeks are all grouped under one single unifying term: a Penalty Area. This change was introduced in the 2019 Rules of Golf revision, replacing the older terms "Water Hazard" and "Lateral Water Hazard."
Why the change? The main reason was for simplicity and to cover more ground. The governing bodies wanted a single term that could apply to any area on the course where a ball is often lost or unplayable. This includes not just bodies of water, but also other defined areas like jungles, rock fields, deserts, or dense woods that a course committee wants to mark as a hazard.
So, even if it's completely dry, a ditch marked with red stakes is still a penalty area. This name change made the rules cleaner and more applicable across all types of golf courses. The most important thing for you to remember is this: when you see red or yellow stakes or lines on the course, you are dealing with a penalty area, and you have a specific set of relief options available to you.
Decoding the Stakes: Red vs. Yellow Penalty Areas
Okay, coach's hat on here. Forgetting the difference between red and yellow penalty areas is one of the most common and costly mental mistakes amateur golfers make. The color of the stakes or lines tells you exactly what kind of penalty area you're facing, which in turn determines your relief options.
What is a Yellow Penalty Area?
A yellow penalty area is typically a "crossing" hazard. Imagine a creek that cuts directly across the fairway or a pond that sits right in front of the green. You have to hit your ball over it to continue. They are marked with yellow stakes and/or yellow lines. When your ball goes into a yellow penalty area, your relief options are more limited.
What is a Red Penalty Area?
A red penalty area is what used to be called a "lateral water hazard." Think of a lake that runs all the way down the side of a fairway or a river that forms the boundary of a hole. You don't necessarily have to cross it, it runs alongside the line of play. These are marked with red stakes and/or red lines. The good news is that red penalty areas give you more flexible relief options than yellow ones, which can make a huge difference in saving your score.
How to Play from a Yellow Penalty Area (Your 3 Options)
Your ball has just vanished into a yellow-staked pond. Don't panic. First, take a breath. Second, understand you have a one-stroke penalty. Here are your three choices, step-by-step:
Option 1: Play the Ball as It Lies
If you're lucky, your ball might be reachable and playable, perhaps just on the bank or in shallow water.
- How to do it: You can simply play your next shot from where the ball is.
- Penalty: Zero penalty strokes.
- Coach's Tip: This is a high-risk, high-reward choice. Before you walk into the water, assess the lie. Is the ball sitting up or submerged? Is your footing stable? A huge recent rule change allows you to ground your club and move loose impediments in a penalty area now, which makes this option more attractive than it used to be. But if it's a bad lie, don't be a hero. Taking a penalty is often better than trying a miracle shot and duffing it into an even worse spot.
This is always an option, no matter where your ball is on the course.
- How to do it: Go back to the spot where you hit your previous shot and hit it again.
- Penalty: One stroke.
- Coach's Tip: This is often the most frustrating option ("the walk of shame"), especially if you hit a great tee shot that just happened to catch the water. It's usually a last resort, but it can be the best choice if your other relief options would leave you in a terrible position for your next shot.
Option 3: Back-on-the-Line Relief
This is the most common relief option taken from a yellow penalty area.
- How to do it: First, identify two key points: the hole, and the estimated point where your ball last crossed the edge of the yellow penalty area. Imagine a straight line connecting these two points and extending backward. You can go back as far as you want on that line and drop your ball within one club-length of that spot.
- Penalty: One stroke.
- Coach's Tip: This option gives you flexibility on distance. You can drop far enough back to hit a full shot with your favorite wedge. The key is to visualize that line accurately. Make sure your drop keeps that entry point directly between your ball and the hole.
How to Play from a Red Penalty Area (Your 5 Options)
When your ball ends up in a red penalty area, you have more choices. This is because red areas are "lateral," and it wouldn't be fair to force you to go all the way back just because your ball trickled in on the side. You get all three of the yellow penalty area options above, PLUS two excellent additional lateral relief options.
Option 4: Lateral Relief (The Most Common Choice)
This is your best friend when dealing with a red penalty area.
- How to do it: Identify the estimated point where your ball last crossed into the red penalty area. From that spot, you can measure out two club-lengths (using the longest club in your bag, other than your putter) in any direction, as long as it's no closer to the hole. Drop your ball in this relief area.
- Penalty: One stroke.
- Coach's Tip: This is almost always the go-to option. It lets you drop your ball close to where it went out of play without losing much distance. Be precise about where the ball crossed the line, as your two-club-length arc starts from there. Choose a spot within that arc that gives you the best lie and the best angle for your next shot.
Option 5: Opposite Side Relief
This one is a bit more niche but can be a real get-out-of-jail-free card in certain situations.
- How to do it: Identify the point on the opposite margin of the red penalty area that is the same distance from the hole as the point where your ball last crossed in. You can then take lateral relief (two club-lengths, no closer to the hole) from that opposite-side point.
- Penalty: One stroke.
- Coach's Tip: You won't use this one often, but look for it. Imagine a hole where the entire left side runs along a lake (red penalty area), and you hook your ball into it. The terrain on the left side might be overgrown, water-logged, and unplayable. The "opposite side" might be perfectly manicured fairway. This option lets you drop over there, giving you a chance to save the hole.
Strategic Thinking: Choosing the Right Option
Knowing the rules is one thing, using them strategically is another. When your ball finds a penalty area, don't just rush into a decision. Take a moment and think like a coach.
First, evaluate playing it as it lies. Are you realistically going to advance the ball, or just splash around? Be honest with yourself.
If you're taking relief, consider where each option leaves you. Dropping for back-on-the-line relief (Option 3) might seem simple, but will it force you to hit over a bunker or from behind a tree? Lateral relief (Option 4, only for red areas) often leaves you with a much better angle to the green. Sometimes taking an extra club-length back from danger is worth it for a clearer shot.
The goal isn't just to get the ball out, it's to put your ball in the absolute best position for your next shot. Taking 30 seconds to think through your options can be the difference between making a bogey or a triple bogey.
Final Thoughts
So, while you might call it "the pond" or "the creek," the official term for any water on the course is a penalty area, marked by either red or yellow stakes. Understanding the difference between these colors and memorizing your relief options is essential for navigating the course confidently and protecting your score.
When you're faced with these tricky situations on the course, uncertainty can lead to bad decisions. That's why we developed our on-demand golf coach. With Caddie AI, you can describe your exact situation - like being stuck next to a red penalty area with a bad lie - and get instant, expert advice on which relief option gives you the best chance to save the hole. You can even send a photo of your ball's lie to get an unbiased second opinion, helping you remove the emotion and make the smartest play.