There's nothing quite like looking down at a set of gleaming golf irons before you address the ball. Beyond just aesthetics, a brilliant shine often means a perfectly clean clubface, which is a big deal for your game. This guide cuts straight to the chase, showing you exactly how to deep clean your irons step-by-step and then restore that factory shine, helping them not only look brand new but perform at their absolute best.
More Than Just Looks: Why Shiny Irons Matter
As a golf coach, I always notice the state of a player's equipment. While it might seem like a small detail, the condition of your irons says a lot and, more importantly, directly impacts your shots. Think about it: a PGA Tour caddie’s number one job, aside from providing yardages, is to keep those clubs spotless between every single shot. They aren't doing it just for the TV cameras.
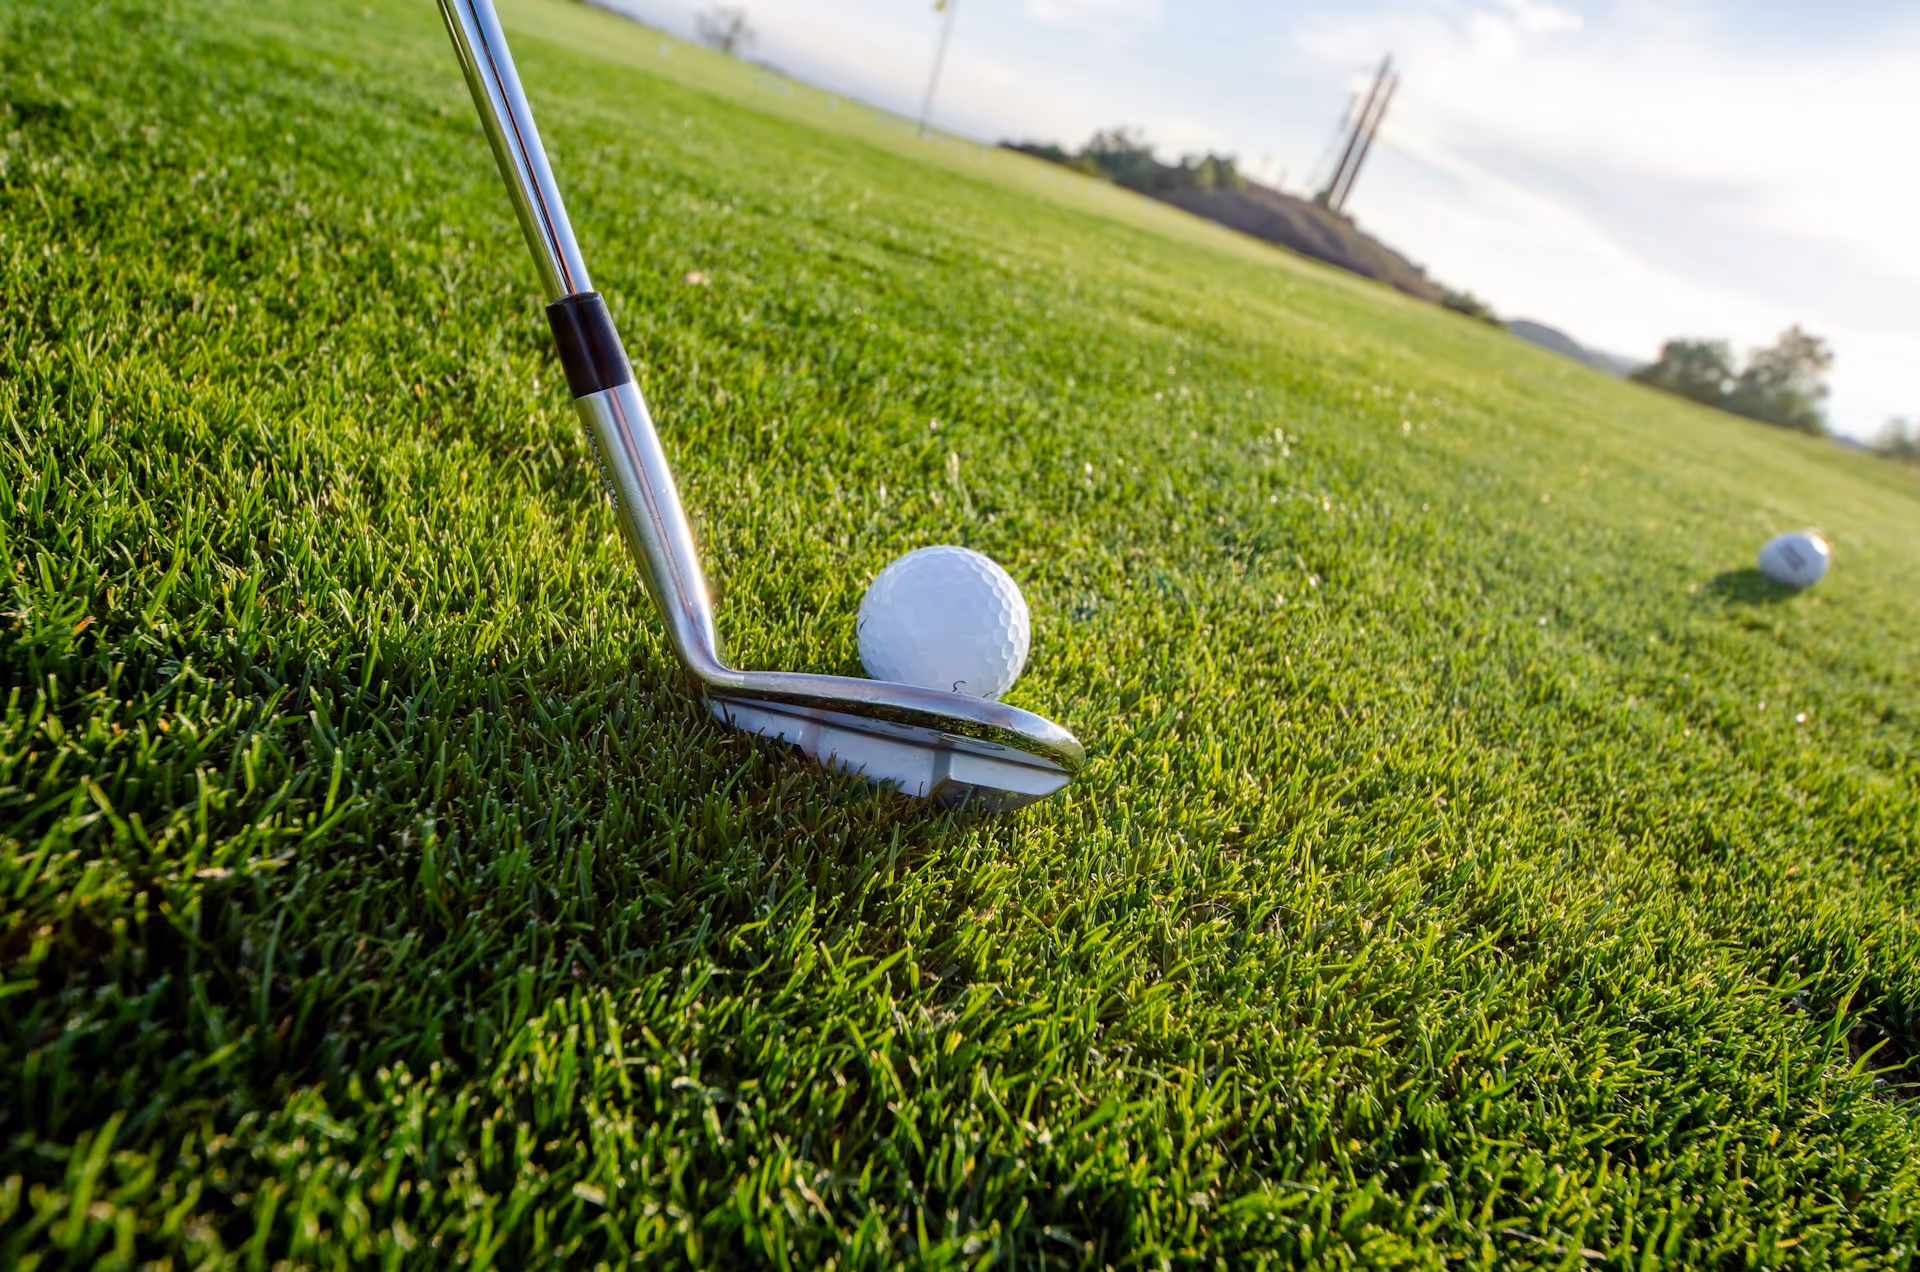
The real secret lies in the grooves. Those tiny channels on your clubface are designed to do one thing: push away grass, dirt, and water at impact to create a clean connection between the face and the ball. When your grooves are caked with old mud, sand, and dried grass from your last three rounds, they can't do their job. The result? A significant loss of backspin. This leads to what we call "fliers" from the fairway - shots that launch unpredictably - and a major lack of control on approach shots. You lose the ability to stop the ball on the green, turning a potential birdie putt into a challenging scramble for par.
Then, there's the mental side. Golf is a game of confidence. The act of caring for your equipment instills a sense of professionalism and preparedness. When you pull a 7-iron that shines in the sun, you feel more capable and committed to hitting a great shot. It’s a subtle psychological edge, but it’s real. You've eliminated a variable and can trust that the club is ready to perform - all that's left is for you to make a good swing.
The Tools of the Trade: What You’ll Need
You don't need a professional workshop to get professional results. Most of what you need is likely already in your house. Here’s a simple checklist of tools for the job, broken down into what's needed for cleaning versus what's needed for polishing.
For the Deep Clean:
- A bucket or deep sink: Large enough to submerge a few iron heads at a time.
- Warm water: Not piping hot, just comfortably warm to the touch.
- Mild dish soap: Any basic degreasing dish soap will do the trick.
- A soft-bristled brush: This is important. An old toothbrush or a plastic-bristled scrub brush is perfect. Never use a wire or brass bristle brush, as it will permanently scratch and damage the chrome finish on your irons.
- A groove tool or wooden golf tees: For dislodging stubborn, compacted dirt.
- Old towels: One for post-rinse drying and one to work on.
For Restoring the Shine:
- Metal or chrome polish: There are golf-specific polishes available (like Flitz or Nevr-Dull), but a high-quality automotive chrome polish works exceptionally well.
- Microfiber cloths: You’ll want at least two - one for applying the polish and a clean, dry one for buffing.
- (Optional) Rust remover: For older clubs with small rust spots, a product like CLR or a simple paste made from baking soda and water can be useful. A distilled white vinegar soak also works wonders.
The Deep Clean: A Step-by-Step Guide
This is where the transformation begins. Set aside 30-45 minutes and follow these simple steps to safely and effectively get all the grime off your irons.
Step 1: The Initial Soak
Fill your bucket with warm water and add a few squirts of dish soap. You should see some nice suds. Place a few of your iron heads into the water, making sure the faces are fully submerged. A key tip is to not submerge the ferrules - the little black plastic ring where the shaft meets the clubhead - for an extended period. The epoxy that holds the head onto the shaft can weaken over time with excessive heat and moisture. A 10-15 minute soak is plenty to loosen up even the most stubborn, dried-on mud.
Step 2: Scrubbing the Face and Sole
Take one iron out of the water at a time. Dip your soft-bristled brush in the soapy water and start scrubbing the face. Use small circles to work the bristles into the grooves from different angles. Pay special attention to the toe and heel areas where dirt loves to hide. After cleaning the face, give the sole of the club a good scrub as well. Modern irons have all sorts of cavities and ports on the back, so take a moment to scrub those clean too.
Step 3: Detailing the Grooves
You’ll likely find that brushing alone won't remove the deeply compacted dirt in the center of the grooves. This is where your groove tool or a wooden tee comes in. Gently trace the lines of each groove to push out the caked-on residue. You'll be amazed at how much junk comes out. Be firm but don't exert so much pressure that you risk scratching the face. The pre-soak should have softened things up, making this step relatively easy.
Step 4: Rinse and Dry Thoroughly
Once you’re satisfied that the clubhead is totally clean, rinse it completely under clean, running water. Ensure all the soap suds and loose grime are gone. This next part is very important: dry the club immediately and thoroughly with an old towel. Leaving water droplets to air dry can lead to water spots or, even worse, the formation of tiny rust specks. A completely dry club is a happy club.
Restoring the Shine: The Polishing Process
With your irons clean and completely dry, it's time for the magic touch. This is the stage that separates a simply clean set from a truly stunning, like-new set of clubs.
Step 1: Apply the Polish Sparingly
Take one of your microfiber cloths and apply a small, pea-sized amount of your chosen chrome or metal polish. A little goes a very long way. Pick an iron and start working the polish onto the chromed/stainless steel parts of the clubhead. It’s best to work on sections - the sole, the back cavity, the main muscle of the club - one at a time.
A Quick Note on Finishes:
This process is perfect for standard chrome or satin stainless steel irons. If you have irons with a special finish, like a black PVD or a raw, un-plated finish (common on wedges), be careful. On black finishes, only use a cleaner-wax designed for clear coats and test a very small, inconspicuous area first. For raw wedges, which are designed to rust for enhanced spin, you'll want to avoid this polishing step entirely unless your goal is to remove the rust and start the patina process over again.
Step 2: Work It In
Using firm pressure, work the polish into the metal using small, circular motions. The polish contains very fine abrasives that gently smooth out microscopic scratches and remove oxidation that makes the finish look dull. As you work, you will see the polish turn grey or black on your cloth - this is a good thing! It means it's lifting contaminants from the surface of the metal.
Step 3: Buff to a Brilliant Shine
Let the polish haze over for a minute or two, following the directions on the product label. Now, grab your clean, dry microfiber cloth. This is your buffing cloth. With some quick, energetic wipes, buff off the polish residue. The dull haze will give way to a mirror-like finish that likely looks better than it has since you first took the clubs out of the box. The transformation is incredibly satisfying.
Routine Upkeep: Keeping Your Irons Looking Great
You don't need to do this full deep-clean and polish session every week. If you get into a few simple habits, you can keep your irons in top shape with minimal effort.
- Keep a towel on your bag. After every single shot, give the face of your iron a quick wipe. This prevents moisture and dirt from ever setting in.
- Clean grooves after the round. Before you put your clubs away, take five minutes with a brush and wet towel to ensure the grooves are clear. This is the single best preventative measure.
- Store them properly. Avoid leaving your clubs in a damp car trunk or garage. A dry environment prevents rust. If you're concerned about your polished irons banging against each other, consider buying a set of soft iron headcovers to protect your work and keep them looking pristine.
Final Thoughts
In the span of an hour, you can take a neglected set of irons and completely restore them. The process gives you a deep-cleaned clubface for maximum spin and control, and polishes the clubhead for that extra dose of confidence before every swing. It's a simple task that has a direct, positive impact on how your club performs and how you feel playing.
With your equipment looking and performing at its best, you can turn your focus to making smarter decisions on the course. That's where we can often help with the mental side of the game. When you're stuck in a tricky situation, like a terrible lie in the rough or facing a tough club selection, you can ask Caddie AI for instant, strategic advice. Think of it as having that expert caddy and swing coach available 24/7, ready to help you eliminate doubt, manage the course effectively, and allow you to hit every shot with total conviction.